58
EN
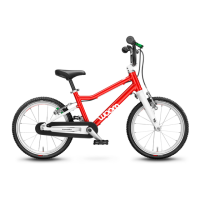
Tensioning the chain
Removing and installing the chainguard on the woom ORIGINAL 2 and woom ORIGINAL 3
Unscrew the hex key bolt on
the underside of the chain
guard.
After removing the bolt, ca-
refully move the back of the
lower part of the chain guard
downwards and then slide it
forwards.
Remove the lower part of the
chainguard from the bike by
carefully removing the plastic
tab. Gently lift the upper part
of the chainguard and slide it
forwards out of the frame. To
install the chainguard, follow
the steps for removing it in
reverse order.
Checking the chain tension
To check the chain tension on the woom ORIGI-
NAL 2 and woom ORIGINAL 3, the chainguard
must be removed (see the description on
removing the chainguard in this section). The
chainguard does not need to be removed on
the woom ORIGINAL 3 AUTOMAGIC.
To check the chain tension, move the centre of
the chain between the sprocket and chainring
up and down with a light pull (approx. 1 kg).
The chain should have 3–4 mm of play between
the uppermost and lowermost positions. Be
sure to measure the upward and downward play at the same point on the chain.
If the measured slack in the chain is too low or too high, adjust the chain tension (refer to
the section on adjusting the chain tension in this section).
3 – 4 mm
 Loading...