Ci7 XX0 BENCHTOP S P ECTROPHOTOMETER
19
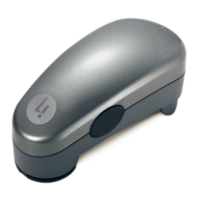
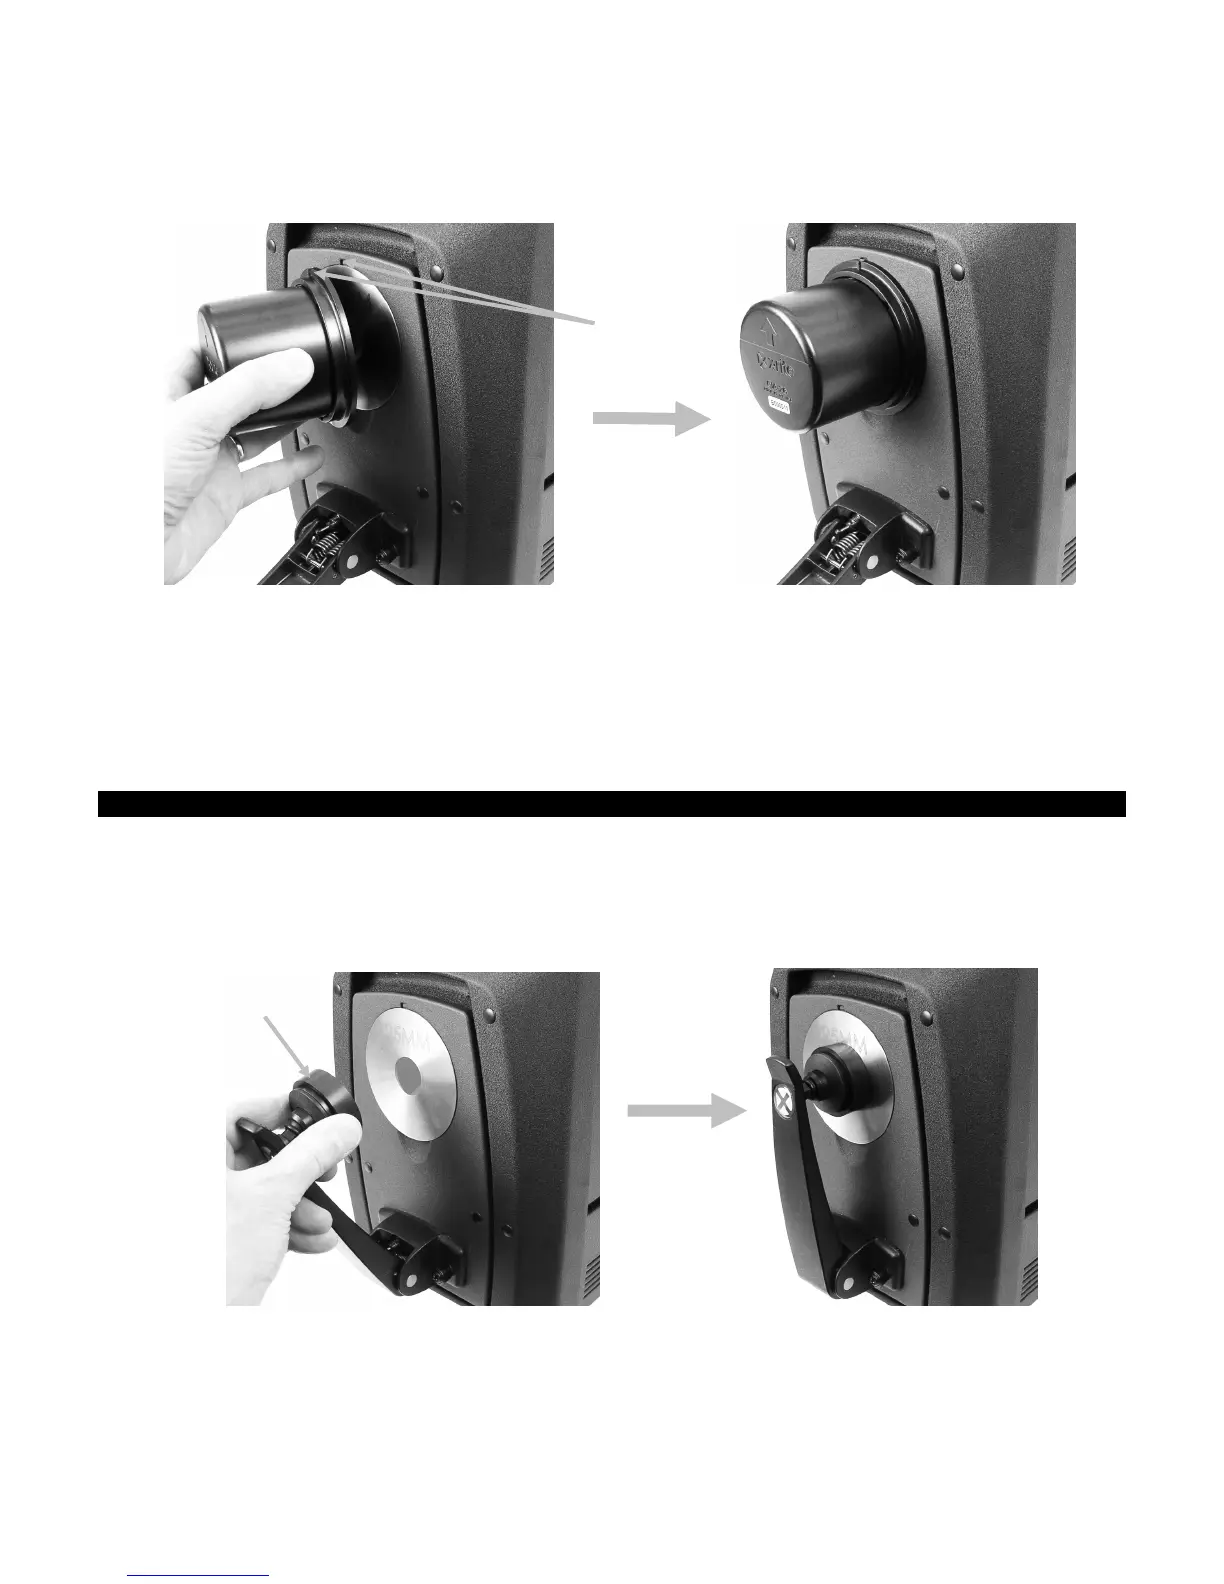
6. Remove the black trap from the accessory drawer and position it on the aperture plate. Make
sure to align the tab at the top edge of the trap with the notch at the top of the aperture
plate.
7. Initiate the black trap measurement from the software.
8. Remove the black trap and return it to the accessory drawer.
9. Once the calibration process is complete, the calibration indicator becomes lit. Any change to
the spectrophotometer configuration may result in the calibration indicator changing from
green (calibrated) to red (not calibrated).
10. Continue with additional configuration calibrations as required.
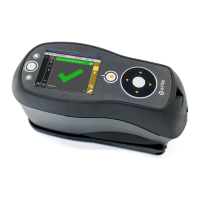
Green Tile Color Check (optional)
1. Perform a calibration procedure if you have not already done so. Refer to the Calibrating section.
2. Remove the green tile from the accessory drawer. Pull down on the sample holder and
position the tile on the sample holder clamp. Make sure the green ceramic side is facing the
aperture plate.
3. While holding the tile in place, close the sample holder to the aperture plate.
4. Initiate the green tile check procedure from the software application. After the measurement,
remove the green tile and return it to the accessory drawer.
Note: Tile values are generated at a temperature of 22°C. Refer to the software application for
additional information.
calibration tile
 Loading...