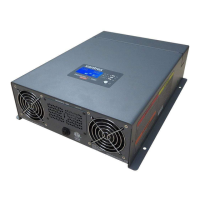
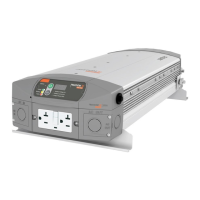
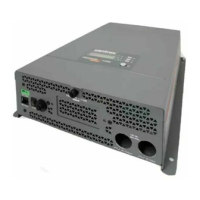
Basic Installation Procedures
975-0784-01-01 15
Basic Installation Procedures
This section provides sample installation information as a guide
for your installation. For your convenience, the overall procedure
is divided into these main steps:
Installation Tools and Materials 15
Step 1: Designing the Installation 16
Step 2: Choosing a Location for the Unit 22
Step 3: Mounting the Unit 23
Step 4: Connecting the AC Input Wires 25
Step 5: Connecting AC Output to an Existing AC Circuit 29
Step 6: Connecting the DC Cables 31
Step 7: Connecting to Port(s) on the Freedom XC 36
Step 8: Testing Your Installation 38
NOTE: For marine applications, see additional installation
instructions on page 41.
Installation Tools and Materials
You will need the following to install the Freedom XC:
n Wire stripper
n Mounting (#2) screws or bolts
n #2 Phillips torque screwdriver
n Torque wrench for DC terminals (½" or 13mm socket
wrench)
n AC cable (that is, two-conductor-plus-ground cable), sized
appropriately for load and application
n ½" (or ¾") trade-size strain relief clamps (for the AC cable
clamp holes)
n Wire nuts or crimp connectors for AC wire and appropriate
tools
n DC cable, sized appropriately for load and application
n Lugs for DC cables to fit
5
/
16
" DC stud terminals as well as
appropriate tools (like a crimping tool)
n AC and DC disconnects and over-current protective devices

 Loading...