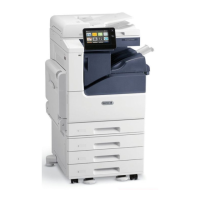
OPTIMIZING PRINTER PERFORMANCE
Several factors influence printer performance, including temperature, humidity, air pressure, and the chemical
characteristics of the paper and coatings. The printer must form an electrostatic image on the paper, which
depends on the ability of the air to hold and transfer electrical charges. The paper and coatings must hold an
electrical charge in the areas where the toner must adhere.
To optimize the performance of your printer:
1. At the printer control panel, press the HHoommee button.
2. Touch DDeevviiccee.
3. Touch TToooollss.
4. Touch TTrroouubblleesshhoooottiinngg >> CCaalliibbrraattiioonn >> PPrriinntt CCaalliibbrraattiioonn >> NNeexxtt.
5. Follow the onscreen instructions to run the Print Calibration procedure.
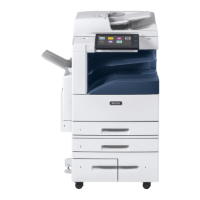
INITIAL PRINTER SETUP
Before installing the printer software, verify that the printer is set up correctly. Setup includes enabling the optional
features and assigning an IP address for the Ethernet network connection. Printer settings can be configured at the
printer control panel or by using the Embedded Web Server. To configure settings at the printer control panel, the
Installation wizard starts the first time that you power on the printer. The wizard prompts you with a series of
questions to help configure basic printer settings.
The System Administrator can configure the following settings:
• Language
• Network Connection
• Proxy Server Setup
• Date and Time
• Measurements
• LDAP Settings
• Apps Setup
• Security Settings
For more information on configuring the printer settings at the control panel or using the Embedded Web Server,
refer to the System Administrator Guide at www.support.xerox.com.
UPDATING THE PRINTER SYSTEM SOFTWARE
Before installing print driver software, verify that the printer has the latest version of system software loaded. You
can update your device when Xerox releases a new version of printer system software or firmware. To ensure a
successful software update, follow the steps provided with the software files. Printer system software is downloaded
from www.support.xerox.com.
Before you download and install new software, determine the current software version installed on your device.
Print the Configuration Report to compare the system software version with the version available for download. For
instructions about printing a Configuration Report, refer to Printing the Configuration Report.
Xerox
®
EC8036/EC8056 Color Multifunction Printer User Guide 55
Getting Started