ENG
1
1
1
2
1
2
4
5
6
3
4-50
CLUTCH
EAS00277
REMOVING THE CLUTCH
1. Drain:
9
engine oil
(completely from the crankcase)
Refer to “CHANGING THE ENGINE OIL” in
chapter 3.
2. Remove:
9
side cowlings (left and right)
Refer to “REMOVING THE SIDE COWL-
INGS” in chapter 3.
9
muffler
9
footrest
9
brake pedal
Refer to “REMOVING THE ENGINE”.
9
kickstarter lever
Refer to “KICKSTARTER”.
9
crankcase cover (left)
Refer to “GENERATOR AND STARTER
CLUTCH”.
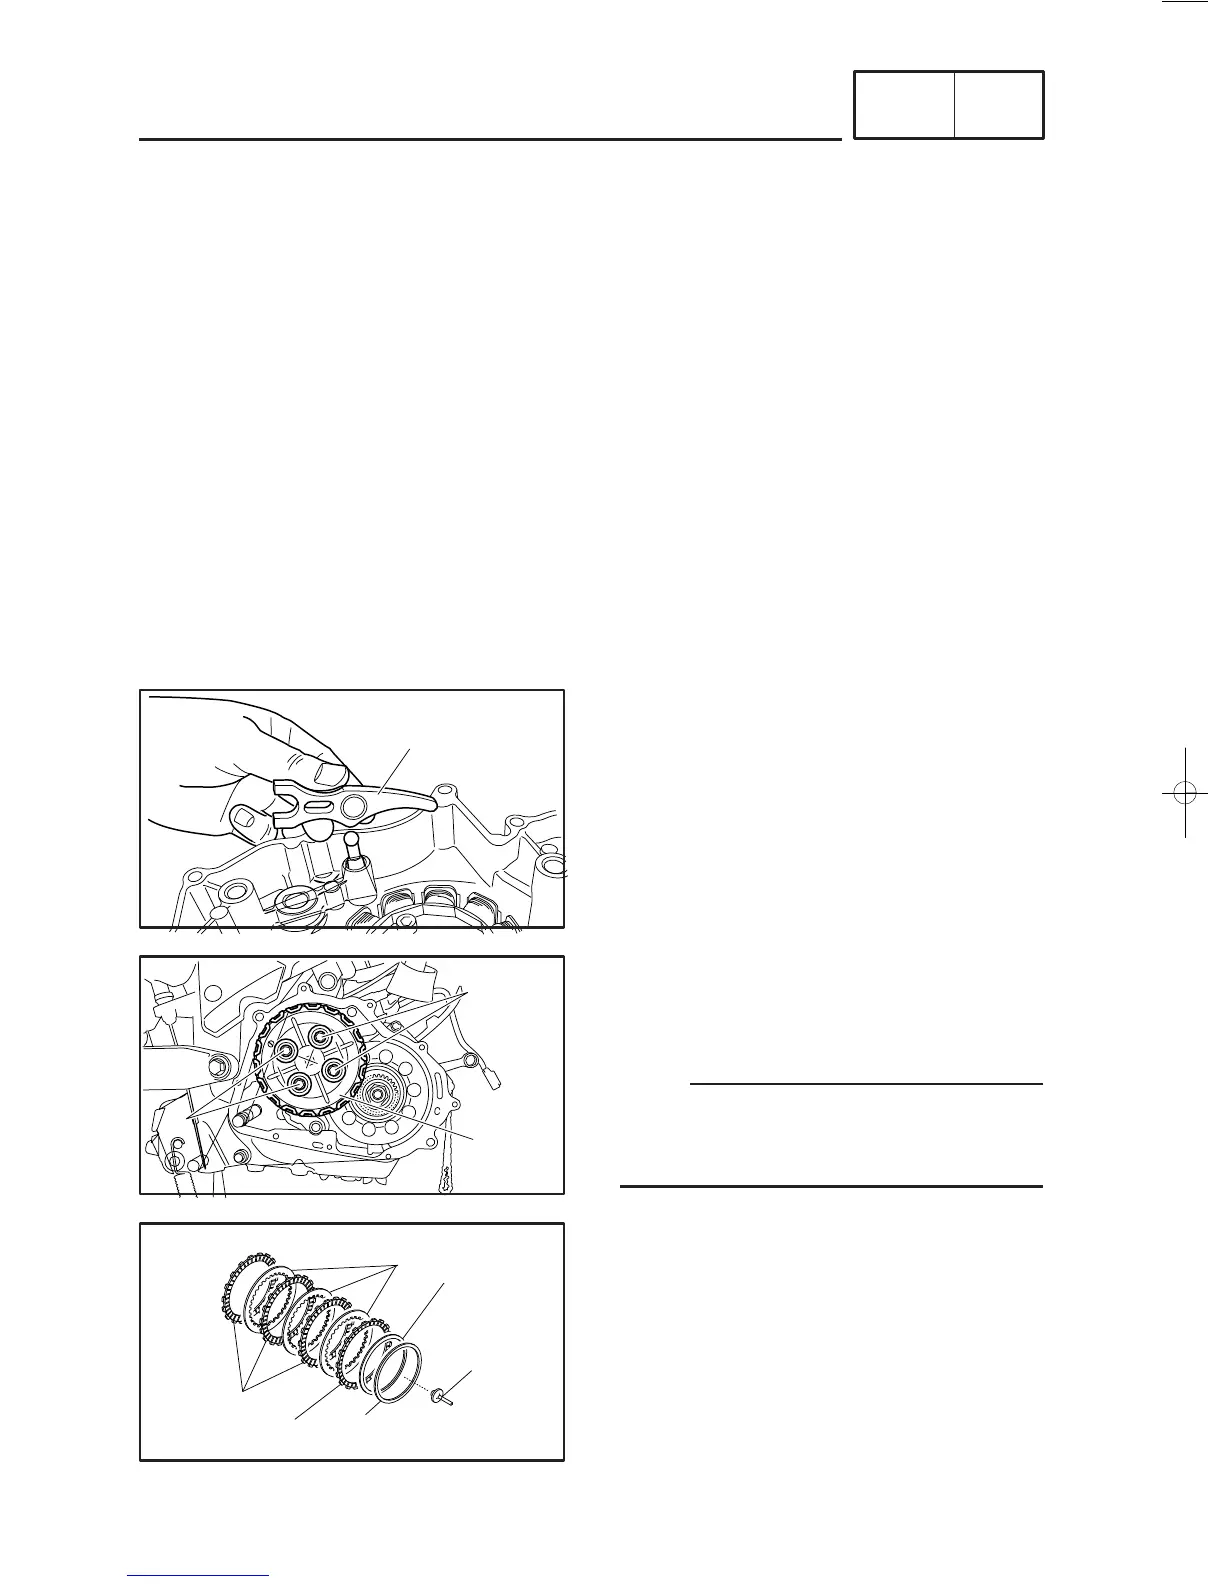
5. Remove:
9
clutch pressure plate bolts
1
9
clutch springs
9
clutch pressure plate
2
NOTE:
Loosen each bolt 1/4 of a turn at a time, in
stages and in a crisscross pattern. After all of
the bolts are fully loosened, remove them.
6. Remove:
9
clutch push rod #1
1
9
friction plates #1
2
9
friction plates #2
3
9
clutch plate
4
9
cushion ring
5
9
seat plate
6
3. Remove:
9
clutch release shift arm
1
4. Remove:
9
crankcase cover (right)