CHAS
REAR WHEELAND BRAKE
7-13
a
EAS00539
CHECKING THE BRAKE
The following procedure applies to all of the
brake shoes.
1. Check:
9
brake shoe lining
Glazed areas
→
Repair.
Sand the glazed areas with course sandpa-
per.
NOTE:
After sanding the glazed areas, clean the brake
shoe with a cloth.
2. Measure:
9
brake shoe lining thickness
a
Out of specification
→
Replace.
w
Do not allow oil or grease to contact the
brake shoes.
NOTE:
Replace the brake shoes as a set, if either is
worn to the wear limit.
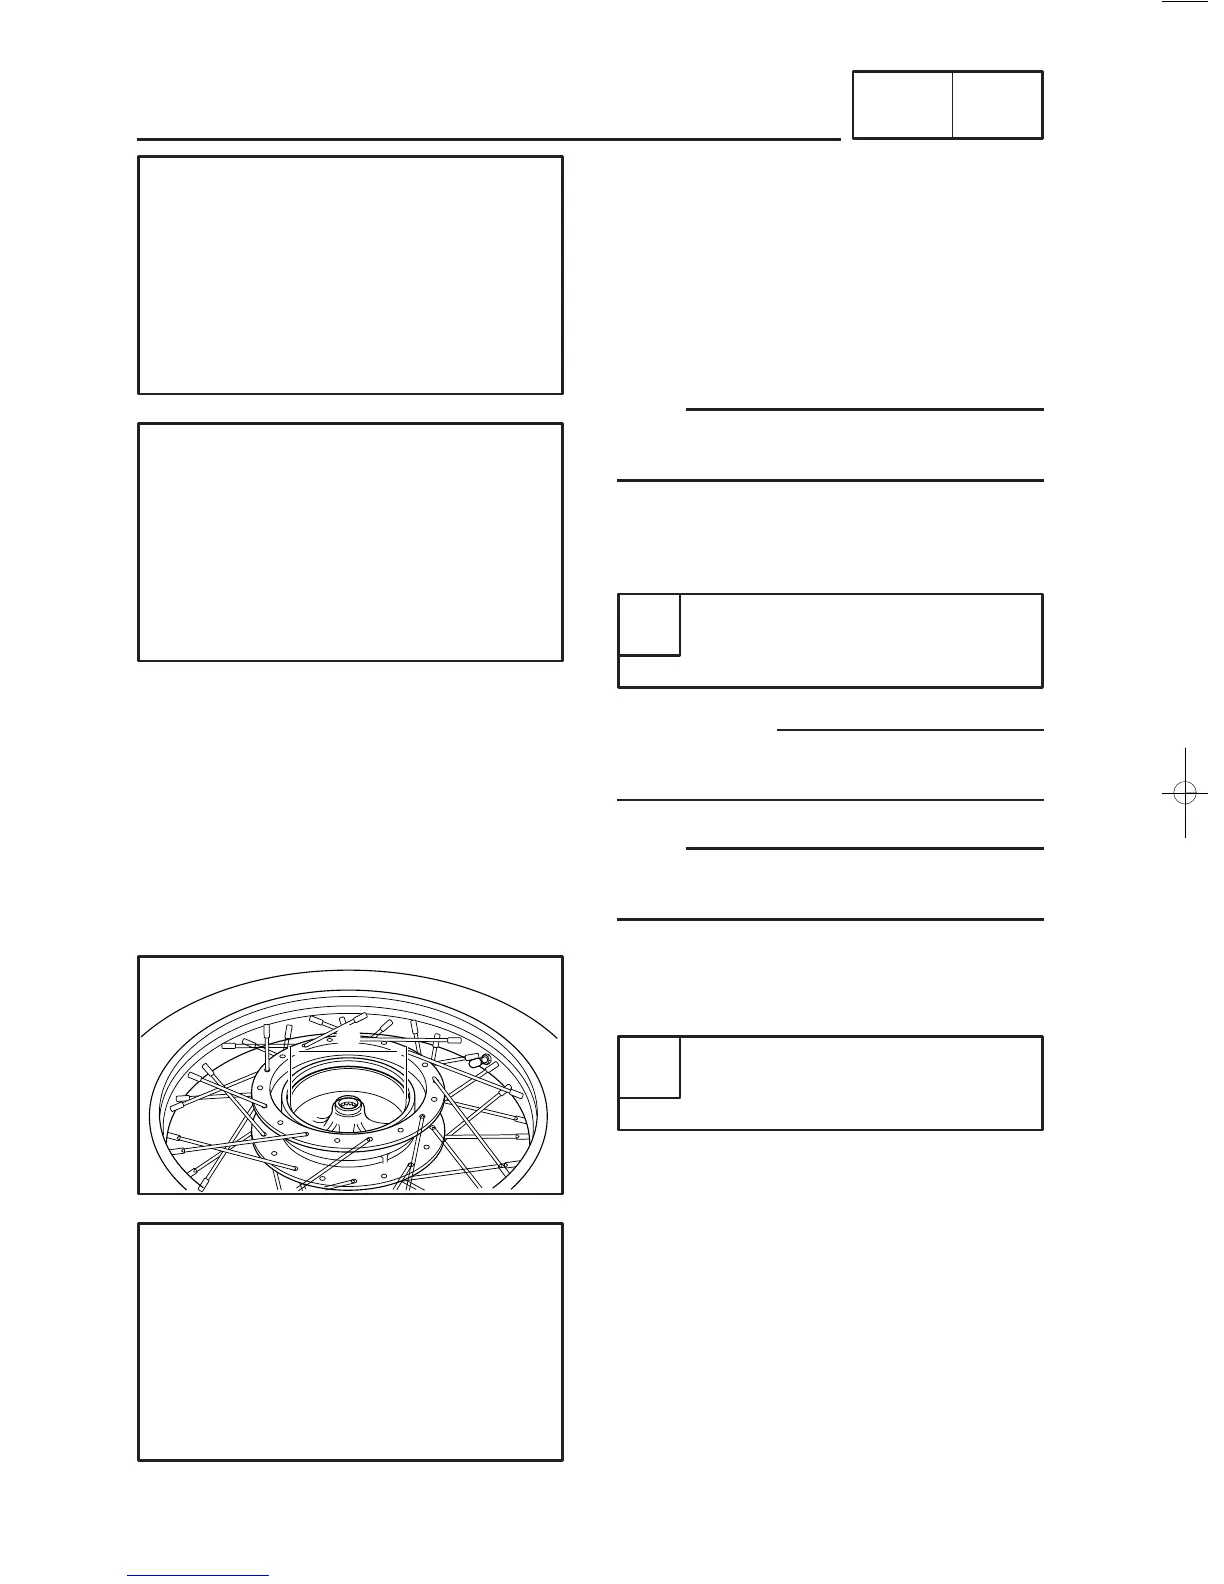
3. Measure:
9
brake drum inside diameter
a
Out of specification
→
Replace the wheel.
4. Check:
9
brake drum inner surface
Oil deposits
→
Clean.
Remove the oil with a rag soaked in lacquer
thinner or solvent.
Scratches
→
Repair.
Lightly and evenly polish the scratches with
an emery cloth.
5. Check:
9
brake camshaft
Damage/wear
→
Replace.
Brake shoe lining thickness limit
(minimum)
2.0 mm (0.08 in)
Brake drum inside diameter limit
(maximum)
131 mm (5.16 in)
 Loading...