1
1
2
CHK
ADJ
3-45
9
warpage or buckling of the battery plates or
insulators is evident.
9. Check:
9
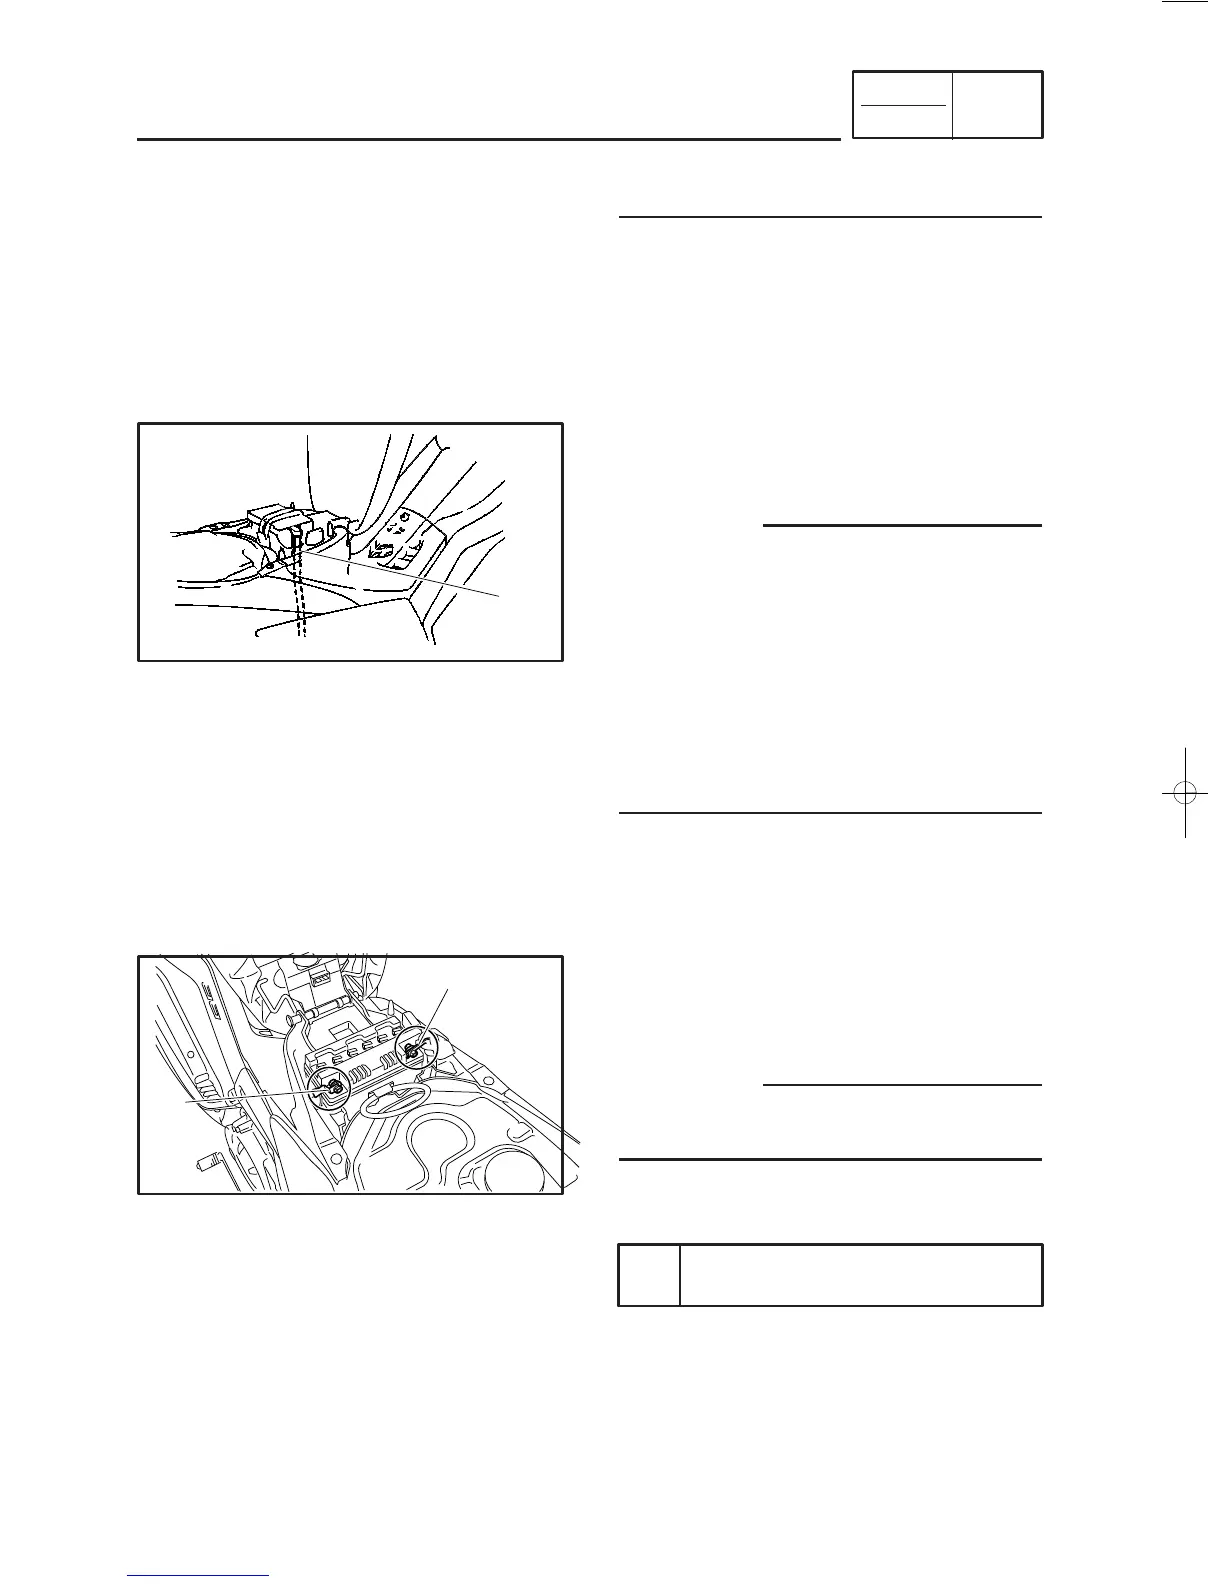
battery breather hose and battery vent
Obstruction
→
Clean.
Damage
→
Replace.
10. Install:
9
battery
CHECKING AND CHARGING THE BATTERY
13. Connect:
9
battery leads
(to the battery terminals)
cC
First, connect the positive battery lead
1
,
and then the negative battery lead
2
.
14. Lubricate:
9
battery terminals
15. Install:
9
battery band
Recommended lubricant
Dielectric grease
11. Connect:
9
battery breather hose
1
cC
99
When checking the battery, make sure the
battery breather hose is properly installed
and routed correctly. If the battery breather
hose is positioned so as to allow elec-
trolyte or hydrogen gas from the battery to
contact the frame, the vehicle and its fin-
ish may be damaged.
99
Make sure the battery breather hose is
properly routed away from the drive chain
and from below the swingarm.
12. Check:
9
battery terminals
Dirt
→
Clean with a wire brush.
Loose connection
→
Connect properly.



 To Next Page