2. Preparations before use
2-1. Assembling the instrument
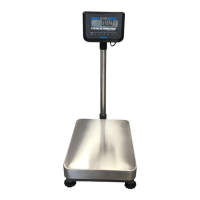
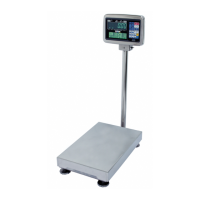
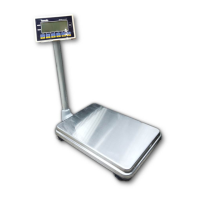
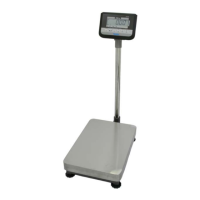
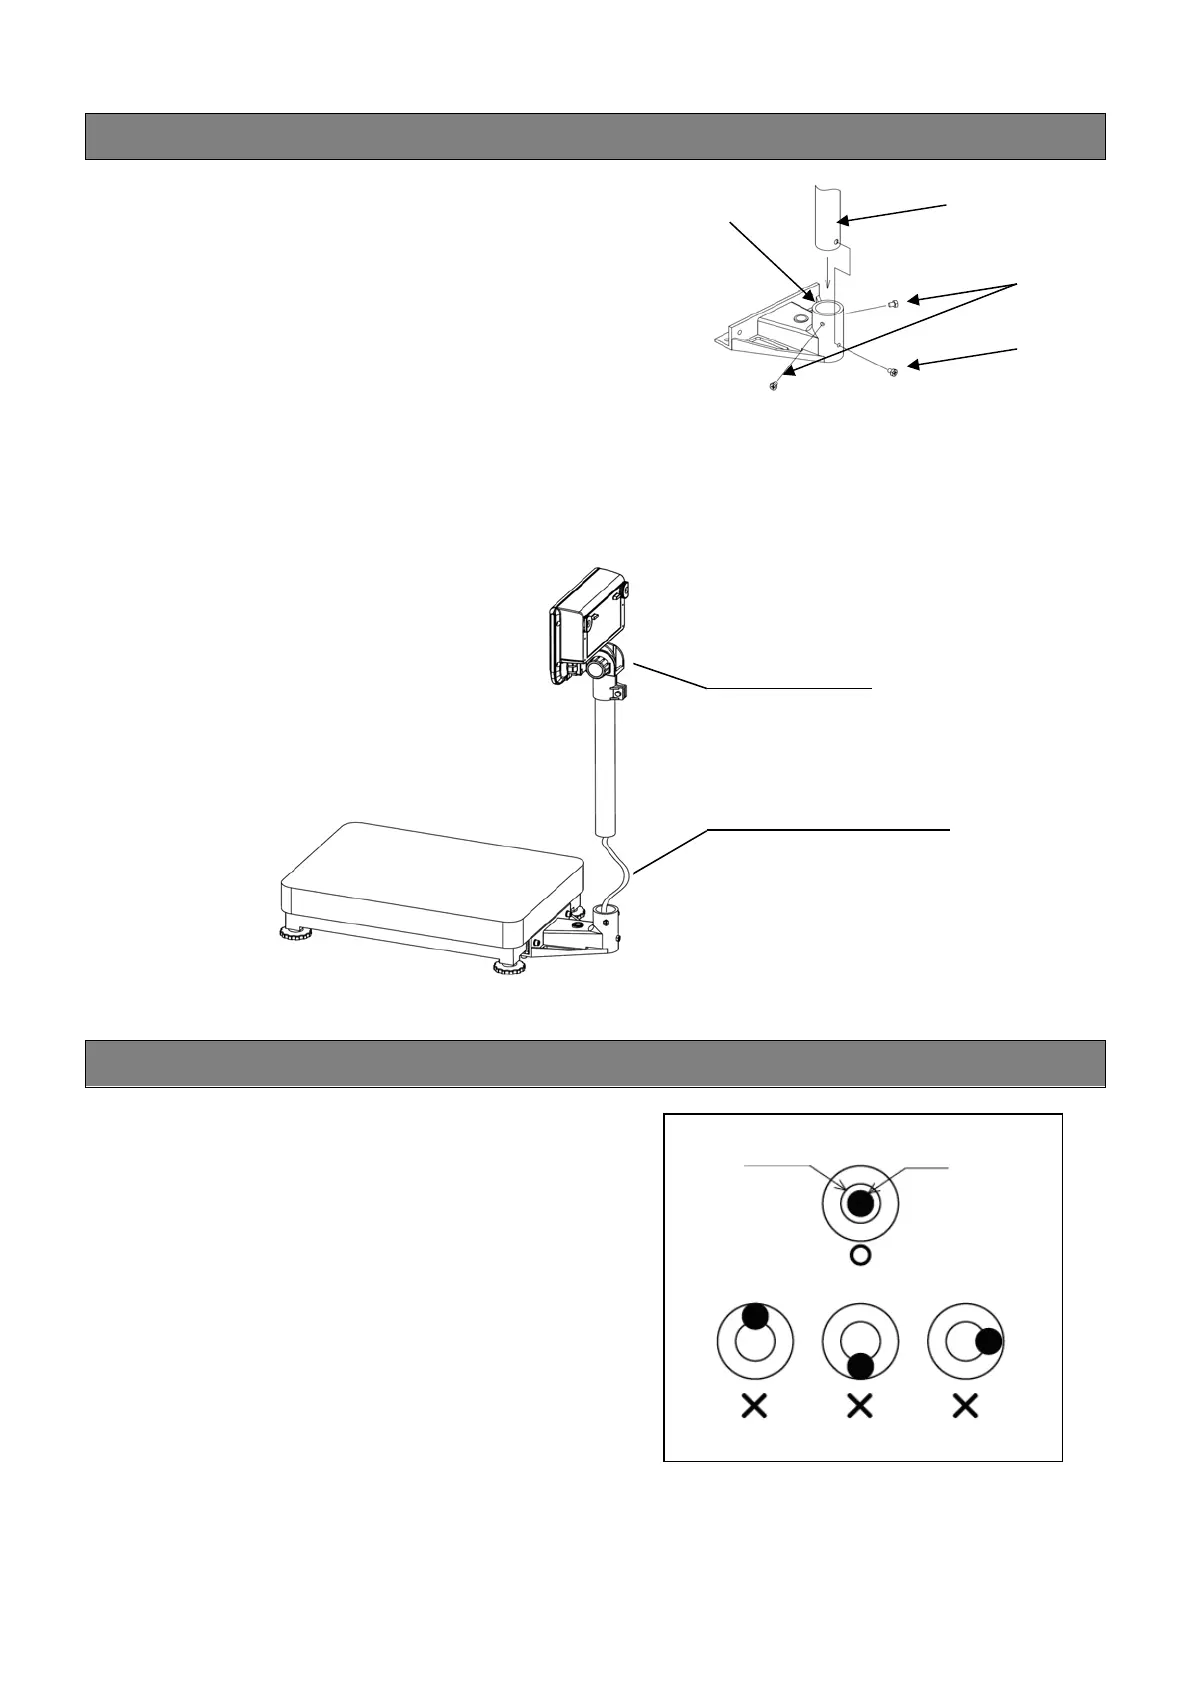
(How to attach the pole)
1. Insert the pole into the pole bracket .
2. Align the hole for the screw with the hole on the pole ,
and insert and tighten the screw.
3. Set and tighten the screws to fix the pole in place.
(Cautions in assembling the instrument)
While pulling the cable up from the upper part of the pole to take up the slack in the cable at the pole
insertion point, carefully insert the pole into the pole bracket so that you do not damage the cable.
2-2. Place of installation
Be sure to install the instrument horizontally. Otherwise,
the measurement results will become inaccurate. Placing
the instrument on a wobbly surface will also result in
inaccurate measurement.
[Note] Do not place the instrument on a slanted floor
(if the slant is too large to be adjusted).
On the underside of the instrument, there are leveling
legs for adjusting its levelness. Place the instrument on
as flat a surface as possible, and turn the leveling legs so
that the bubble in the spirit level is located at the center of
the reference circle. On adjustment, ensure that all the
leveling legs are in firm contact with the floor (the
instrument goes down when a leveling leg is turned
clockwise, and it goes up when a leg is turned
counterclockwise).
Reference circle
Bubble
(Level)
(Front side is low)
(Front side is high)
(Right side is high)
Insert the pole while taking
up the slack in the cable.
Pull the cable up from here.
 Loading...