9.3 SPEED7 Studio - Hardware configuration - CPU
For project engineering a thorough knowledge of the SPEED7 Studio is
required!
1. Start the SPEED7 Studio.
2. Create a new project in the Work area with ‘New project’ .
ð
A new project is created and the view ‘Devices and networking’ is shown.
3. Click in the Project tree at ‘Add new device ...’ .
ð
A dialog for device selection opens.
4. Select from the ‘Device templates’ your CPU and click at [OK].
ð
The CPU is inserted in ‘Devices and networking’ and the ‘Device configuration’
is opened.
Device configuration
Slot Module ... ... ... ...
0 CPU M13-CCF0000
-X2 MPI interface
-X3 PG_OP_Ethernet
... ... ...
9.4 SPEED7 Studio - Hardware configuration - Ethernet PG/OP channel
The CPU has an integrated Ethernet PG/OP channel. This channel allows you to pro-
gram and remote control your CPU.
n The Ethernet PG/OP channel (X3/X4) is designed as switch. This enables PG/OP
communication via the connections X3 and X4.
n The Ethernet PG/OP channel also gives you access to the internal web page that
contains information about firmware version, connected I/O devices, current cycle
times etc.
n At the first commissioning respectively after a factory reset the Ethernet PG/OP
channel has no IP address.
Precondition
Proceeding
Overview
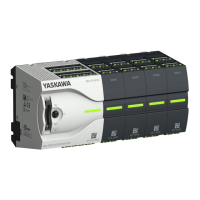
VIPA System MICRO
Configuration with VIPA SPEED7 Studio
SPEED7 Studio - Hardware configuration - Ethernet PG/OP channel
HB400 | CPU | M13-CCF0000 | en | 16-47 184
 Loading...