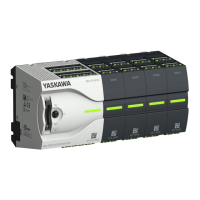
1 MPI programming cable
2 Activate the terminating resistor via switch
3 MPI network
1. Connect your PC to the MPI jack of your CPU via a MPI programming cable.
2. Switch-ON the power supply of your CPU and start the SPEED7 Studio with your
project.
3. Set at ‘Active PC interface’ the "Serial interface".
4.
Click in the ‘Project tree’ to your project and select ‘Context menu è Recompile
’.
ð
Your project will be translated and prepared for transmission.
5. T
o transfer the user program and hardware configuration click in the Project tree at
your CPU and select ‘Context menu è Transfer all’.
ð
A dialog window for project transfer opens
6. Select the ‘Port type’ "Serial interface" and start the transfer with ‘T
ransfer’ .
Proceeding transfer via
MPI
VIPA System MICRO
Configuration with VIPA SPEED7 Studio
SPEED7 Studio - Project transfer > Transfer via MPI
HB400 | CPU | M13-CCF0000 | en | 16-47 198

 Loading...