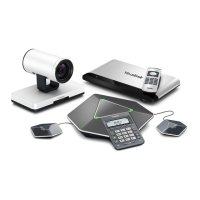
User Guide for the VC400 Video Conferencing System
112
In the secondary display device, the local video image is shown in full size.
Primary display device Secondary display device
When the system is during multiple active calls (take 4 parties as an example) and starts a
presentation.
In the primary display device, the video images are shown in the same size.
In the secondary display device, the presentation is shown in full size.
Primary display device Secondary display device
To specify the display content on the secondary display device via the remote control:
1. Press the More soft key during an active call.
2. Select Focus (Display2), and then press .
3. Press or to select the desired content, and then press .
The secondary display device displays the selected content. The icon is displayed on
the focus content.
After reassigning the display content on the secondary display device, the presentation will
automatically be displayed on the primary display device.
Controlling the Camera
Before placing a video call, you need to be familiar with how to adjust the angle and focus of the
camera. After any adjustment, you can long press numeric key (0-9) to associate the position of
the camera with this key.
Adjusting the Camera
Avoid physically adjusting the camera to prevent damaging it. Always use the remote control to
control the camera.

 Loading...