5-2
To do… Use the command… Remarks
Configure the authorization
attributes for the local user
authorization-attribute level
level
Optional
By default, no authorization
attribute is configured for a
local user.
Specify the service types for
the local user
service-type telnet
Optional
By default, no service is
authorized to a user.
Displaying Web Users
After the above configurations, execute the display command in any view to display the information
about Web users, and thus to verify the configuration effect.
Table 5-2 Display information about Web users
To do… Use the command…
Display information about Web users display web users
Configuration Example
Step 1: Log in to the switch through the console port and assign an IP address to the management
VLAN interface of the switch. By default, VLAN 1 is the management VLAN.
z Connect to the console port. Refer to section Setting Up the Connection to the Console Port.
z Execute the following commands in the terminal window to assign an IP address to the
management VLAN interface of the switch.
# Configure the IP address of the management VLAN interface to be 10.153.17.82 with the mask
255.255.255.0.
<Sysname> system-view
[Sysname] interface vlan-interface 1
[Sysname-Vlan-interface1] ip address 10.153.17.82 255.255.255.0
Step 2: Configure the user name and the password for the Web-based network management system.
# Configure the user name to be admin.
[Sysname] local-user admin
# Set the password to admin.
[Sysname-luser-admin] password simple admin
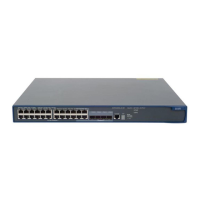
Step 3: Establish an HTTP connection between your PC and the switch, as shown in the following
figure.
Figure 5-1 Establish an HTTP connection between your PC and the switch
 Loading...
