28
Clickon“Import”andselectacreationle;your3Dprintwill
appear on the print pad.
Clickon“Heal”toxyourcreation.
OrientyourcreationontheprintpadinX,Y,Zaxis.
Rotate X- turns your creation front to back and back to front.
Rotate Y- turns your creation right to left and left to right.
RotateZ-turnsyourcreationinacircularmotion.
Translate X- moves the creation from side to side on the
build pad.
Translate Y- moves the created front to back.
Scale- increase or decrease your creation.
NOTE: Reset the dials and slides to zero to restore the part
to its original postion.
Center your creation on the print pad by clicking on the
“Center” icon. If multiple items are loaded, the center func-
tion will auto-position all items. Any positioning changes
you made previously may be lost.
Clickon”Build”tocreatetheCubeleforyourcreation.
Anychangesthatyoumadetoyourcreationlewillbe
saved.
Oncetheleiscreated,supportstructureswillbeginto
generate and the slicing process will begin to prepare
your creation to print.
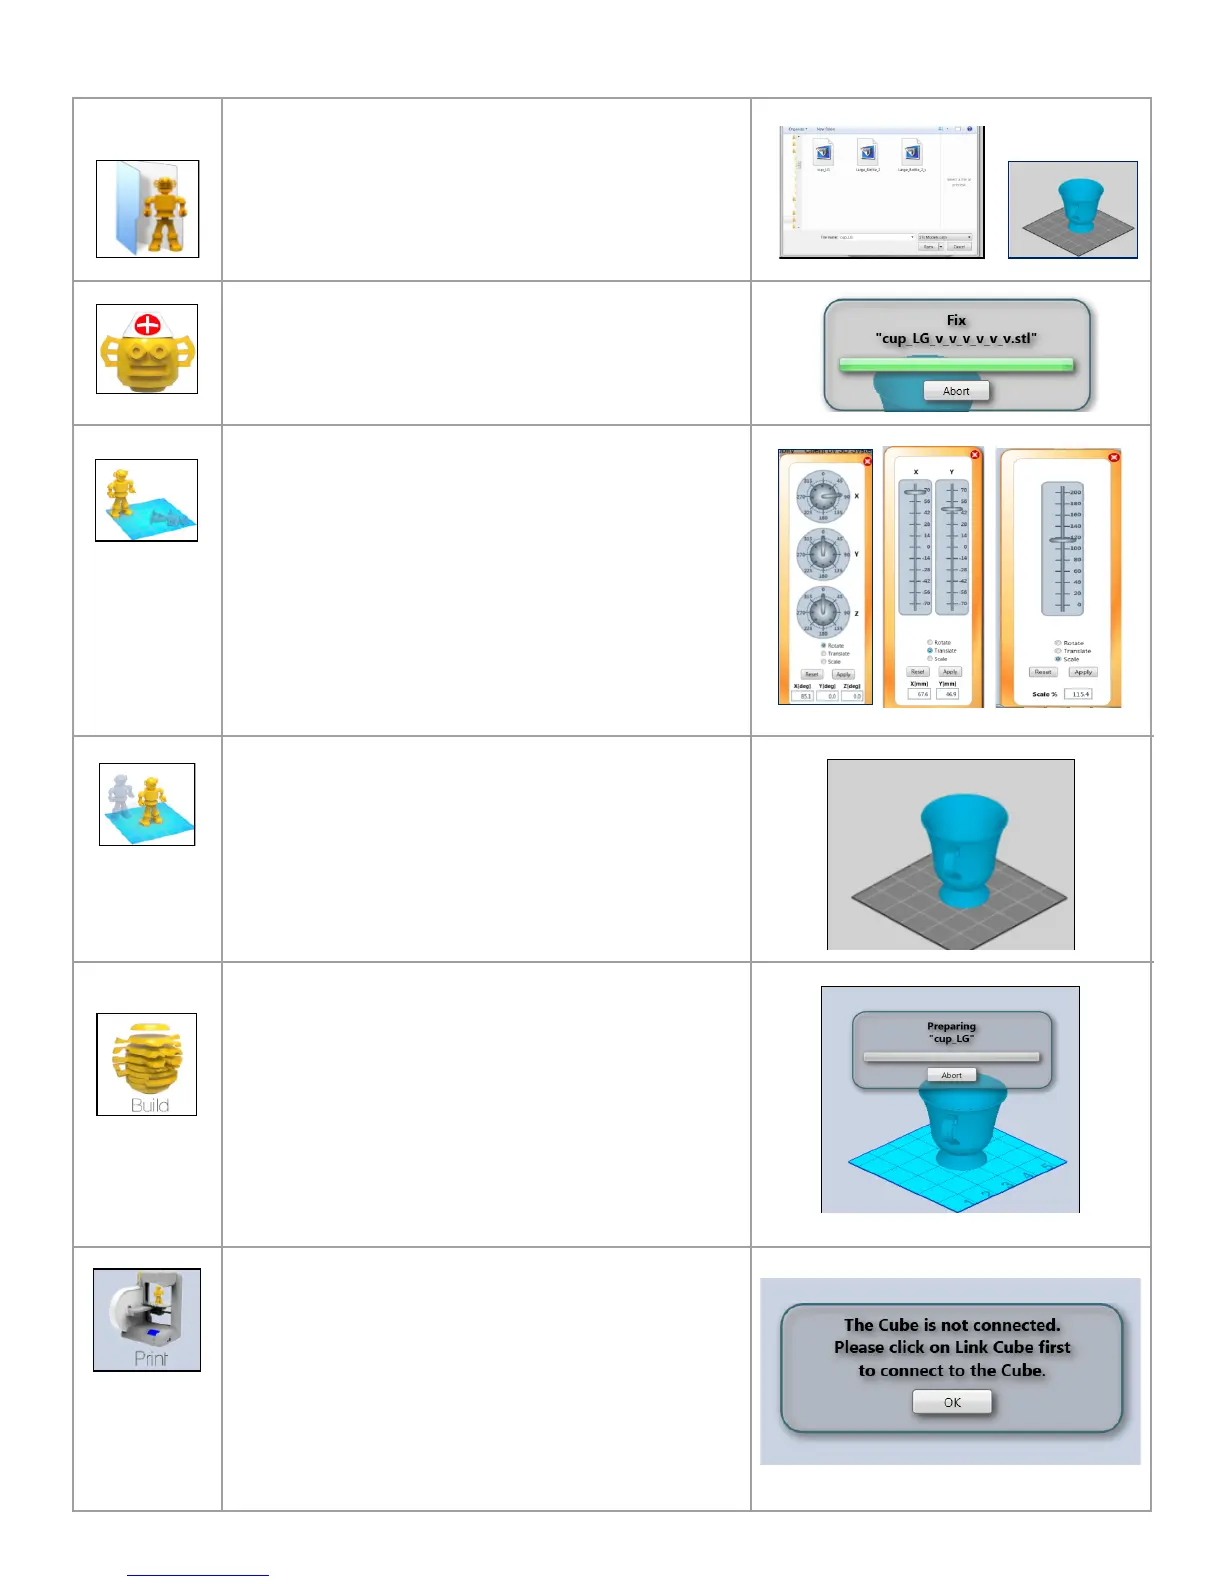
Click on “Print” to transfer your creation to the Cube.
The two methods of sending your creation to print are:
Set up Ad hoc or WPS WI-FI modes
USB memory stick connected to your computer for
downloading your creation for print. (See Cube 2nd
Generation Quick Start Guide for more details.)