10 78-9000-5020-0 Rev C
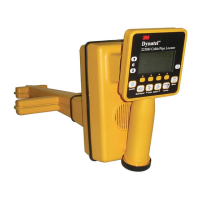
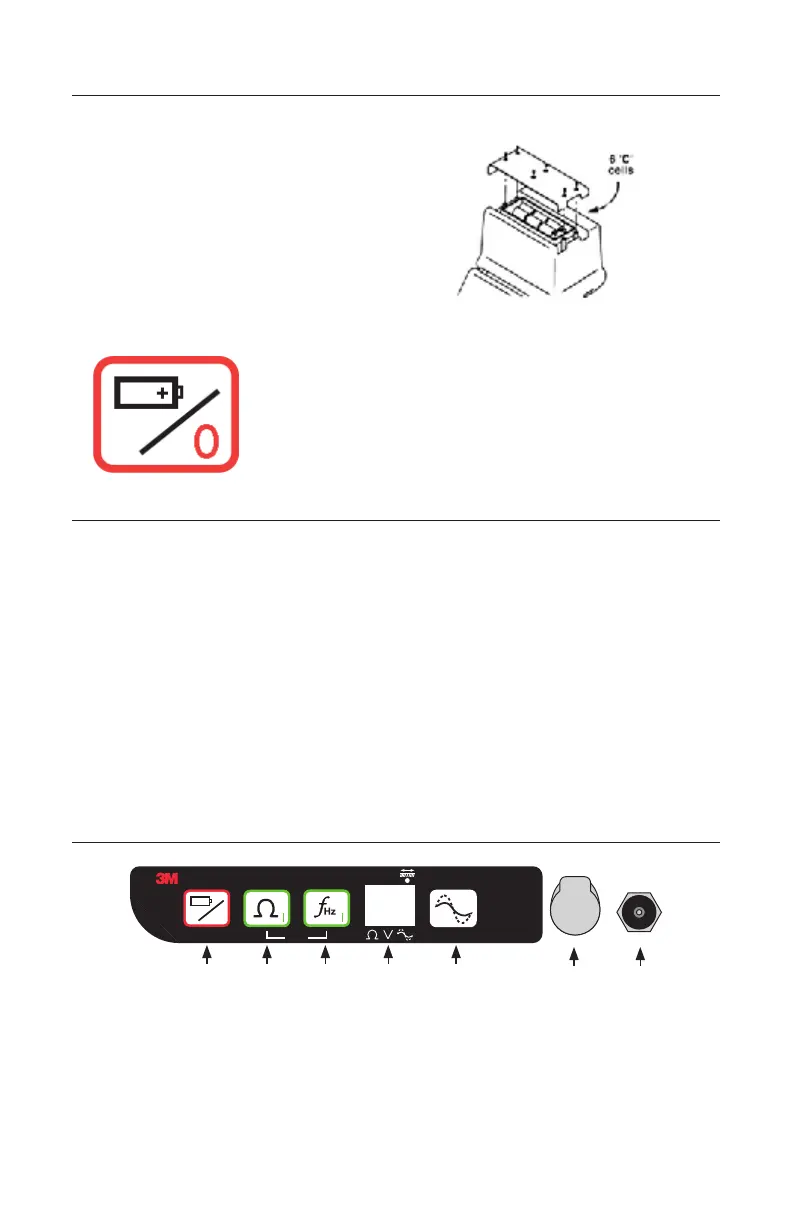
D. Transmitter Battery Installation
1. Loosen the six screws on the
battery compartment cover on the
bottom of the transmitter. Remove
the cover.
2. Install six ‘C’ cell batteries (LR14)
into the compartment as indicated
by the polarity symbols (+ and – ).
3. Replace the cover and tighten the
screws.
Press and hold OFF to manually test the batteries. The
display and audio will indicate one of the following levels:
(OK w/solid tone = good; LO w/beeping tone = low; "--" w/
no tone = replace)
E. 3M™ Rechargeable 12V Battery 2200RB Information
The maintenance-free sealed lead (Pb)-acid 3M
™
Rechargeable 12V Battery 2200RB
can be used as an auxiliary battery in 3M
™
Dynatel
™
Locator 7500 Series 12 Watt
Transmitters. It plugs into the External Jack [T-7] and provides power for the transmitter.
When the rechargeable battery is plugged in, normal output, high output, and maximum
output are available. When the rechargeable battery is connected to the transmitter, the
alkaline batteries are bypassed. The rechargeable battery is a lead acid battery rated at
5.4 amp-hours and is equipped with a user replaceable fuse (5A/32V).
Note: The internal batteries must be at least 5.4 volts. Do not remove the alkaline
batteries from the transmitter when using the rechargeable battery. Rechargeable
battery, or cigarette lighter adapter cable, is required for maximum output level.
Rechargeable battery is installed in the well of the transmitter case.
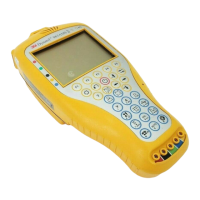
F. 3M
™
Dynatel
™
Locator 7550 Transmitter Keypad and Connector
Definitions
off
+
-
o
Frequency
on
on
Output Level
Dynatel
TM
7550
T-2 T-3 T-4 T-5 T-6 T-7
[T-1] off: Turns unit off and performs battery test.
[T-2] on - Ohm-meter: Turns the unit on and places the unit in Ohm-meter mode. This
measures the continuity of the trace conductor/pipe and its far-end ground.
[T-3] on - Frequency: Turns the unit on and places the unit in Trace mode.
Select Frequency: Press Frequency [T-3] repeatedly to cycle through the transmitter's
active frequencies. The selected frequency will be displayed [T-4].
 Loading...