Start up and use 21
Start up and use
This section describes how to install and start-up the drive using the basic control
panel.
Only limited information may be available in this manual. For detailed information of
all Menus and Sub menus, see the ACS-BP-S basic control panel user manual
(3AXD50000032527 [English]).
Before you start
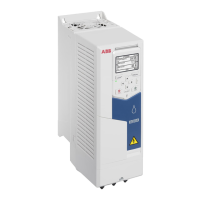
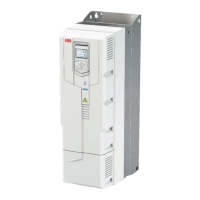
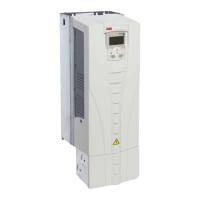
Make sure that the drive is installed as described in chapter EN - Quick installation
and start-up guide on page 3.
Using the control panel
1. Clip – Press the clip downward to remove
the panel from the drive.
2. Display – Shows the selected settings and
menus.
3. RJ-45 connector slot – Located on the back
side of the control panel.
4. Back button – Moves back to the previous
menus. In the Home screen, this button
navigates to the Options menu.
5. OK button – Confirms the selected action.
6. Status LEDs –
• Continuous green – Indicates that drive is
functioning normally.
• Blinking green – Indicates an active
warning in the drive.
• Continuous red – Indicates an active fault
in the drive.
7. Arrow buttons – Allows scrolling
up/down/left/right on text pages. In the
Home screen, the left and right arrow
buttons navigate to different (default or user-
defined) home screens.
8. Start button– Starts the drive.
9. Stop button – Stops the drive.
10. Loc/Rem button – Switches between
Local/Remote controls. Local control is
through control panel and Remote control is
through PC or external devices.
1
2
3
4
5
6
7
8
9
10
35.60
Hz
Loc
35.6 Hz
ACQ80R0-R8 QIG.book Page 21 Friday, February 1, 2019 1:18 PM

 Loading...