4 Repair
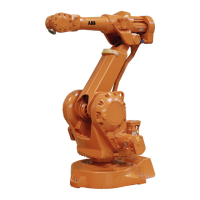
4.4.1. Replacement of complete upper arm
3HAC023637-001 Revision: B118
Removal, complete upper arm
The procedure below details how to remove the complete upper arm from the robot.
Lifting slings -
Standard toolkit The contents are defined
in section Standard toolkit
on page 194, in part 2 of
the Product manual.
Other tools and procedures
may be required. See
references to these
procedures in the step-by-
step instructions below.
These procedures include
references to the tools
required.
Equipment Spare part no. Art. no. Note
Action Note/Illustration
1. Move the upper arm to a horizontal position.
2.
DANGER!
Turn off all electric power, hydraulic and
pneumatic pressure supplies to the robot!
3. Remove the arm housing cover from the upper
arm.
Shown in the figure Location of upper
arm on page 117.
4. Disconnect all connectors inside the arm
housing and loosen the cabling from straps
and brackets.
The cabling and all connectors inside
the upper arm housing are shown in
the figure Illustration, cabling inside
upper arm housing on page 107.
5. Remove the VK-cover from the lower arm by
pushing it out from the inside.
Pull out the cabling from the arm housing.
Shown in the figure Location of upper
arm on page 117.
6. Secure the weight of the arm with lifting slings.
7.
CAUTION!
The complete upper arm weighs 34 kg without
any additional equipment fitted! Use a suitable
lifting device to avoid injury to personnel!
8. Remove the 10 attachment screws (A) and the
single washer (B).
xx0400001219
9. Remove the upper arm, lift it away and place it
securely.
Continued
Continues on next page
 Loading...
