4 Repair
4.6.3. Replacement of motor, axis 3
1553HAC023637-001 Revision: B
Removal, motor axis 3
The procedure below details how to remove the axis 3 motor.
Isopropanol - Used for cleaning the
mating surfaces.
Grease 3HAB 3537-1 Used for lubricating the o-
ring.
Rotation tool, motor 3HAC022266-003 For adjusting the gear
play.
Other tools and
procedures may be
required. See
references to these
procedures in the
step-by-step instruc-
tions below.
These procedures include
references to the tools
required.
Circuit diagram See chapter Circuit
diagram in the Product
manual, reference infor-
mation.
Equipment Spare part no. Art. no. Note
Action Note
1.
DANGER!
Turn off all electric power, hydraulic and pneumatic
pressure supplies to the robot!
2. Remove any additional mechanical stops from axis 3.
3. Move:
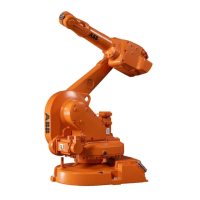
• axis 2 to calibration position
• upper arm backwards against the mechanical
stop.
This position enables removal of the motor without
draining of the gearbox, axis 3.
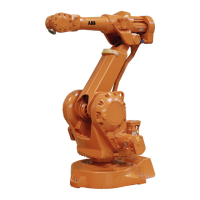
xx0500001447
4. Remove the upper arm housing cover. Shown in the figure Location of
motor on page 154.
5. Disconnect the motor connectors R3.MP3 and
R3.FB3.
Shown in the figure Location of
motor on page 154.
Continued
Continues on next page
 Loading...
