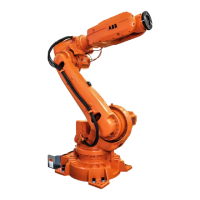
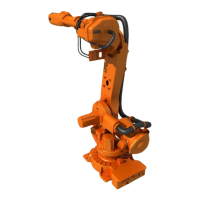
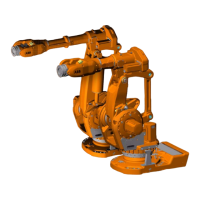
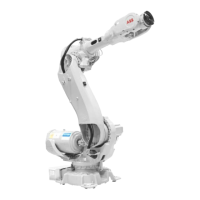
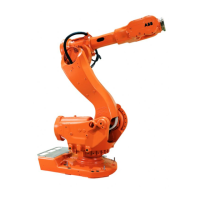
Refitting, motor
The procedure below details how to refit motor, axis 3.
NoteAction
DANGER
Turn off all:
• electric power supply to the robot
• hydraulic pressure supply to the robot
• air pressure supply to the robot
Before entering the robot working area.
1
Art no. is specified in Required
equipment on page 253.
Make sure the o-ring on the circumference of the
motor is seated properly. Lightly lubricate it with
grease.
2
Art no. is specified in Required
equipment on page 253.
Fit the lifting tool, motor axis 2, 3, 4 to the motor.3
Art no. is specified in Required
equipment on page 253.
Fit the two guide pins in the two lower motor at-
tachment holes.
4
Shown in the figure Location of mo-
tor on page 253
CAUTION
The motor weighs 25 kg! All lifting equipment
used must be sized accordingly!
5
Lift the motor and guide it onto the guide pins, as
close to the correct position as possible without
pushing the motor pinion into the gear.
6
Remove the lifting tool and allow the motor to stay
on the guide pins.
7
Connect to connector R2.MP3
• +: pin 2
• -: pin 5
In order to release the brake, connect the 24 VDC
power supply.
8
Continues on next page
Product manual - IRB 6620 257
3HAC027151-001 Revision: T
© Copyright 2006-2018 ABB. All rights reserved.
4 Repair
4.6.3 Replacement of motor, axis 3
Continued
 Loading...
