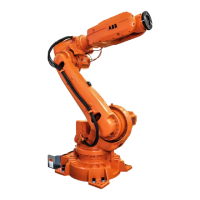
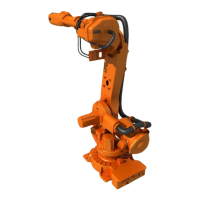
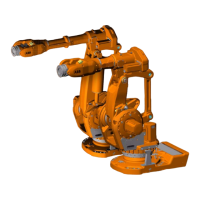
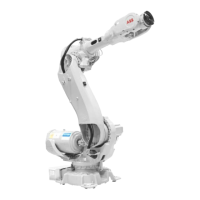
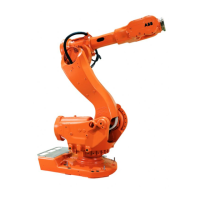
Removal, motor, axis 5
The procedure below details how to remove motor, axis 5.
NoteAction
Decide which calibration routine to use, and take
actions accordingly prior to beginning the repair
procedure.
1
Move the robot to a position where the upper arm
is parallel to the floor and the side of the wrist
unit, where motor axis 5 is placed, is facing up.
2
DANGER
Turn off all:
• electric power supply to the robot
• hydraulic pressure supply to the robot
• air pressure supply to the robot
Before entering the robot working area.
3
xx1400002580
Remove the cover on the wrist unit by removing
its attachment screws.
Note
Make sure not to lose the washers placed in the
holes of the foundry gasket.
4
Shown in the figure in section Loca-
tion of motor on page 265.
Remove the metal clamp securing the cable har-
ness.
5
Shown in the figure in section Loca-
tion of motor on page 265.
Remove the cable gland cover at the cable exit
by unscrewing its two attachment screws.
6
Remove the cover on top of the motor by unscrew-
ing its four attachment screws.
7
Disconnect all connectors beneath the motor
cover and remove the cable of the axis-5 motor.
8
Shown in the figure in the section
Location of motor on page 265.
Pull the cable harness out of the upper arm a
little, far enough to make room for removal of the
motor.
9
Connect to:In order to release the brake, connect the 24 VDC
power supply.
10
- connector R2.MP5 (in the motor):
• + : pin 2
• -: pin 5
Remove the motor by unscrewing its four attach-
ment screws and plain washers.
11
Art. no. is specified in Required
equipment on page 265.
Fit the two guide pins in two of the motor attach-
ment screw holes.
12
Continues on next page
Product manual - IRB 6620 267
3HAC027151-001 Revision: T
© Copyright 2006-2018 ABB. All rights reserved.
4 Repair
4.6.5 Replacement of motor, axis 5 , IRB 6620/6620LX
Continued
 Loading...
