7 Repair
7.17 Replacement of Brake Resistor Bleeders
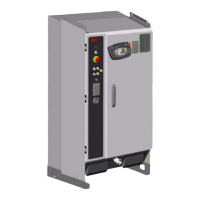
162 3HNA009834-001 en Rev.06 Product Manual, Control Cabinet IRC5P
3. Locate bleeder (82/1) to be replaced through hole (82/2) left by removed fan
unit (normally, only bleeder 1 is used).
4. Remove rectifier unit (to replace bleeder 1) as described in ’Replacement of
Drive System 09 Components’ on page 155. You may also need to remove
drive unit pack below rectifier to get access to all bleeder attachment screws.
5. Disconnect electrical connection (82/4) for bleeder. The connector is located on
the front side of the cabinet back wall.
6. Remove wires from connector using a pin extraction tool or a small
screwdriver.
7. Pull wires through hole in cabinet back wall.
8. Loosen bleeder attachment screws (82/3) a little.
9. Lift bleeder up and out.
10. Remove bleeder.
Refitting The procedure describes how to re-install the brake resistor bleeders.
WARNING! Refitting activities must only be performed when controller is switched
‘off’ and all safety precautions under ‘Removal’ have been read.
1. Slide new bleeder into position in the attachment screw holes.
2. Tighten attachment screws.
3. Route wires through hole in cabinet back wall.
4. Insert wires into connector.
5. Reconnect connector.
6. Re-install rectifier unit (and possibly drive units) as described in ’Replacement
of Drive System 09 Components’ on page 155.
7. Re-install fan unit as described in ’Replacement of Servo Fan Unit’ on page
159.