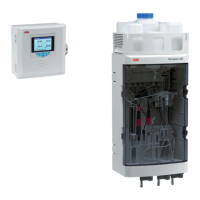
2101510MNAH | NGC8200 AND PGC1000 USER MANUAL | 83
9. Reset the analyzer by pressing the Reset button located on the termination panel housed in the
rear of the enclosure.
WARNING – Bodily injury. Do not open or remove covers unless the area, including the
internal volume of the enclosure, is known to be non-hazardous.
IMPORTANT NOTE: If using DHCP, the analyzer obtains the IP parameters from a DHCP server.
After reset, these parameters should display in the Network tab automatically. Take note of the IP
address assigned. The IP address is used to verify network connection.
8.5 Verify network connection
After enabling and updating the Ethernet configuration, verify network connectivity. If the
configuration is correct, you should be able to ping the analyzer’s IP address and receive a response
or be able to establish a connection using PCCU.
To verify connection over the network using PCCU:
1. Connect the analyzer Ethernet port to the local network switch or router.
2. Configure the laptop with valid IP address compatible with the IP address assigned to the
analyzer.
3. Connect the laptop to the local network switch or router.
4. Launch or restart PCCU32.
5. Click Setup on the PCCU32 toolbar.
Figure 8-6: PCCU32 Setup
6. On the Setup tab, select TCP/IP as the PCCU Connect Method (Figure 8-7).
7. In the Network ID or IP field, type the analyzer’s IP address.
Figure 8-7: PCCU32 TCP/IP connection setup
8. Click Close to exit connection setup and return to main the PCCU screen.