Chapter 2, Installing the Accu-Chek Smart Pix system
2-2
Accu-Chek Smart Pix user's manual
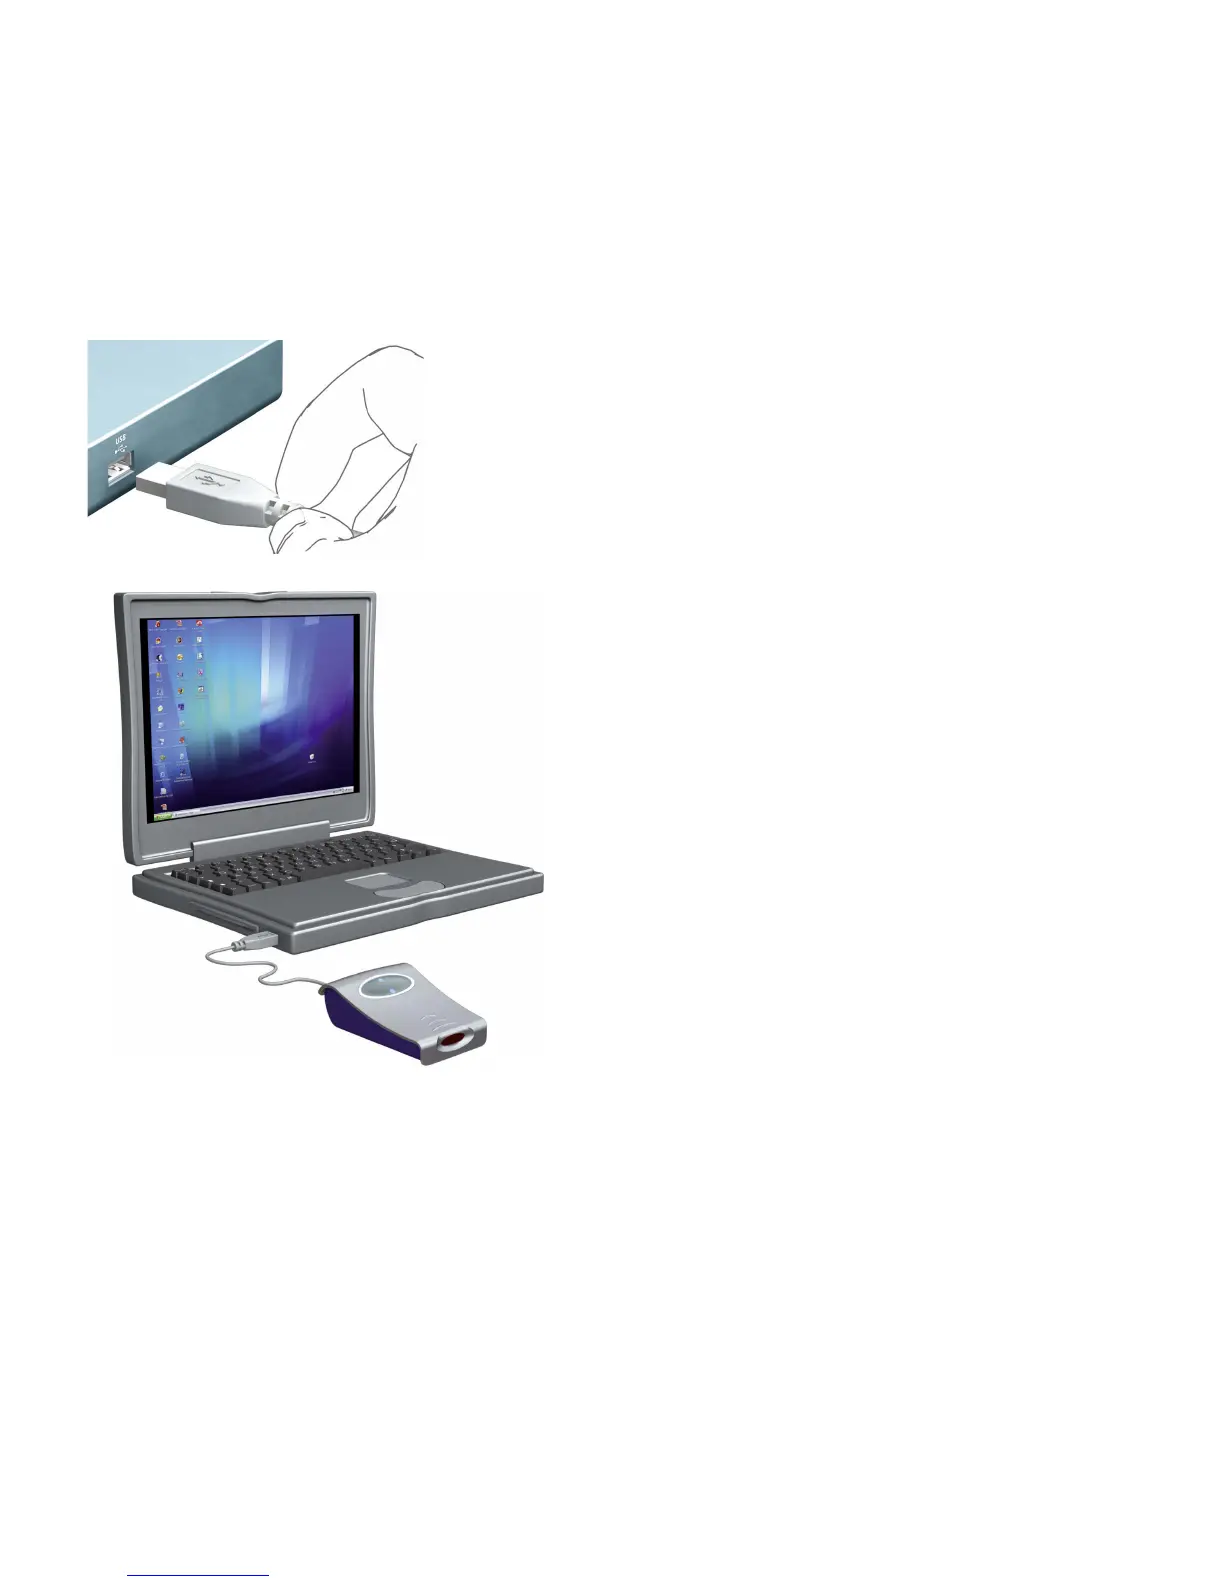
2.2 Connecting the Accu-Chek Smart Pix device
Plug the USB connector of the Accu-Chek Smart Pix device
into a free USB socket on your computer. When you do this,
it does not matter whether the computer is switched on or
off. The Accu-Chek Smart Pix device is supplied with
electricity via this connection, therefore it does not require
any batteries or power pack.
When you have plugged in the Accu-Chek Smart Pix device
and, if necessary, switched on the computer, the centre of
the status indicator and the dots on the left and right are lit.
At the same time, the Accu-Chek Smart Pix system is
recognised by the computer as a removable disk (similar to
a USB memory stick). Then the dots at the top and bottom of
the status indicator start flashing slowly. The Accu-Chek
Smart Pix system is now ready to read data from a device.
 Loading...