INSTRUMENT SETTINGS - 8
VerifyNow System User Manual Page 71 14340.J
8 Instrument Settings
This section describes the instrument configuration and procedures to change a
setting. Refer to Table 8-1 for information:
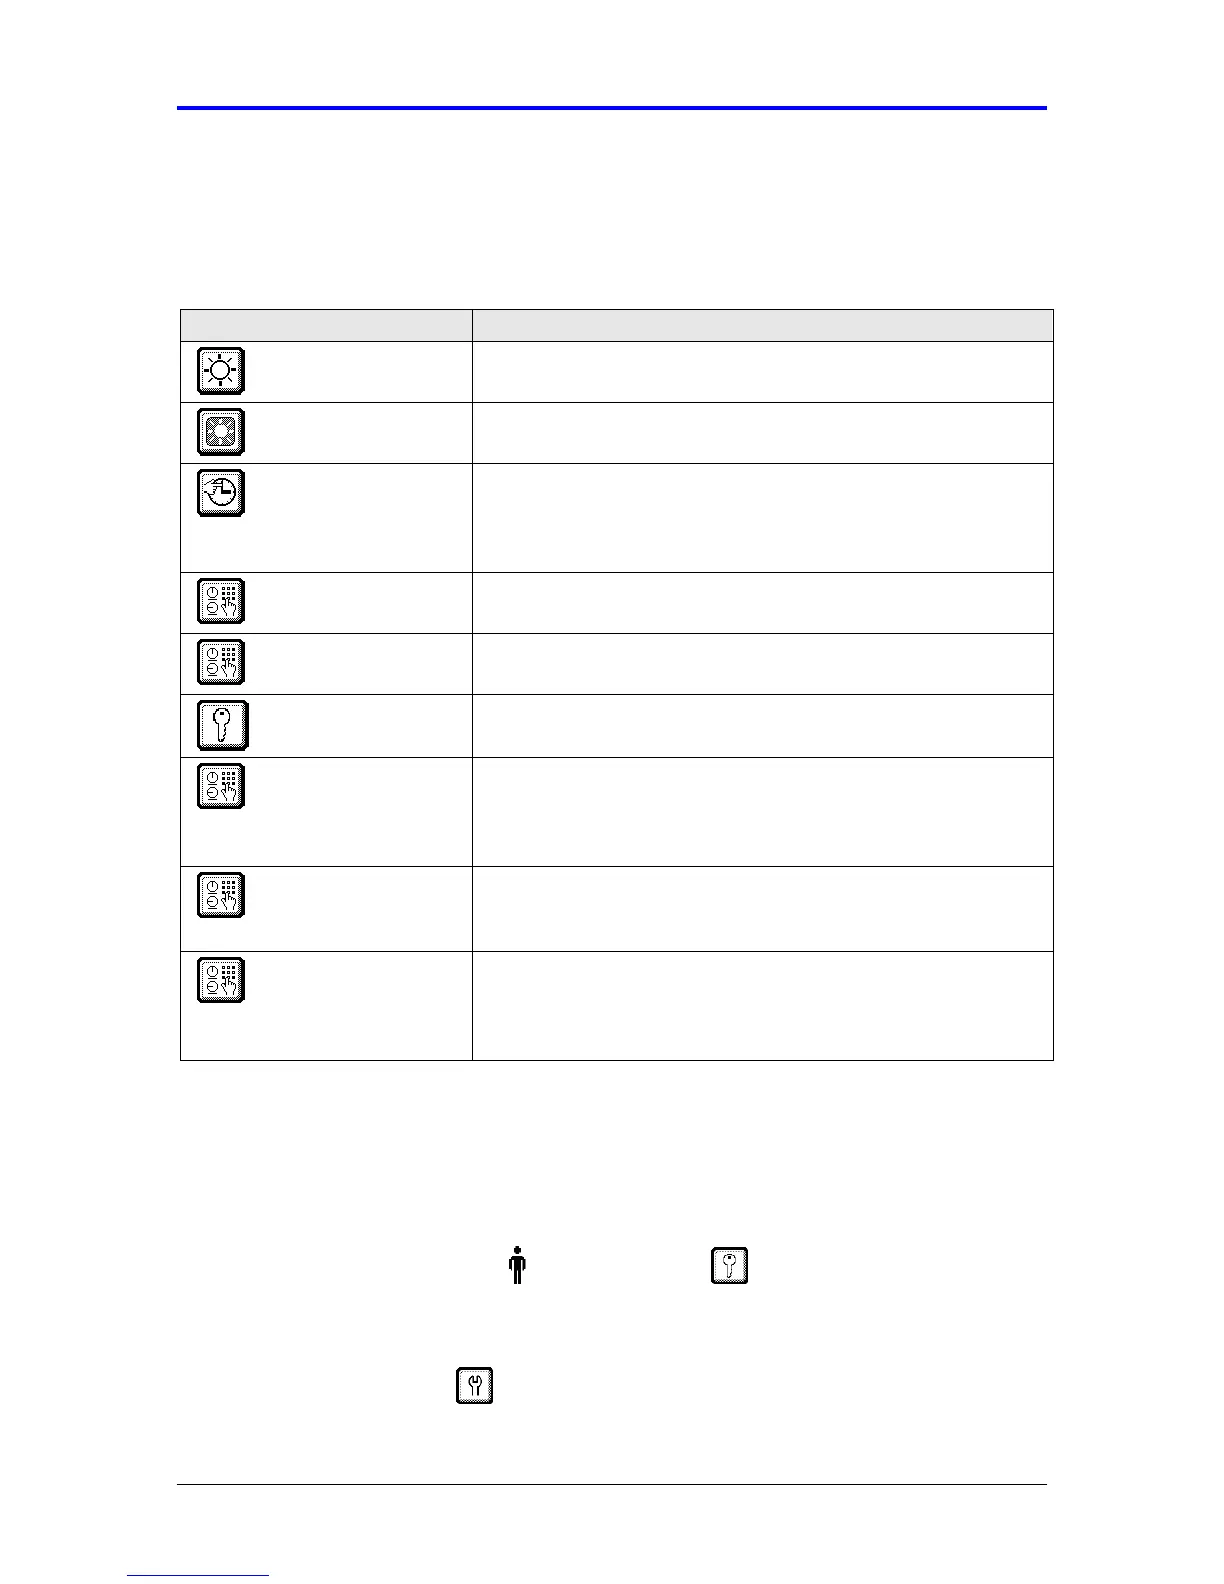
Table 8-1 Instrument Settings
Setting Description
Adjust contrast This setting adjusts the contrast level for viewing the display.
Refer to Section 8.1.
Adjust display
backlight
This setting toggles the backlight level for viewing the display.
Refer to Section 8.2.
Set date and time The date and time is initially configured during installation.
However, this setting will need to be adjusted during a leap year
and twice annually for Daylight Savings Time. Refer to Section
8.3.
Set time out length This setting specifies the length of time the instrument waits
before the display automatically changes. Refer to Section 8.4.
Enable patient ID The instrument supports patient identification (ID) for each
patient sample. Refer to Section 8.5.
Set operator ID and
password
The instrument supports controlled user access using operator
identification and passwords. Refer to Section 8.6.
Set EQC frequency Electronic Quality Control (EQC) is the primary quality control
mechanism for the instrument. This setting specifies the
frequency at which the instrument will require an EQC test to be
performed. Refer to Section 8.7.
Enable printer The VerifyNow printer is an optional accessory. To enable the
printer, the software must be configured to support it. Refer to
Section 8.8.
Enable network The VerifyNow network integration package is an optional
accessory. To enable the VerifyNow instrument to transfer data,
the network feature must be switched on and the baud rate for
data transfer set. Refer to Section 9.9.
8.1 Adjust Contrast
The contrast can be adjusted to improve visibility of the screen - depending on the
ambient lighting in the room where the VerifyNow instrument is located.
1.
From the main menu, enter Operator ID and Password, if required. Use
the keypad to enter the Operator ID number at the prompt. Press the Tab key to
advance to the Password prompt to enter the password number.
2.
Press the Maintenance key.