PATIENT TESTING - 6
VerifyNow System User Manual Page 47 14340.J
Samples should be handled according to your institution’s policies and procedures
pertaining to biohazardous materials.
6.4 Performing an Assay
Materials
You will need the following materials:
• 1 Assay device
• 1 Sample tube
NOTE: Assay device should remain sealed in the foil pouch until ready for use to
prevent damage by humidity.
NOTE: Do not use assay devices or WQC materials beyond the expiration date.
Procedure
1.
Locate one assay device and the sample tube. If assay device is refrigerated,
allow it to reach room temperature (18-25ºC or 64 -77ºF) prior to use. Do not
remove the assay device from the foil pouch during this step.
2.
Power on the instrument using the power switch on the back panel (“I” designates
on). The instrument will power on and perform a self-testing routine lasting
approximately 30 seconds. After the self-testing is complete, the Start screen will
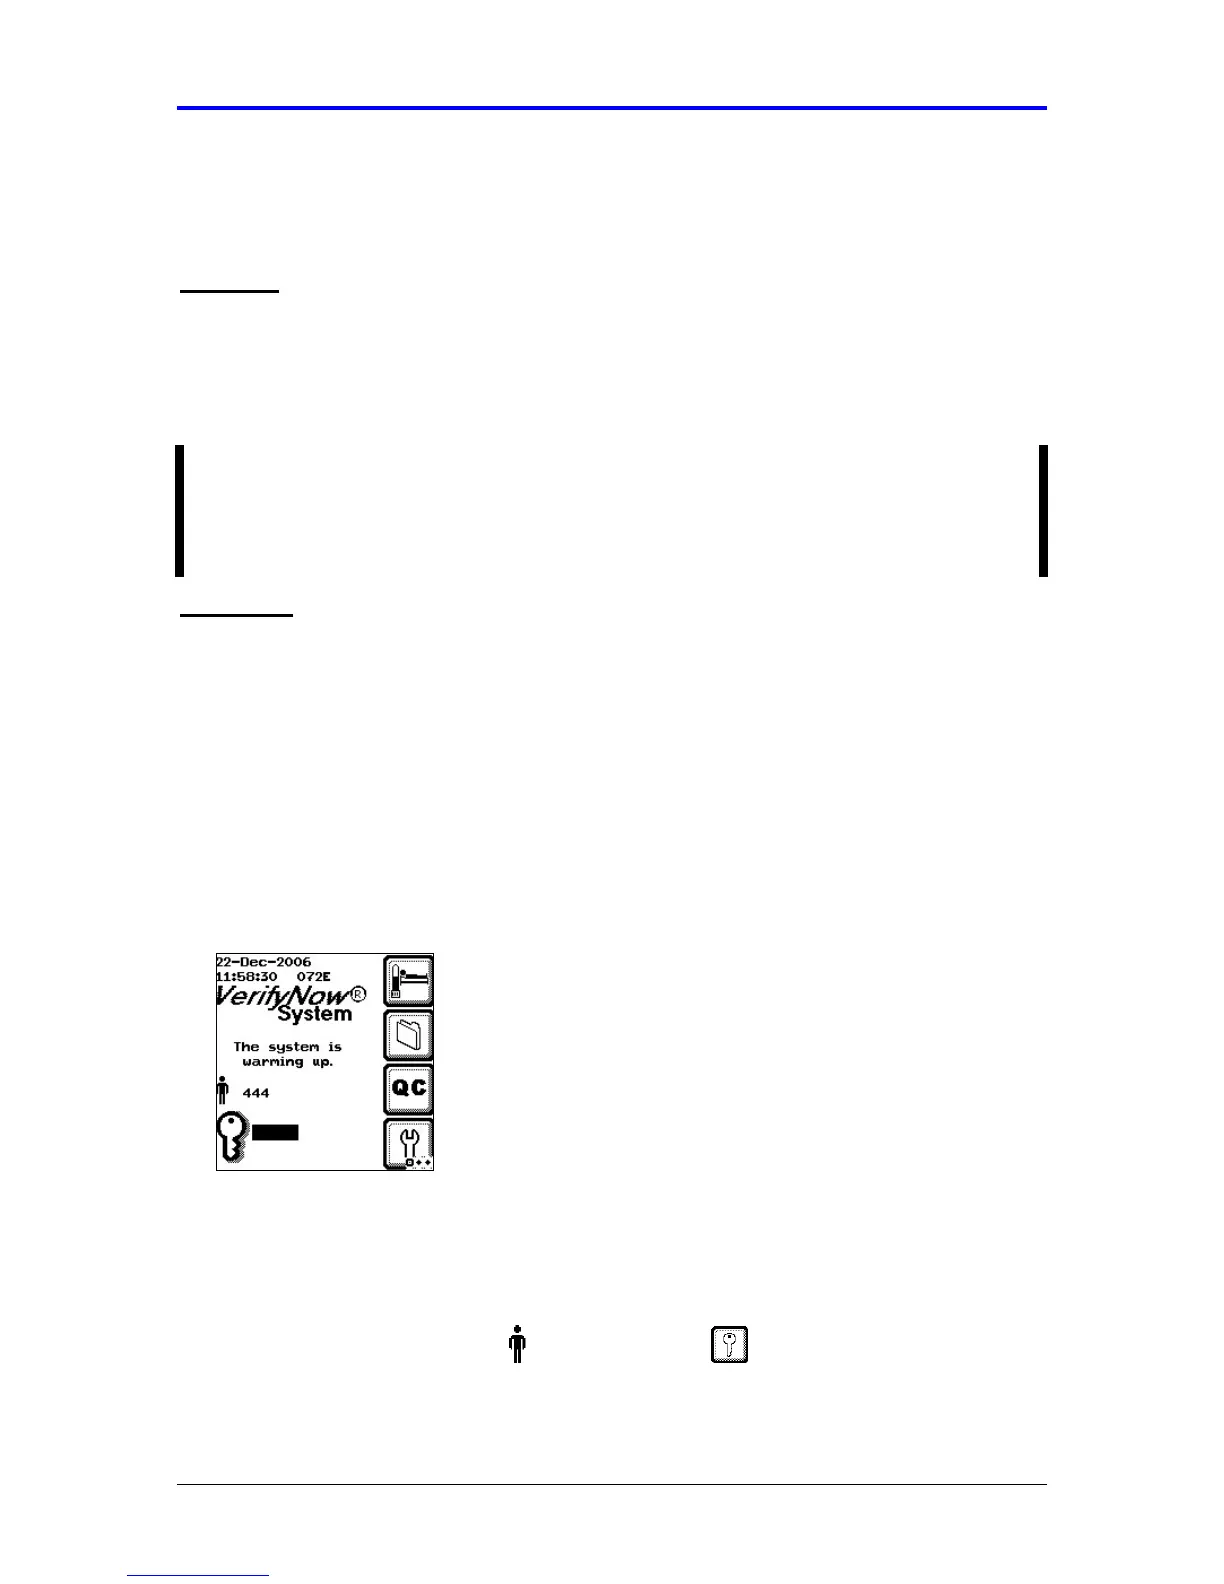
display. Press the Next key to advance to the Main Menu (Figure 6-3). The
instrument should be allowed to warm-up for at least 15 minutes prior to use.
Figure 6-3 Main Menu
A flashing message will display while the instrument is initially warming up.
During this time the icon keys are inactive and you will be unable to start an
assay. You will not be able to go to the next step until after the warm up message
no longer displays.
3.
From the main menu, enter Operator ID and Password, if required. Use
the keypad to enter the Operator ID number at the prompt. Press the Tab key to
advance to the Password prompt to enter the password number.