INSTRUMENT SETTINGS - 8
VerifyNow System User Manual Page 81 14340.J
1.
From the main menu, enter Operator ID and Password, if required. Use
the keypad to enter the Operator ID number at the prompt. Press the Tab key to
advance to the Password prompt to enter the password number.
2.
Press the Maintenance key.
3.
Press the Parameter key. Refer to the Appendix for information on navigating
within the Maintenance section.
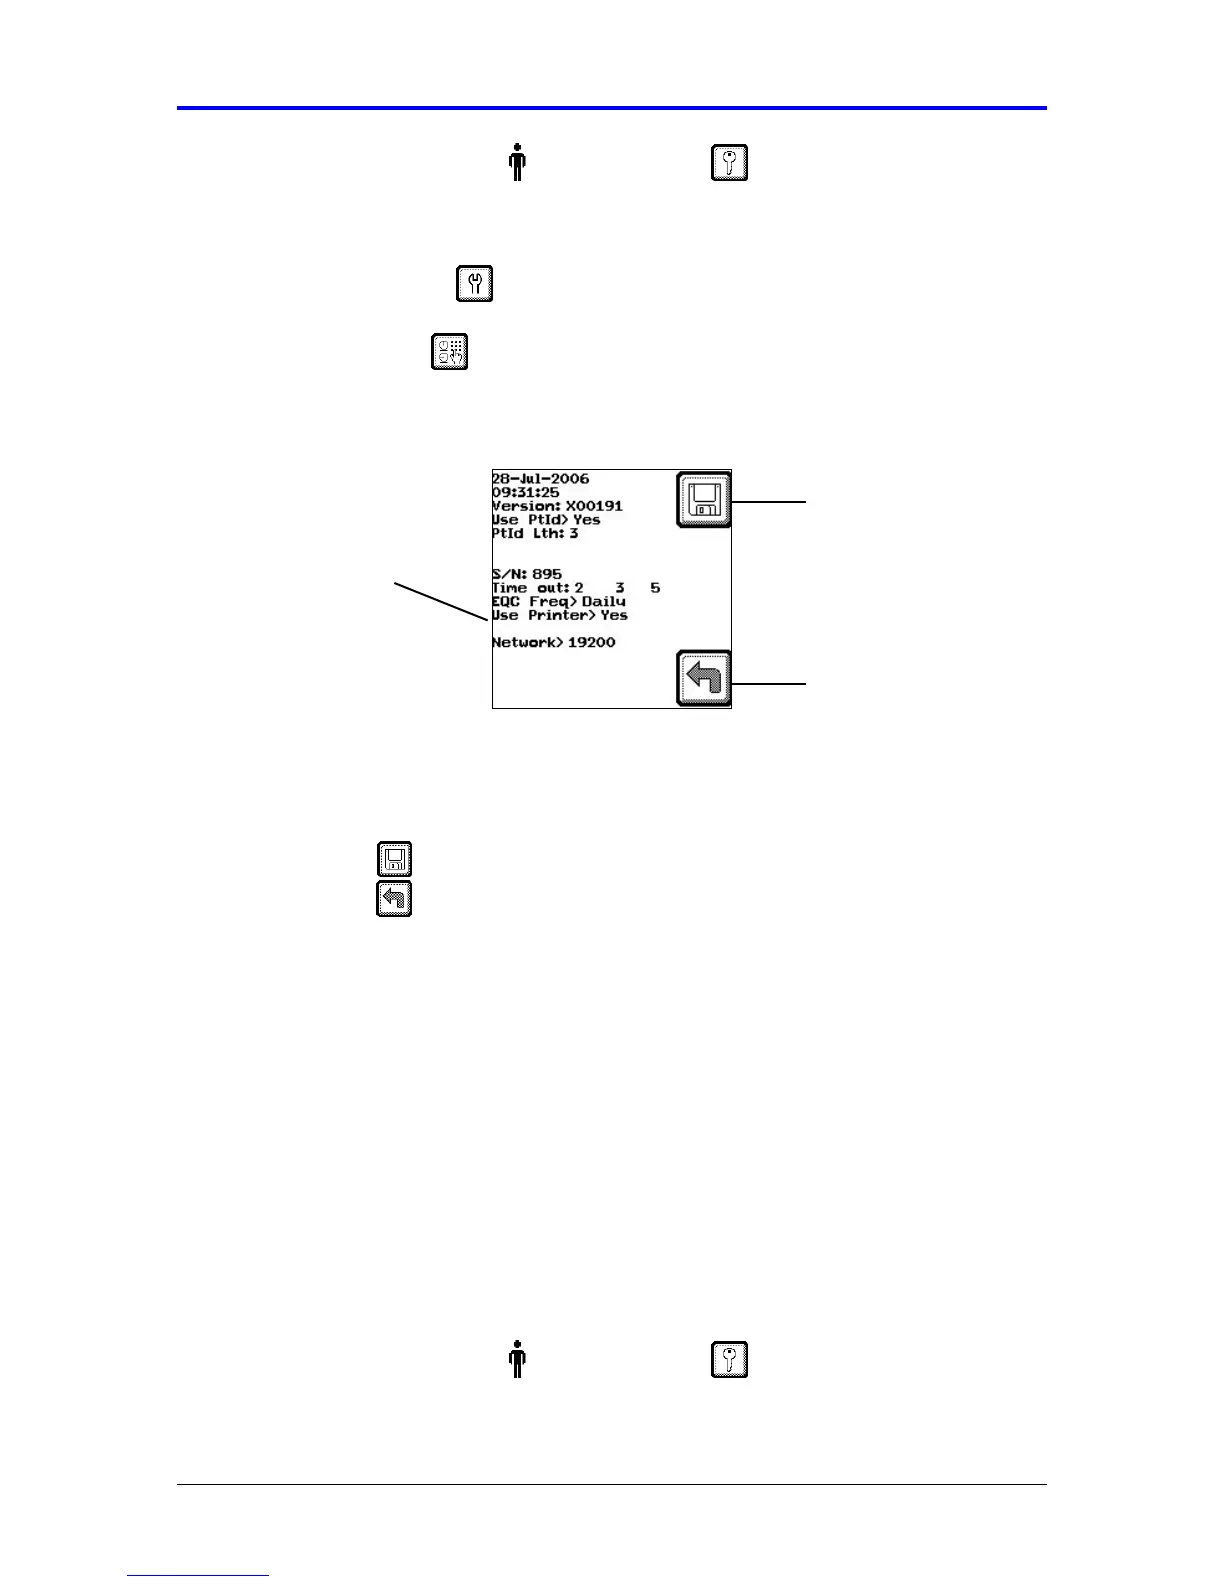
Figure 8-8 Printer Setting
4.
Press the Tab key 7 times to advance the cursor to the Printer setting. At the Use
Printer prompt, press either the (←
←←
←) or (→
→→
→) key to toggle the setting between Yes
and No.
5.
Press the Save key to keep the setting and return to the Maintenance menu.
Press the Back key twice to return to the Main Menu without saving the
changes.
8.9 Enable Network
The VerifyNow network integration package is an optional accessory. This software
package enables an operator to transfer a data file from the instrument to a computer
connected to the network. The data file contains all assay results, WQC and EQC
results, and error reports stored in the instrument’s memory. Contact Customer
Support for more information.
To enable the VerifyNow instrument to transfer data, the network feature must be
switched on and the baud rate for data transfer set. Use the following procedure to
configured the instrument to support network integration:
1.
From the main menu, enter Operator ID and Password, if required. Use
the keypad to enter the Operator ID number at the prompt. Press the Tab key to
advance to the Password prompt to enter the password number.
Printer Setting
Back
Save Setting