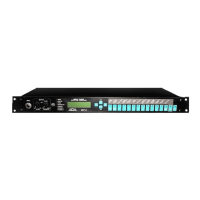
Page 15
Inputs Labels
To navigate to the LABELS/AV setup feature, turn
the Mode knob until the cursor is ashing on S
in SETUP and then press the Mode knob. The
rst option will be the LABELS/AV option and the
L in LABELS/AV will already by lit by the cursor.
Press the Mode knob again. Note that these
pages also feature an arrow pointing left next to
the letter P (Previous page). If you wish to return
to the prior screen, navigate the cursor using the
Mode knob until it rests on this arrow and press
the Mode knob. Doing the same on the letter M
exits setup.
The Suite 7.1 HD features 20 input labels or
virtual inputs. The Factory Default features 20
input labels. Features discussed in this section
include:
FINAL INPUT - Lowering the number of visible
inputs that are displayed as you turn the input
knob. Please note the PC program does this
elsewhere.
LABEL - Customizing the name of the input.
AUDIO - Linking the rear panel audio jack.
VIDEO - Linking the rear panel HDMI jack.
N - Setting up Input Presets
LOAD - Loading the settings. While most func-
tions take place in real time with the Suite 7.1
HD, this set of functions do not and must be
loaded (the nal step).
While the I in INPUT is underlined, turning the
Mode knob advances through other Input Labels.
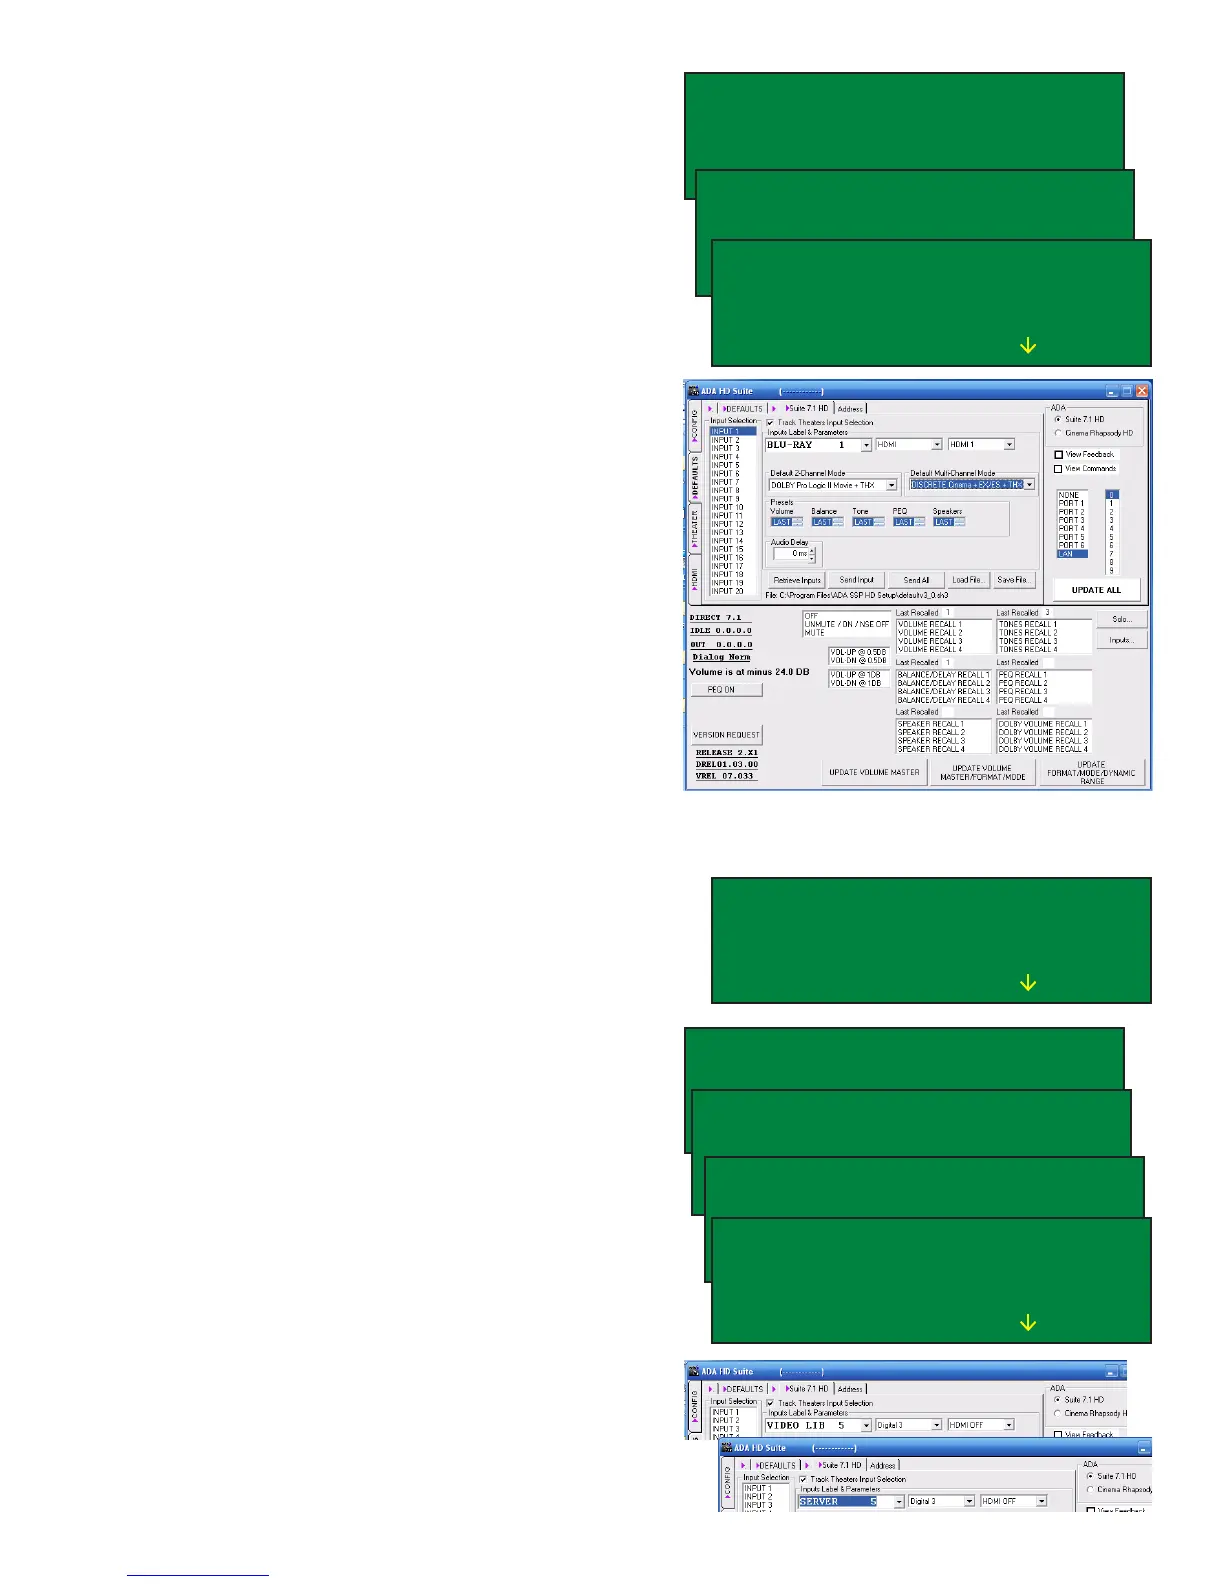
If we are looking to relabel Input 5 “VIDEO LIB
5” to read “SERVER 5”, turn the Mode knob
until the screen reads INPUT 5 on the top left
line of text.
Turn the Mode knob so that the cursor is on the
letter L in LABEL and press the Mode knob. Now,
turning the Mode knob positions the cursor on a
character and turning the Input knob changes the
character. If you want to exit out of this feature,
turn the Mode knob to the letter S in SAVE and
press the Mode knob. ADA Strongly recommends
keeping the numeric sufx (i.e. 5) as it reminds
you of the control code or IR code that accesses
this input.
In the PC program, simply select the input on the
left and then highlight the input name and type in
the new input name.
TRx BRx VRx
TONE RECALL1 TN BL VL EQ
BAL RECALL1 SETUP
VOL RECALL1 LOUDNESS M]
LABELS/AV PL EH [P M]
SPEAKERS BASS ADABUS
LEVELS HDMI THX TURN ON
DELAYS SOLO TEST REVERB
INPUT 1 FINAL INPUT 2O
LABEL BLU-RAY 1 SAVE
AUDIO HDMI LOAD ALL
VIDEO HDMI 1 N [P M]
INPUT 5 FINAL INPUT 2O
LABEL VIDEO LIB 5 SAVE
AUDIO HDMI LOAD ALL
VIDEO HDMI 1 N [P M]
INPUT 5 FINAL INPUT 2O
LABEL SIDEO LIB 5 SAVE
AUDIO HDMI LOAD ALL
VIDEO SEI1 1 N [P M]
INPUT 5 FINAL INPUT 2O
LABEL SEDEO LIB 5 SAVE
AUDIO HDMI LOAD ALL
VIDEO HMI1 1 N [P M]
INPUT 5 FINAL INPUT 2O
LABEL SERVE LIB 5 SAVE
AUDIO HDMI LOAD ALL
VIDEO HMI1 1 N [P M]
INPUT 5 FINAL INPUT 2O
LABEL SERVER 5 SAVE
AUDIO HDMI LOAD ALL
VIDEO HDMI 1 N [P M]
 Loading...