Page 41
ADA Bus Address, Baud Rate, IR & Display Blanking
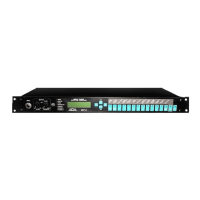
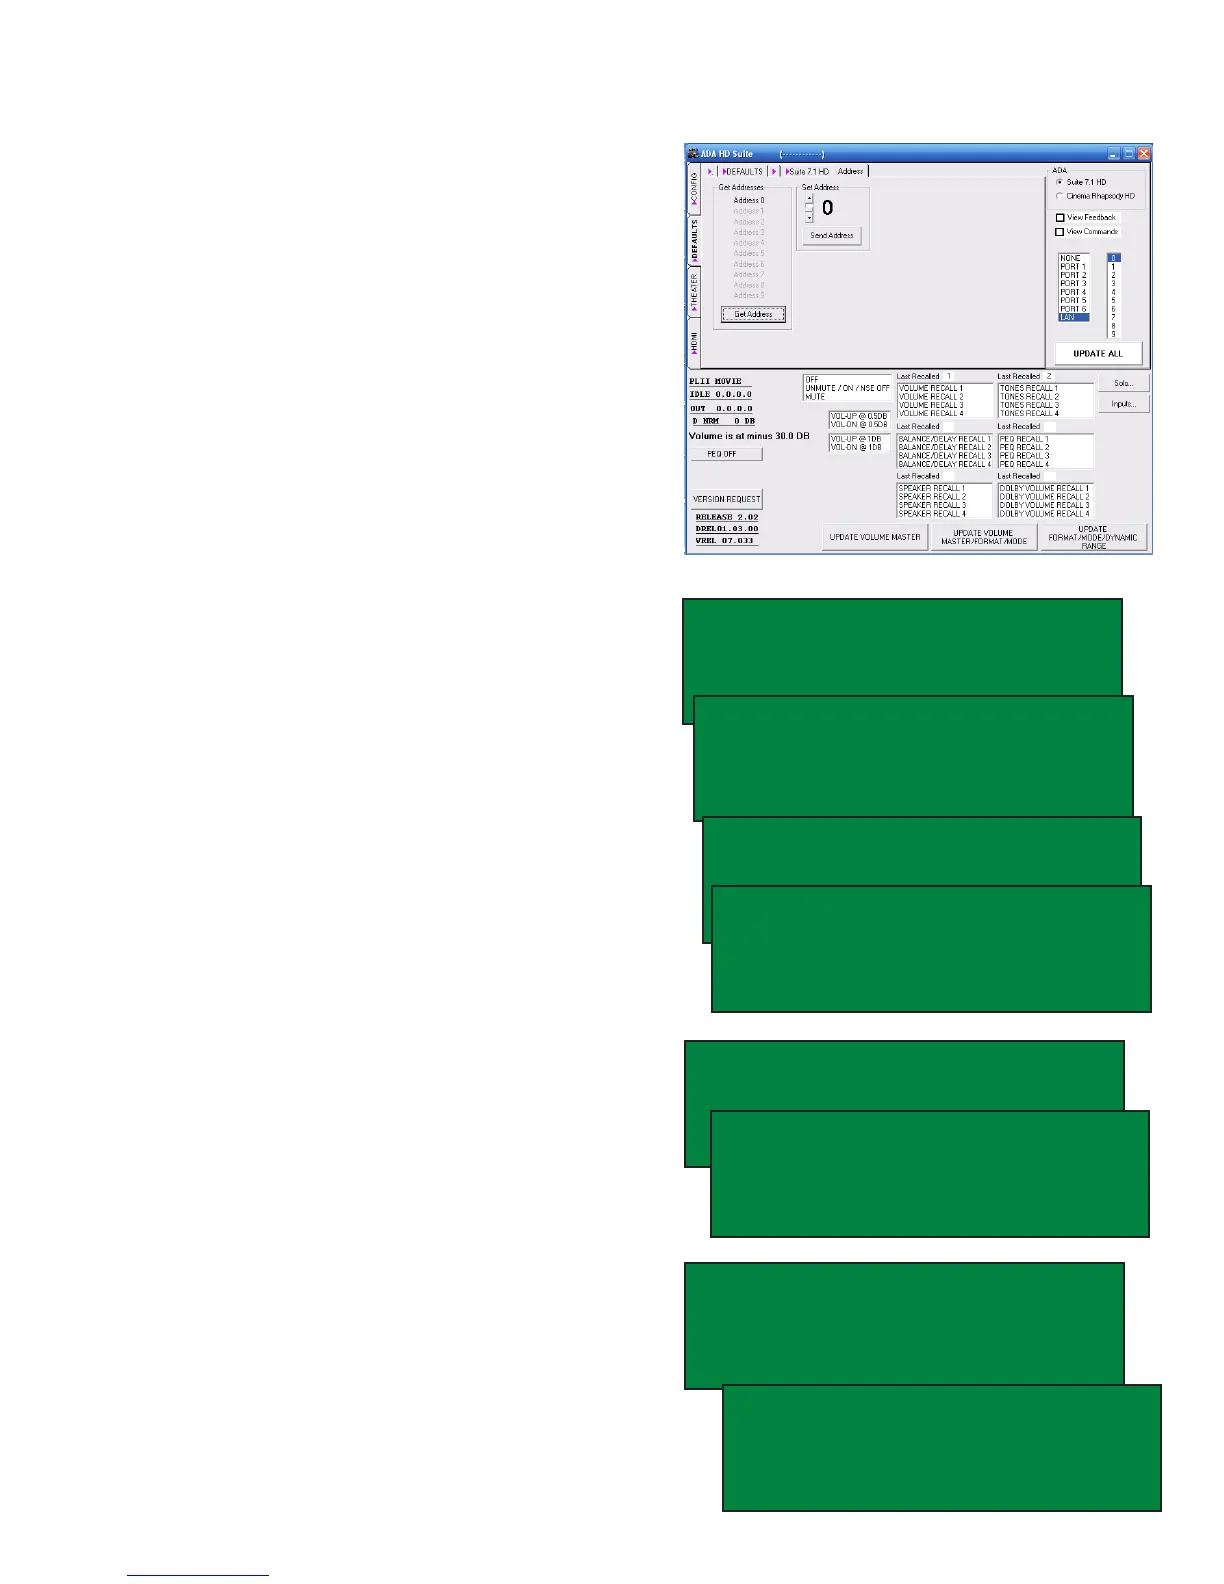
The Suite 7.1 HD features 9 potential ADA Bus Ad-
dresses such that a system with several Suite 7.1
HDs can have each one on its own unique control
address. The ADA Bus address can be changed
from either the PC program or the setup menu of
the Suite 7.1 HD. Changing the Address takes
place in real time - there is no loading of the new
address. The most typical address for the Suite
7.1 HD is ADA Bus Address 0. A Factory Default
reset will reset the unit to this address.
To change the address of the Suite 7.1 HD, set
the address button up or down.
From the front panel of the Suite 7.1 HD while
in the Setup Mode navigate to the A in ADABUS
using the Mode knob and press the knob. The B
in Bus Address should be ashing. Turning the
Input knob changes the address.
The following are only set on the Suite 7.1 HD.
Baud Rate - While the ADA Bus Address deter-
mines the way the Suite 7.1 HD communicates,
the Baud Rate determines the speed of the com-
munication. Here there are only two options, 1200
Baud and 19200 Baud. ADA strongly recom-
mends leaving the Baud Rate set to 19200 baud.
Note that since the Suite 7.1 HD has a built-in BRT
circuit for IR control (baud rate translator because
IR command operate at 1200 baud), you do not
need to reduce the baud rate of the Suite 7.1 HD
when controlling it from an infrared remote. In the
event you need to change the Baud Rate, turn the
Mode knob so that the B in BUS BAUD is ashing
and turn the Input knob to set the Baud Rate.
You can also activate or deactivate the front panel
IR receiver on the Suite 7.1 HD. Generally, the re-
ceiver is deactivated so it does not interfere when
these components are integrated into a control
system. To turn the IR receiver On (or Off), turn
the Mode knob so that the I in IRR is ashing and
the turn the Input knob to set it On or Off.
In the event you want the front panel display on
the Suite 7.1 HD to turn off (blank out), you can set
the blanking function between 0 and 60 seconds.
Turn the Mode knob so that the B in Blanking is
ashing and the turn the input knob to set the
blanking time. Turning any knob wakes will il-
luminate the Suite 7.1 HD for the time set.
TRx BRx VRx
TONE RECALL1 TN BL VL EQ
BAL RECALL1 SETUP
VOL RECALL1 LOUDNESS M]
LABELS/AV PL EH [P M]
SPEAKERS BASS ADABUS
LEVELS HDMI THX TURN ON
DELAYS SOLO TEST REVERB
ADA BUS [P M]
BUS ADDRESS O IRR OFF
BUS BAUD 192OO
BLANKING OFF ]DEFAULTS
ADA BUS [P M]
BUS ADDRESS O IRR OFF
BUS BAUD 192OO
BLANKING OFF ]DEFAULTS
ADA BUS [P M]
BUS ADDRESS O IRR OFF
BUS BAUD 192OO
BLANKING OFF ]DEFAULTS
ADA BUS [P M]
BUS ADDRESS O IRR OFF
BUS BAUD 192OO
BLANKING 3O ]DEFAULTS
ADA BUS [P M]
BUS ADDRESS O IRR ON
BUS BAUD 192OO
BLANKING OFF ]DEFAULTS
ADA BUS [P M]
BUS ADDRESS 1 IRR OFF
BUS BAUD 192OO
BLANKING OFF ]DEFAULTS
 Loading...