Page 19
Default Modes
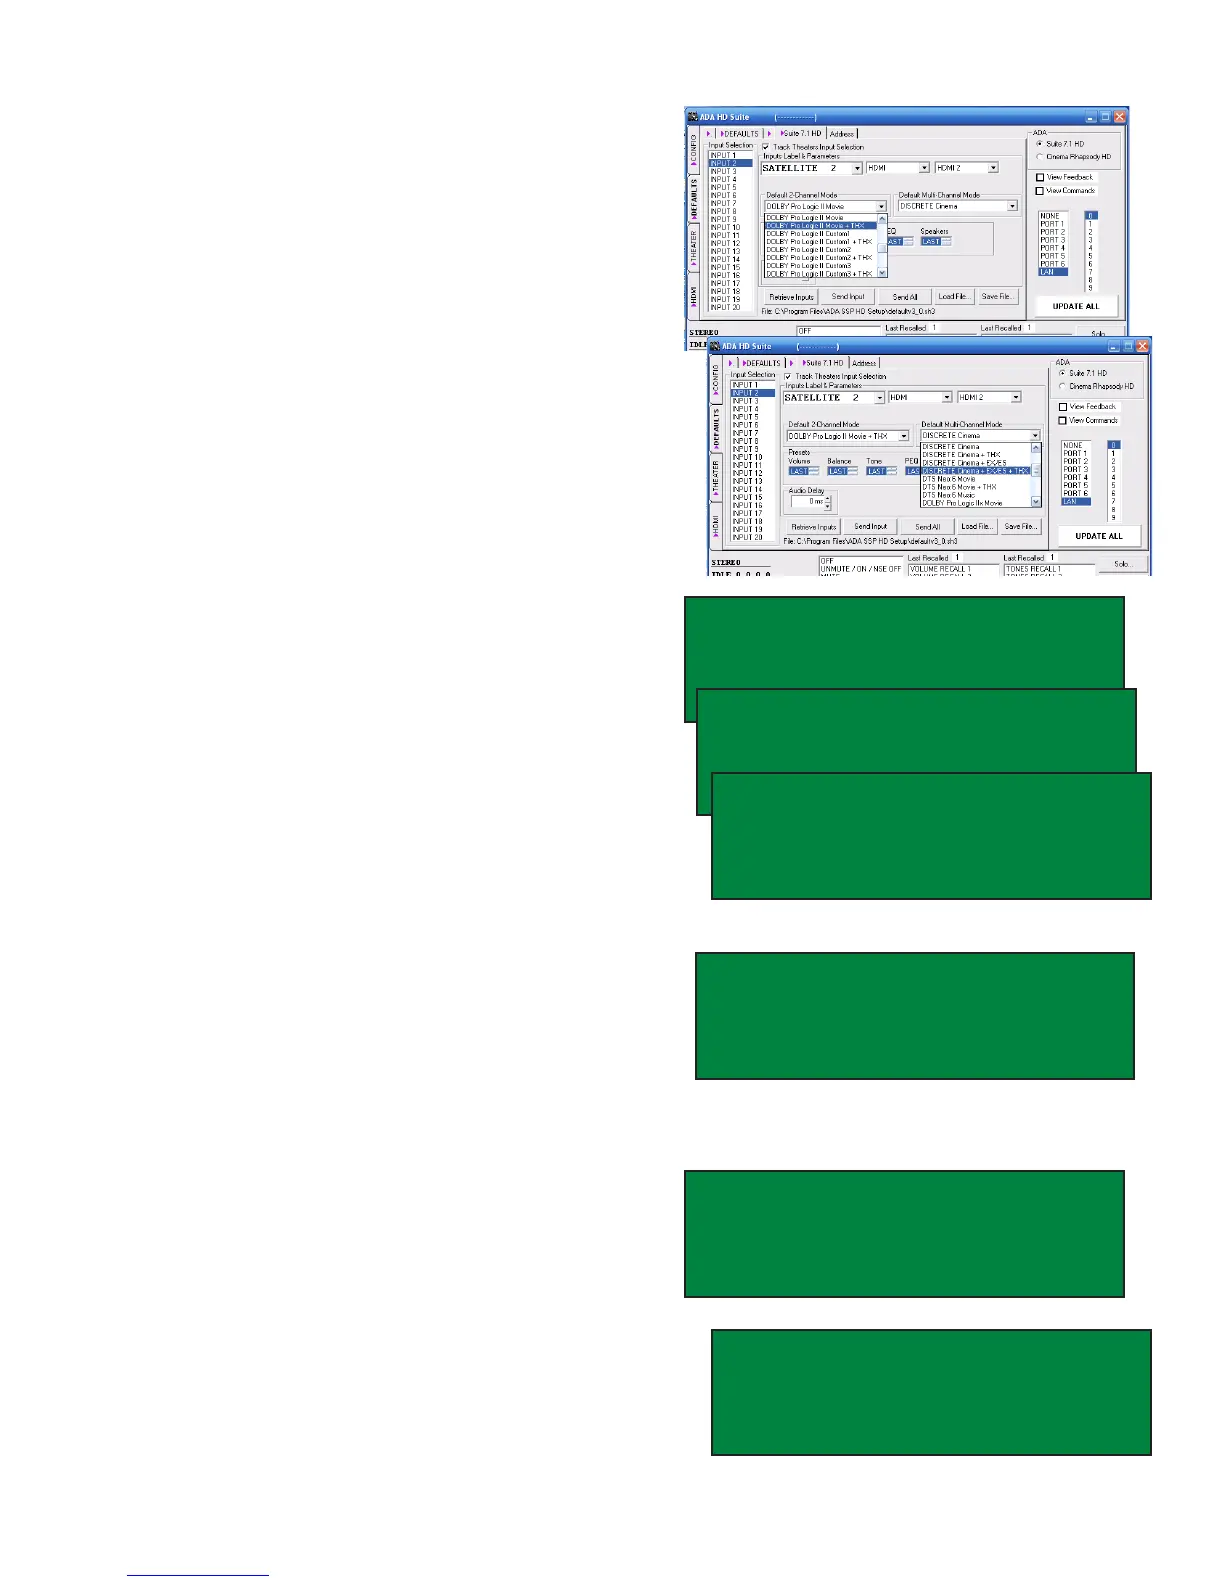
The Suite 7.1 HD features ADA’s unique Double
Default Mode Auto-Detection that automatically
engages a surround sound mode for each input
- one for 7.1/5.1 and another for 2 channel au-
dio. This way, regardless of what mode was last
used, the right decoding takes place each time an
input is selected. Default Modes are loaded to
the Suite 7.1 HD along with the Input Labels, AV
Input Jack Assignments and Input Presets. As
such, before loading it is suggested that you set
the Default Modes for the Input Labels you have
created or modied.
While the PC program permits assignment of the
Default Modes on the same page as other input
assignments, this feature is located elsewhere in
the Suite 7.1 HD’s menu.
To set the Default Modes, if you are still on the
LABELS/AV screen, turn the Mode knob so that
the cursor is under the arrow to left of the letter P
(previous page) and press the Mode knob.
Turn the Mode knob so that the cursor is under the
letter T of TURN ON and press the Mode knob.
Turn the Mode knob so that the cursor is under the
arrow next to the text DEFAULT MODES PAGE
and press the Mode knob.
With the cursor under the I in INPUT SEL, you can
scroll through inputs by turning the Input knob. If
you have altered Input Label names (regardless
whether you loaded the Suite 7.1 HD), the new
Input Label names will appear on the screen
because the control head on the unit already
contains the changes even though the Suite 7.1
HD does not.
When you are on the desired input label, turn the
Mode knob to select DEFAULT 5.1 and DEFAULT
2.0. While on either of these features, the Input
Knob lets you change the Default Mode for that
input. Please note that “LAST USED” mode is an
option. For other inputs, navigate back to the IN-
PUT SEL using the Mode Knob and then selecting
another input using the Input knob and repeat.
When you are done, return to the LABELS/AV
screen by selecting P (previous screen) both on
this page and the TURN ON screen. You will then
be able to select the LABELS/AV page.
INPUT 2 FINAL INPUT 2O
LABEL SATELLITE 2 SAVE
AUDIO OPTICAL 1 LOAD ALL
VIDEO HDMI 3 N [P M]
LABELS/AV PL EH [P M]
SPEAKERS BASS ADABUS
LEVELS HDMI THX TURN ON
DELAYS SOLO TEST REVERB
TURN ON [P M]
TURN ON VOLUME RECALL1
TURN ON INP LAST USED
]DEFAULT MODES PAGE
DEFAULT MODES [P M]
INPUT SEL BLU-RAY 1
DEFAULT 5.1 DISCRT+EX/ES
DEFAULT 2.O PLII MOVIE
DEFAULT MODES [P M]
INPUT SEL BLU-RAY 1
DEFAULT 5.1 THX SurEX/ES
DEFAULT 2.O PLII MOVIE
DEFAULT MODES [P M]
INPUT SEL BLU-RAY 1
DEFAULT 5.1 THX SurEX/ES
DEFAULT 2.O PLII MVE+THX
 Loading...