Hardware Reference Guide 33
MOUNTING THE AP170
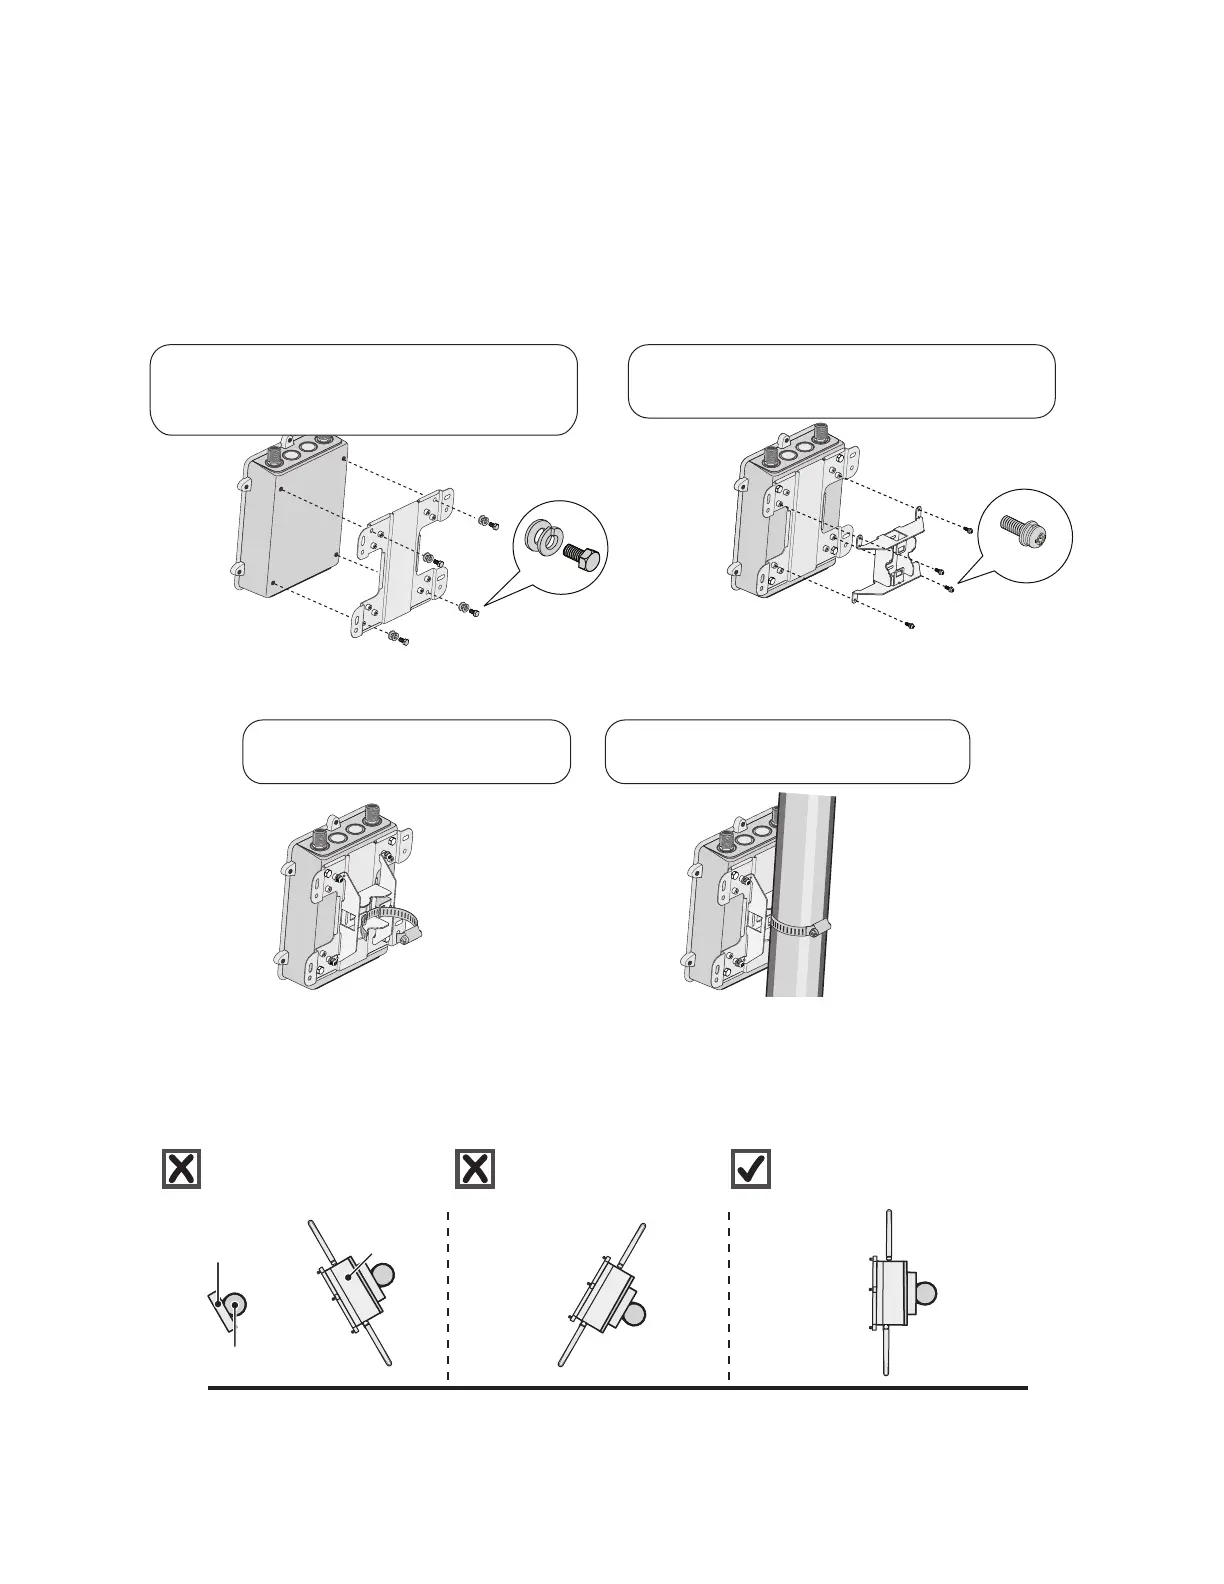
Horizontal Pole Mount
The following steps explain how to mount the AP170 on a horizontal pole.
1. To mount the AP170 on a horizontal pole, first attach the plane bracket to the back of the unit using the
four hex-head bolts with lock washers and flat washers.
2. Mount the base bracket to the plane bracket using the four round-head screws, so that is oriented
horizontally. Each screw should have a lock washer and flat washer.
3. Thread the open end of the hose strap through the two tabs on the base bracket.
4. Tighten the hose clamp with a 1/4” (2 cm) flat blade screwdriver or a 5/16” (8 mm) drive socket driver.
5. Connect the grounding cable to the grounding lug on the unit, as shown in Figure 5 on page 35.
Connect the other end of the cable to an appropriate ground.
When attaching the AP170 to a horizontal pole, such as the arm of a street light, make sure that the face of
the device is perpendicular to the Earth for optimal RF coverage.
Figure 4 Correct and incorrect orientation of the AP170 when mounted to a horizontal pole
Plane bracket
Base bracket
12
Attach the plane bracket to the back of the
unit using (4) 3/8” x 1/2” (10 mm x 13 mm) hex
head bolts and 1/2” (13 mm) lock washers and
flat washers.
Attach the base bracket to the plane
bracket using (4) 1/4” (6 mm) round head
screws with lock washers and flat washers.
Hose strap
Thread the hose strap through the
two tabs on the base bracket.
Use a flat blade screwdriver to tighten
the hose strap around the pole.
3
4
Earth
Horizontal pole
Pole bracket
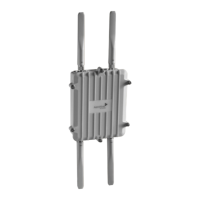
AP170
Not good. Angled slant of
unit and antennas provides
suboptimal RFcoverage.
Not good. Angled slant of
unit and antennas
provides suboptimal RF
coverage.
Good! Unit is perpendicular to
Earth and antennas are oriented
vertically for optimal RF coverage.