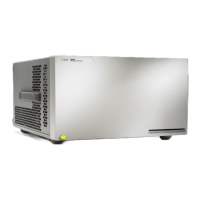
Replacing Assemblies 6
16901A Logic Analysis System Service Guide 69
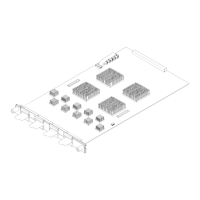
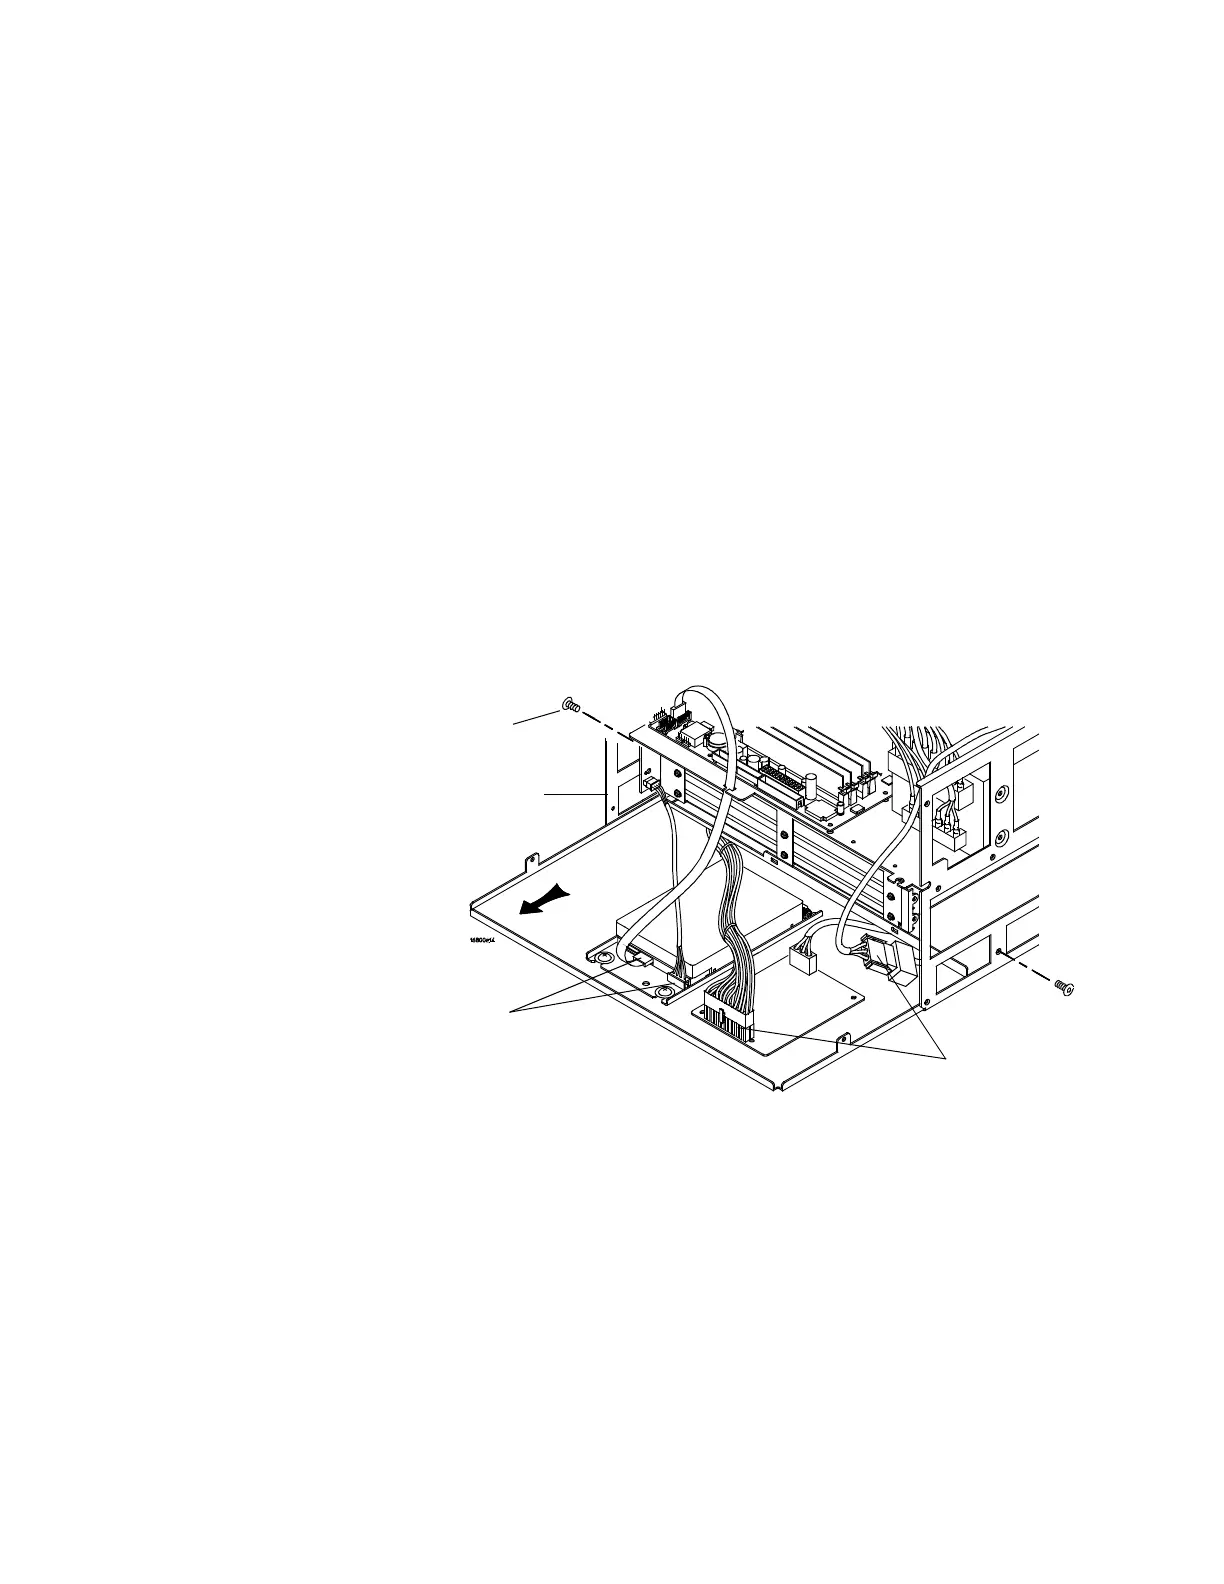
To remove and replace the tray assembly
1 Perform previous procedures:
• “To prepare the instrument for disassembly” on
page 46.
• “To remove and replace the cover” on page 50.
• “To remove and replace the front panel assembly” on
page 57.
2 Using a Torx T10 screwdriver, remove the 2 side screws
securing the tray assembly to the chassis.
3 Slide the tray assembly out far enough to disconnect the
hard drive and power supply cables. Use the release
tab(s) to help disconnect the power supply cables.
4 Slide the tray out of the chassis.
5 Reverse this procedure to replace the tray assembly.
T-10
screws (2)
Hard
drive
cables
Power supply
cables
Chassis
 Loading...