Gain Adjustment Procedure
Adjustment for each function should be performed only in the order
shown in the performance verification table. The performance
verification tables used for gain adjustments start on page 77.
Review the “Test Considerations” (page 71) and “Gain Adjustment
Considerations” (page 82) sections before beginning this test.
Configuration: DC functions — 6
1
⁄
2
digits
AC functions — LF 3 HZ:SLOW (in the Advanced menu)
1 Select Channel 210. Configure the channel to each function and
range shown in the gain verification tables (pages 75 – 79).
2 Apply the input signal shown in the “Input” column of the
appropriate verification table.
Note: Always complete tests in the same order as shown in the
appropriate verification table.
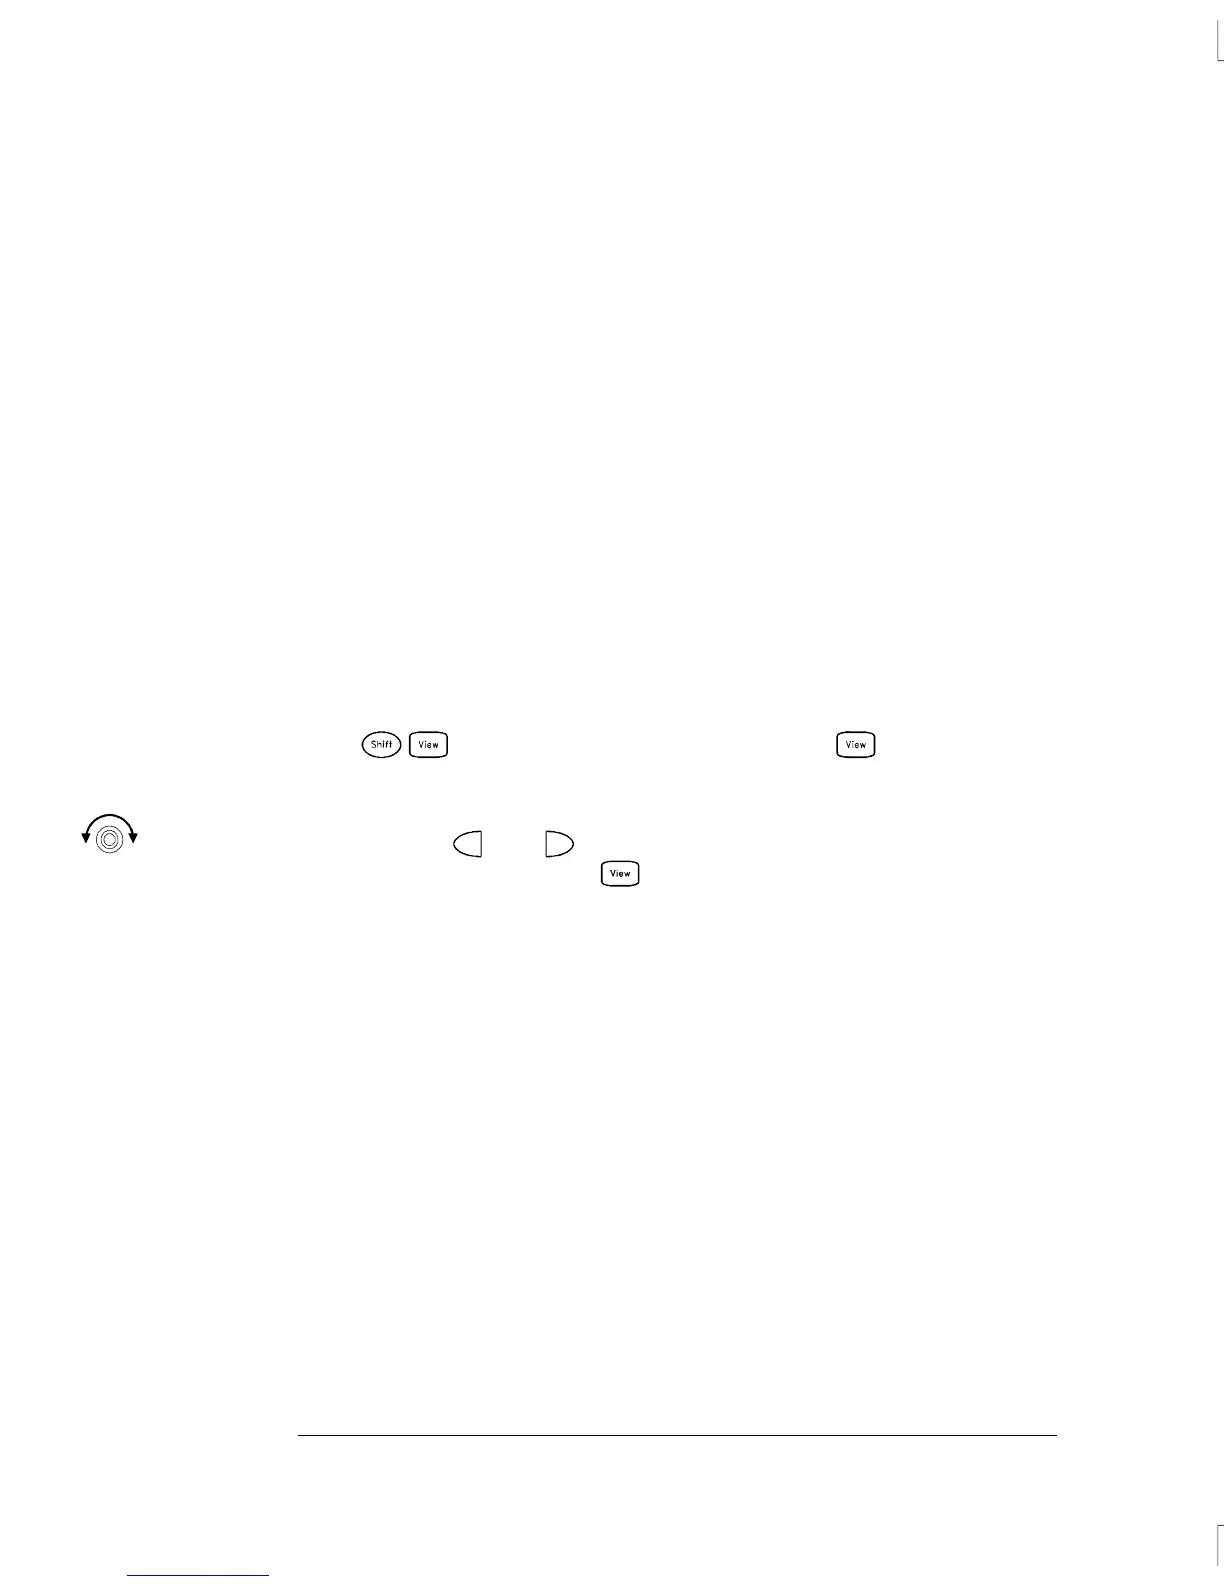
3
Press to enter the calibration menu. Press again to
begin the adjustment procedure.
4
Use the knob, and to set the number in the display to the
actual input value and press .
5 Perform the appropriate Gain Verification Test to check the
calibration results.
6 Repeat steps 1 through 6 for each gain verification test point shown
in the tables.
Note: Each range in the gain adjustment procedure takes less than
20 seconds to complete.
Chapter 4 Calibration Procedures
Internal DMM Adjustments
84
 Loading...