94 Troubleshooting and Maintenance Manual
5 CI Maintenance
10 Syringe or pipette PFDTD into the vial. With the vial vertical, the liquid
should be just below the end of the internal tube, approximately 70 µL of
sample.
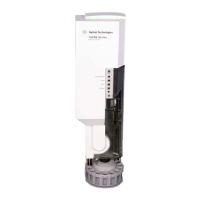
11 Push the calibration vial into the valve as far as possible.
12 Withdraw the vial 1 mm. This prevents damage when you tighten the
collar.
13 Turn the collar clockwise to tighten it.
The collar should be snug but not overly tight. Do not use a tool to tighten
the collar. It does not require that much force.
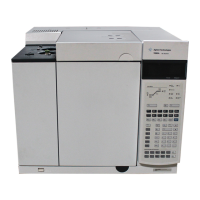
14 Position the GC next to the MS. See “To Position the GC Next to the MS” on
page 82.
15 In the Instrument Control panel, select the MS Tune icon to display the
GC Q-TOF Tune dialog box. Select the Manual Tune tab then select the Ion
Source tab to display the ion source parameters.
16 Turn off the Emission by selecting the check box.
17 Purge the calibration valve by selecting the CI Cal Valve check box to open
the calibration valve. Close the CI Cal Valve after 30 seconds.
Do not rinse the vial with any solvents. Never expose the inside of the vial to
chlorinated solvents or isopropyl alcohol or water — this will result in severe loss of CI
sensitivity.
After removing a calibrant vial, you must purge the calibration valve. Failure to do so
will result in damage to the filaments and the electron multiplier.
 Loading...


