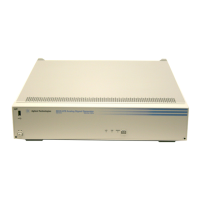
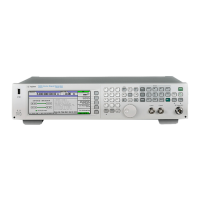
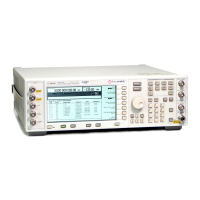
Agilent N5161A/62A/81A/82A/83A MXG Signal Generators Service Guide
Troubleshooting
Troubleshooting Assembly Level Problems
1-38
2. If the voltages are present on all of the ALC J1 pins as shown in Table 1-5 on page 37:
a. Replace the A7 Micro Deck.
b. Go to Chapter 4, "Post-Repair Procedures and Performance Verification".
3. If any of the A7 Micro Deck power supply voltages are missing, remove the A7 Micro Deck and measure the corresponding voltages on
the A3 RF assembly connector.
• If voltages are not present on the A3 RF assembly connector:
a. measure the power supply voltages using Table 1-8 on page 55.
b. Go to step 8 of The Signal Generator Does Not Power On on page 1-54.
• If the voltages are present:
a. Replace the A7 Micro Deck.
b. Go to Chapter 4, "Post-Repair Procedures and Performance Verification".
A8 Floating BNC Bypass Troubleshooting (N5183A)
The intent of the A8 Floating BNC Bypass assembly is to isolate ALC circuitry ground, chassis ground, and external equipment ground from
each other. Diodes are used to shunt DC current and capacitors to remove interference components to ground.
1. If the external ALC appears unstable or noisy, use a digital multimeter to verify the bypass board is functioning properly. Using the ohm
setting on your digital multimeter, test the bypass board. There should be a minimum resistance, typically ~100 ohms, between the
outside barrel of the BNC and the chassis ground.
• If the resistance is ~100 ohms the A8 assembly is good.
• If the resistance is not ~100 ohms, replace the A8 assembly.
A9 Interface Board Troubleshooting (N5161A/62A)
The A9 provides voltages for the front panel LEDs and the LAN Reset hardkey. To determine if the A9 Interface Board is the faulty
assembly, complete the following procedure.
1. With the signal generator turned off, verify the yellow front panel standby LED is on.
• If the yellow standby LED is not on, go to “The Green Front Panel Power Switch LED or Yellow Standby LED is Not Working” on
page 1-57, to troubleshoot it.
2. With the signal generator turned on, verify the green front panel LED is on
• If the green LED is not on, go to “The Green Front Panel Power Switch LED or Yellow Standby LED is Not Working” on page 1-57,
to troubleshoot it.
3. Turn the signal generator off.
4. Remove the front panel. Refer to Chapter 3, "Assembly Replacement".
5. Position the signal generator with the A3 RF assembly facing up.
6. Re-connect the W1 ribbon cable to the A3 RF assembly.
7. Use Figure 1-24 on page 57 to locate line switch S1. Press line switch S1 to turn the signal generator on.
8. Refer to Figure 1-14. Use a voltmeter with a small probe to measure A9J2-4; it should be ∼12V.
• If A9J2-4 is ∼12V:
— Measure the connections in Table 1-6.
Table 1-6
Connector Voltage
J2-8 +3.3V
J2-12 +3.3V
J2-34 +5.0V

 Loading...


