HP106/HP406 Programmer software guide
Ver. 1.0 Page 9
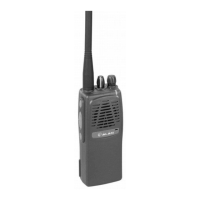
2) Go to the Rf Freqs (MHz/KHz) dialog box and select the TX frequency in MHz in the upper box TX by clicking its left drag down button,
then click the hundreds MHz you require (e.g. 156 for 156 MHz)
3) Select now the decimal TX frequency in KHz by clicking the right drag down button, then point the decimal frequency you need (e.g.
800,00 will select 156,800.00 MHz)
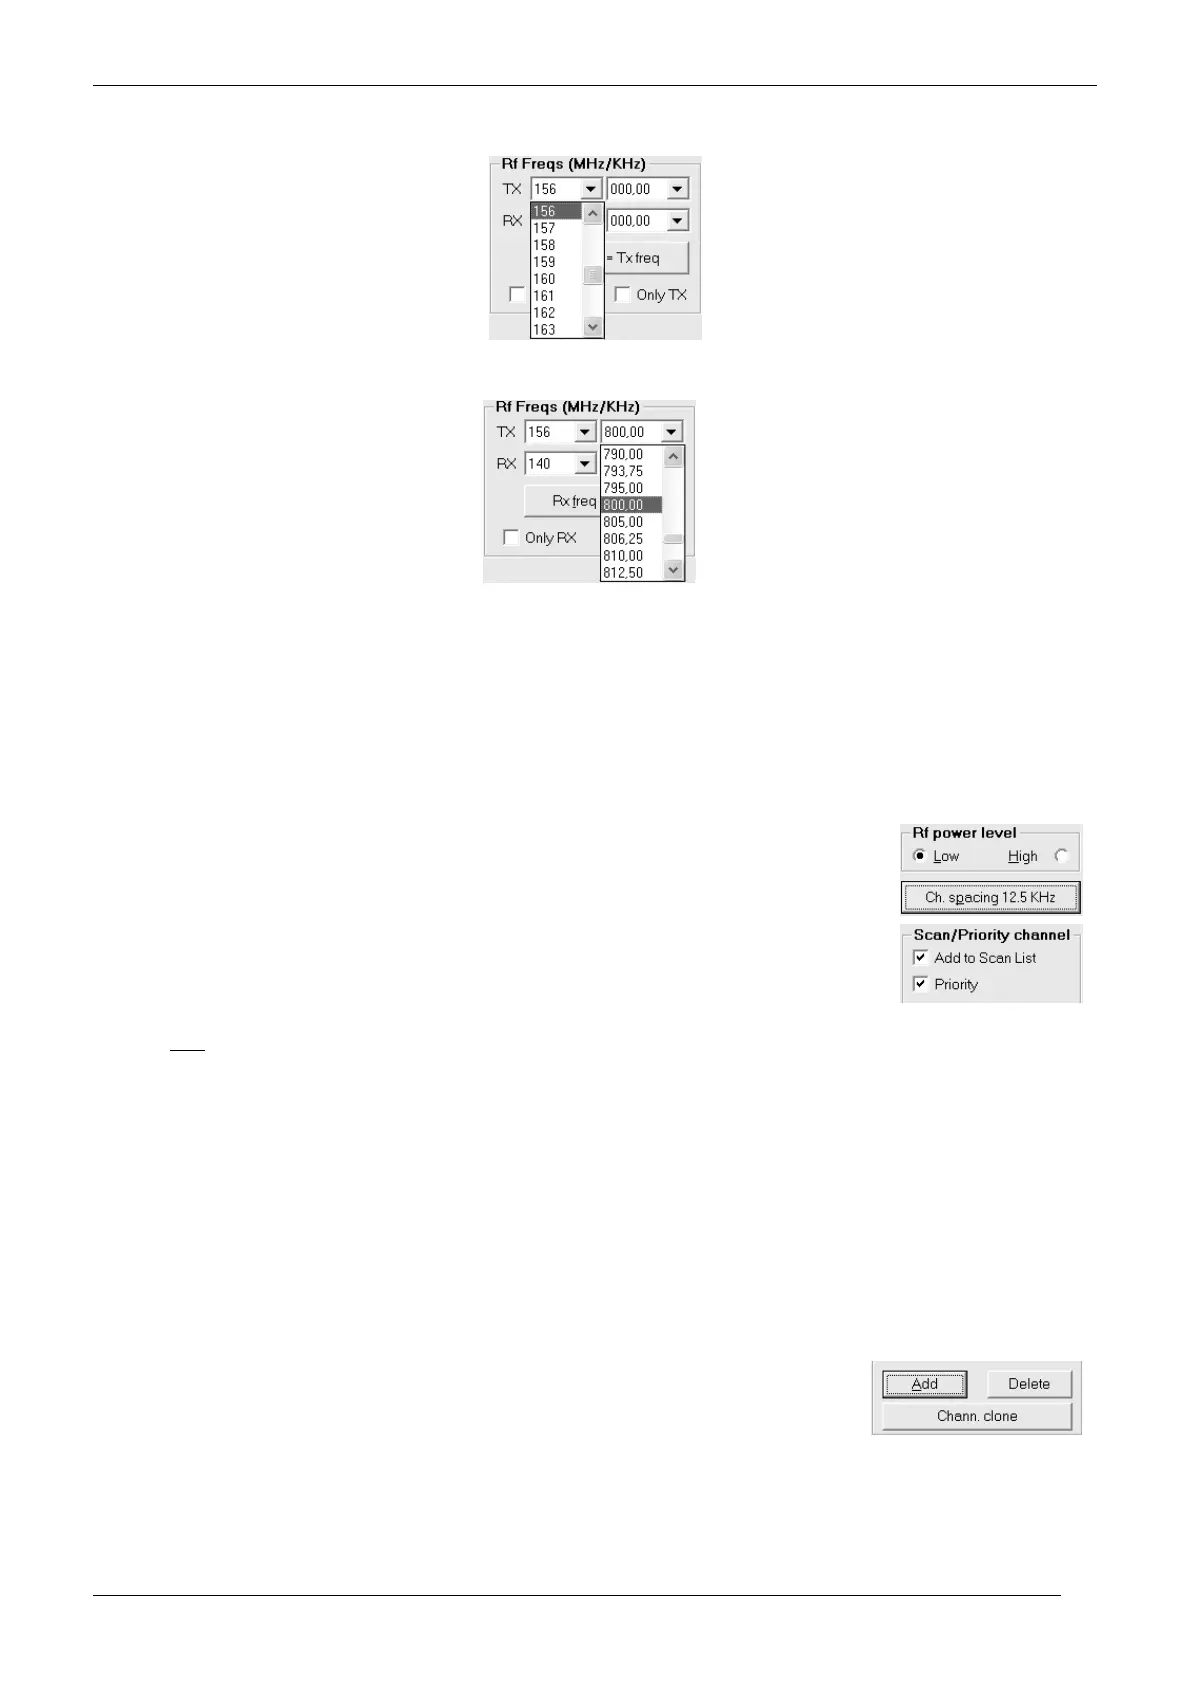
4) Now that you have selected the whole TX frequency, you have three choices:
If you are programming a simplex channel (same RX and TX frequency), click the Rx freq = Tx freq button: The RX frequency
will be immediately set to the just programmed TX one
If you are programming a duplex channel (RX frequency different than the TX one), go to RX box and set up the hundreds MHz
and the decimal RX frequency performing the same operation described in steps 2) and 3)
If you are programming a one way channel (only RX or only TX), tick either Only RX or Only TX checkboxes. The TX or the RX
frequency will disappear accordingly
You can’t check both the Only RX and Only TX checkboxes. If you don’t want to program a particular channel, just skip its programming
as explained in the note in step 1).
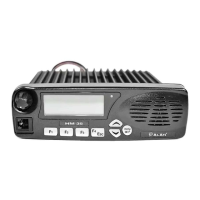
5) To select the TX output power go to RF power level box and select either the Low or High radio button for
that channel depending on your choice (in the example we have chosen Low).
6) Select the channel bandwidth (either 25 or 12.5 KHz) by clicking the Ch. spacing button until you’ll see
your choice on it (the figure shows 12.5 KHz)
7) If you want to add the channel to the scan list, go to Scan/Priority channel box and tick the Add to Scan
List checkbox. In this case, the Priority checkbox will be immediately available. Tick it if you want to
designate the channel as priority one
Obviously, you can designate only one priority channel. If you already did that with another channel, a
message will warn you until you won’t remove the checkbox from the former priority channel
If you don’t tick the priority checkbox in all the programmed channels, the user has the possibility to define the priority channel with the
channel knob as described in the user’s manual
8) You have now programmed the basic channel specifications in the transceiver. However, depending on your customer’s requirements,
you may need to program other channels and/or add CTCSS/DCS and/or Selective Call facilities and/or other options. You have three
options:
If you need to program the basic parameters of additional channels, go to step 9) (CTCSS/DCS, Selective Call and other options
will be further added as we’ll describe).
If you already have programmed the basic parameters of all the needed channels, but you still need to add the CTCSS/DCS
and/or Selective Call facilities and/or other options, go to the appropriate paragraph/chapter: 3.7 for CTCSS/DCS and/or
Chapters 4 & 5 (the whole chapters) for Selective call and/or chapters 4 & 6 (the whole chapters) for other options
If you already have programmed the basic parameters of all the needed channels and you don’t need to add any CTCSS/DCS
and/or Selective Call facilities and/or other options (i.e. you have complete the programming), go to chapter 7.1 in order to
transfer the program to the unit.
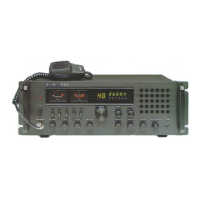
9) If you need to add/modify/delete new channels, you have two convenient options:
If you need to create a new channel which has completely different parameters, press
Add
and go back to step 1)
If you need to program a new channel that only slightly differs between the current one,
you can save time by pressing the Chann. Clone. You’ll create a new channel with the