HP106/HP406 Programmer software guide
Ver. 1.0 Page 17
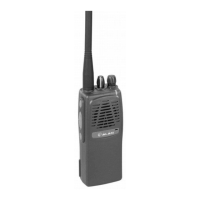
2) From the Channel Data window – Monitor / Autoreset area - click the Monitor key behaviour button: the Monitor key behaviour
window will open.
3) in the Monitor opens... area, tick the available ckeckbox(es) you need to activate
(not available checkboxes will be shaded in gray). In the example we activated
Monitor key opens SELCAL signalling.
4) Click the OK button to confirm or Cancel to leave this window without changing the
settings.
5) Now you have two choices:
If you need to program the monitor key behaviour for another channel, go
back to step 1)
If you don’t need to program the monitor key behaviour for other channels
go to the next paragraph.
5.6 Manual/Autoreset for selective calls
This option allows to define if the reset of the selective call should be made only manually (by the MON button) or
automatically after a certain time. In this last option you can define the autoreset time.
1) Be sure you are selecting parameters on the right channel. If not, in Channel Data window - Channel
num. area - please select the right one by clicking on either
or button.
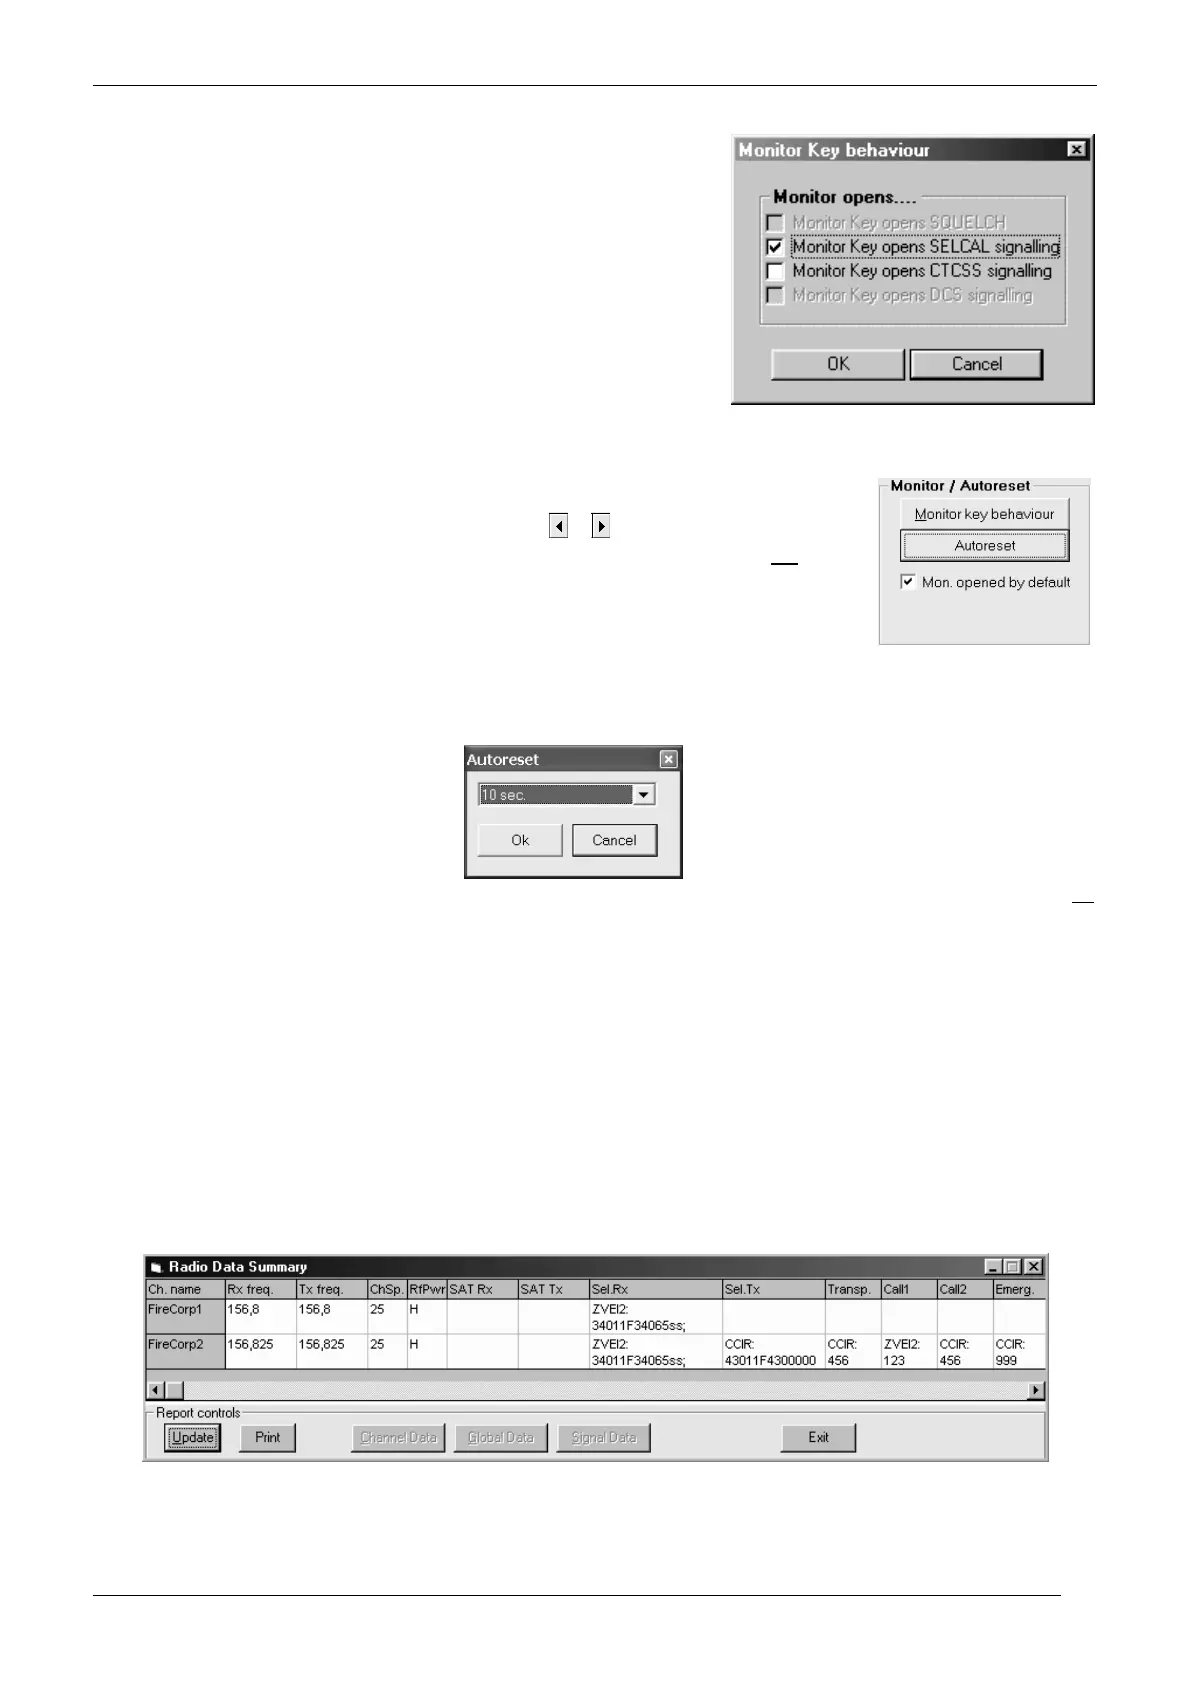
2) If you want the radio starting with monitor active (open squelch) every time is switched on and
at every
channel switching, in the Channel Data window – Monitor / Autoreset area – you can tick the
checkbox Mon. opened by default in order to enable it, then go to step 5.
Obviously, to manually reset the monitor (close the squelch) the users has top press briefly MON
3) Differently, if you need the automatic reset (i.e. you haven’t ticked the Mon. opened by default
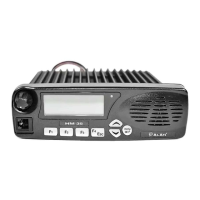
checkbox), click the Autoreset button: the Autoreset window will open.
4) Select the autoreset time you need by clicking the Autoreset drag down button and then click the needed time. You can select a time
from 5 to 155 sec. in 5 sec steps or leave <disabled> if you need the manual reset only. In the example we have chosen an automatic
reset time of 10 sec.
If in step 2) you have previously ticked the checkbox Mon. opened by default, and in step 3) you have selected any time (i.e. not
<disabled>), the Mon. opened by default checkbox will be automatically unavailable and the tick will be deleted
The kind of reset action provided by the MON key depends by the settings described at chap. 5.5
5) Click the OK button to confirm or Cancel to leave this window without changing the settings.
6) Now you have two choices:
If you need to program the autoreset for another channel go back to step 1).
If you don’t need to program the autoreset for other channels go to the next paragraph.
5.7 Overviewing a Channel Data Summary
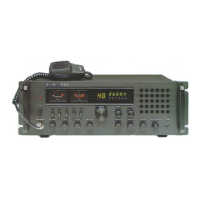
This smart feature allows you to overview a channel data summary which includes the channel parameters (e.g. Rx/Tx
frequency, channel spacing, sub audio tone/CTCSS etc.). You may decide to print this report as record for future references
and/or steadily leave it on the screen during the programming operations in order to avoid mistakes.
1) From the Channel Data window click the Channel Data Summary button: the Radio Data Summary window will open and you will see
the overview of the programmed channels.
2) You can decide to see the data in compact or in extended way. In this last case just expand the window as you do with the other software
windows: go to the border, click on it with the mouse and extend the windows area in the direction you need by dragging it out. The over
stated picture shows a slightly extended summary window.