3 Maintain the ATCA Subrack
3.5 Front RITs
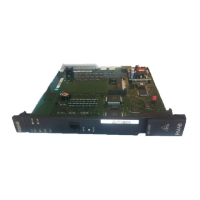
This section covers the replacement of the following RITs:
JBXTP
JBXOMCP/JBXCCP
JBXSSW.
Note: Two handles secure the Front RITs in place.
3.5.1 Tips for Inserting ATCA Front RITs
The following sections contain figures showing how to insert ATCA front RITs.
3.5.1.1 First Step to Remove a Board
To remove a board:
1. Unfasten screws of front plate until board is detached from shelf.
2. Move the ejector handles outwards. The blue LED blinks indicating that the
board power OFF process is on-going.
The following figure shows the first step to perform when removing a board.
Figure 8: ATCA Front Board Handles - First Step to Remove a Board
28 / 90 3BK 21281 AAAA PCZZA Ed.13
 Loading...


