4 Maintain the LIU Subrack
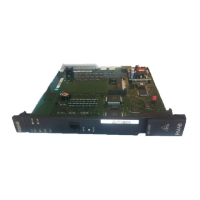
Removing the JBXMUX with the Ethernet cable connected leads to loss of the
telecom traffic for up to 10 minutes.
5. Remove the board from the shelf using the board handle.
4.4.2 Insert JBXMUX
To insert the JBXMUX:
1. Insert the board, using the handle, into the shelf until you feel resistance.
2. Fasten the top screw with the screwdriver.
3. Fasten the bottom screw with the screwdriver.
The bottom screw is located under the handle.
4. Connect the Ethernet cable from the corresponding JBXSSW:
JBXMUX1 is connected to JBXSSW1
JBXMUX2 is connected to JBXSSW2.
5. Using the BSC terminal check if the alarm “FIRMWARE-NOT-UP-TO-DATE”
is reported for the replacement board.
If the alarm is present a firmware upgrade must be performed. Refer to
Update the NE1OE Firmware for the New JBXTP or JBXMUX Boards
(Section 3.5.2.3) for details.
If the alarm is not present the replacement procedure is finished.
68 / 90 3BK 21281 AAAA PCZZA Ed.13
 Loading...


