3 Maintain the ATCA Subrack
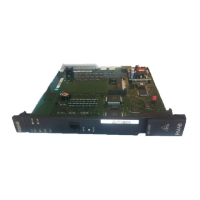
3.5.3 Replace JBXOMCP
3BKA20FBR229377
After OMCP replacement, the replaced board is displayed disabled in OMCR,
but enabled at BSC side. Perform an Alarm/state audit, in order to get the
OMCR and BSC in line
3.5.3.1 Remove JBXOMCP
IF the replacement of the board is not done due to a board hardware
malfunction, and there is still possible to connect on the board (telnet session),
then, before Remove the Board (in section 3.5.3.1), perform the following:
JBXOMCP Takeover (in section 3.5.3.1), only if the board to be replaced
is the active one
Erase HDD (in section 3.5.3.1).
The active OMCP is the one with the ACT LED ON.
JBXOMCP Takeover To perform a JBXOMCP takeover, only if the board to be replaced is the
active one
1. Start the 9130 BSC Evolution Terminal software. Refer to Start the Terminal
Software section from 9130 BSC Evolution Terminal User Guide.
2. Reset the SBL corresponding to the active OMCP.
For SBL resetting procedure refer to Reset SBL section from 9130 BSC
Evolution Terminal User Guide.
For identifying the corresponding SBL refer to Board/Area/Slot/SBL Mapping
(Section 1.3).
The reset of the active OMCP will trigger an OMCP takeover.
Wait 5 minutes, until the takeover is complete.
3. After the takeover is done, check the ACT LED status on the OMCPs
front panel.
Erase HDD To erase the HDD of the board:
1. From a local terminal open a telnet session on the OMCP
telnet 172.17.y.x
where:
y is 3 for ATCA shelf 3
y is 4 for ATCA shelf 4
x is 30 for JBXOMCP1 (ATCA physical slot 6)
x is 40 for JBXOMCP2( ATCA physical slot 9).
2. Type the username:
root
and the password:
alcatel
3. Clean-up the HDD:
cd /usr/local/bin
3BK 21281 AAAA PCZZA Ed.13 37 / 90
 Loading...


