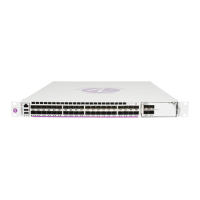
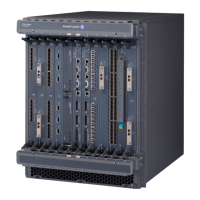
Getting Started Booting the Switch
OmniSwitch 6860 Hardware Users Guide May 2014 page 2-5
Booting the Switch
Now that you have installed the switch components and connected network and management cables, you can
boot the switch. To boot the switch, plug all power supply cords into easily-accessible, properly grounded
power outlets. (Do not use extension cords.) The switch will power on and boot automatically.
Note. If you have more than one power supply installed, be sure to plug in each power supply in rapid
succession, (i.e., within a few seconds of each other). This ensures that there will be adequate power for
all components throughout the boot process.
Component LEDs
During the boot process, component LEDs will flash and change color, indicating different stages of the boot.
Following a successful boot, chassis LEDs should display as follows:
If the LEDs do not display as indicated, make sure the boot process is complete. If the LEDs do not display as
indicated following a complete boot sequence, contact Alcatel-Lucent Customer Support. For complete
information on LED states, refer to “Chassis Status LEDs” on page 3-19.
Once the switch has completely booted and you have accessed your computer’s terminal emulation software
via the console port, you are ready to log in to the switch’s Command Line Interface (CLI) and configure basic
information. Continue to “Your First Login Session” on page 2-6.
OK1 Solid Green
PRI Solid Green (for switches running in
master role)
Solid Amber (for switches running in
slave role)
PS Solid Green
BPS Solid Green
GRN (Power Save) Solid Green
OK2 Solid Green