14
SECTION 2: INSTALLING THE SYSTEM
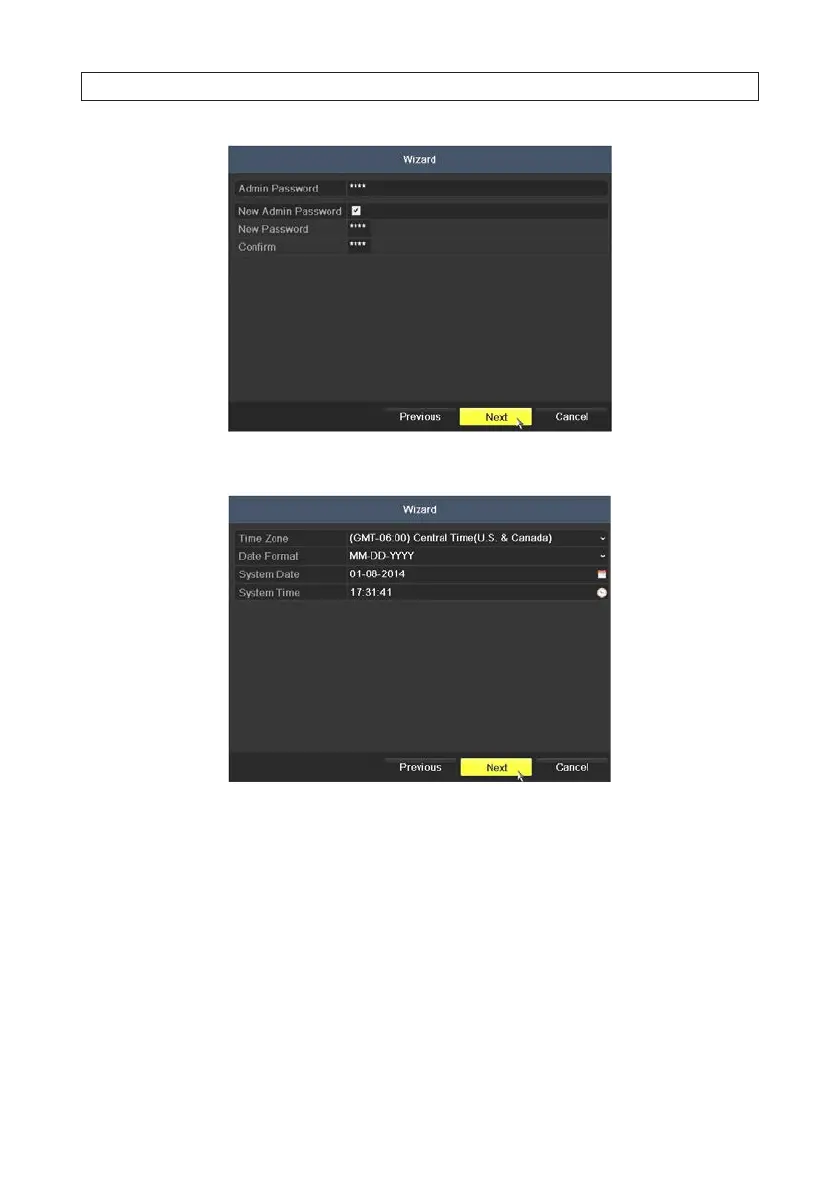
4. Click the Next button to open the date and time settings window.
5. In the date and time setup window, click the eld you want to change, then use the drop-down list or setup aid to select
the appropriate values. Click Next to conrm your settings or Cancel to discard them and open the network setup Wizard
window.
6. In the Network setup Wizard window, click the eld value you want to change, then use the pop-up aid to enter a new value.
By default, the DVR uses DHCP (Dynamic Host Conguration Processor) to acquire compatible (dynamic, changeable) network
settings from a network DHCP server.
 Loading...