85ALI-DVR3000H Series 960H DVR User Manual
3. Click Apply to save your settings and close the menu.
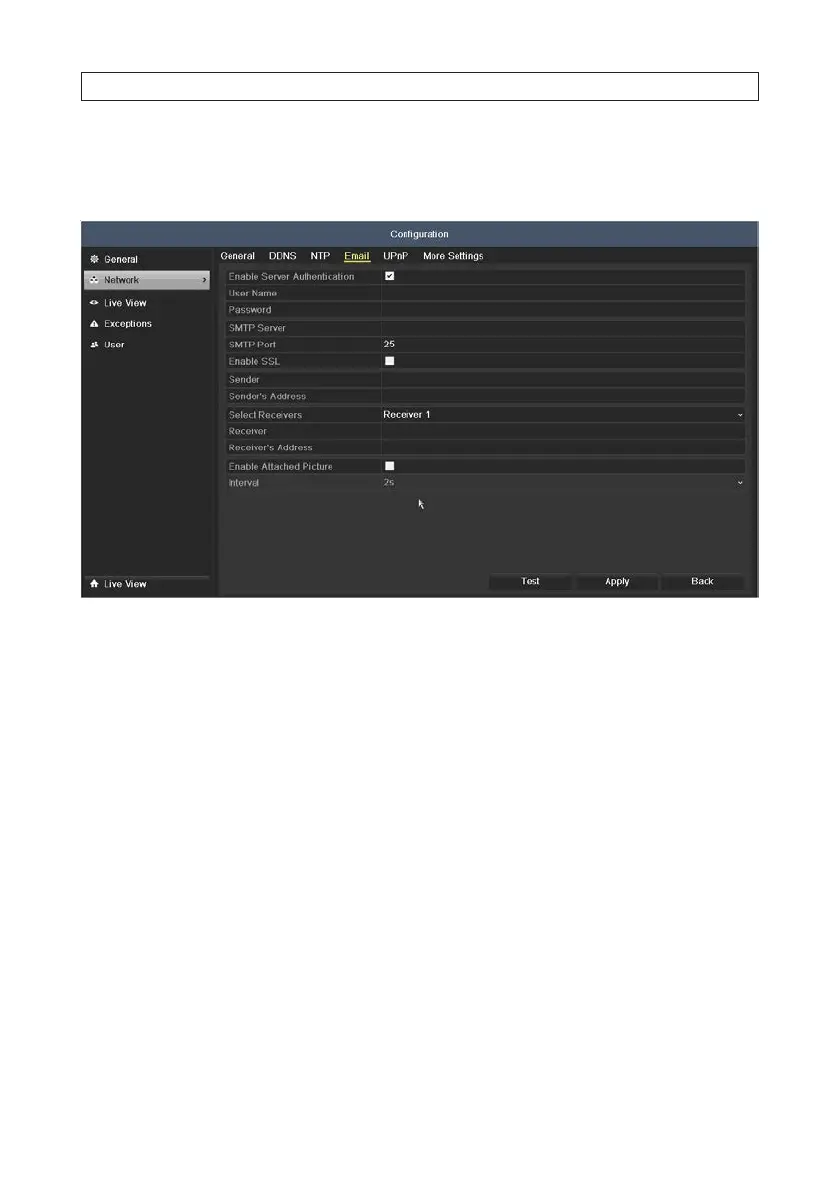
4. Click the Email tab to open the email settings men.
5. Congure the following Email settings:
— Enable Server Authentication (optional): Check the checkbox to enable the server authentication feature.
— User Name: The user account of sender’s Email for SMTP server authentication.
— Password: The password of sender’s Email for SMTP server authentication.
— SMTP Server: The SMTP Server IP address or host name (e.g., smtp.263xmail.com).
— SMTP Port No.: The SMTP port. The default TCP/IP port used for SMTP is 25.
— Enable SSL (optional): Click the checkbox to enable SSL if required by the SMTP server.
— Sender: The name of sender.
— Sender’s Address: The Email address of sender.
— Select Receivers: Select the receiver. Up to 3 receivers can be congured.
— Receiver: The name of user to be notied.
— Receiver’s Address: The Email address of user to be notied.
— Enable Attached Pictures: Check the Enable Attached Picture box if you want to send email with attached alarm
images. The interval is the time of two adjacent alarm images. You can also set SMTP port and enable SSL here.
— Interval: The interval refers to the time between two actions of sending attached pictures.
— E-mail Test: Sends a test message to verify that the SMTP server can be reached.
6. Click Apply to save your settings.
SECTION 7: NETWORK SETTINGS
 Loading...