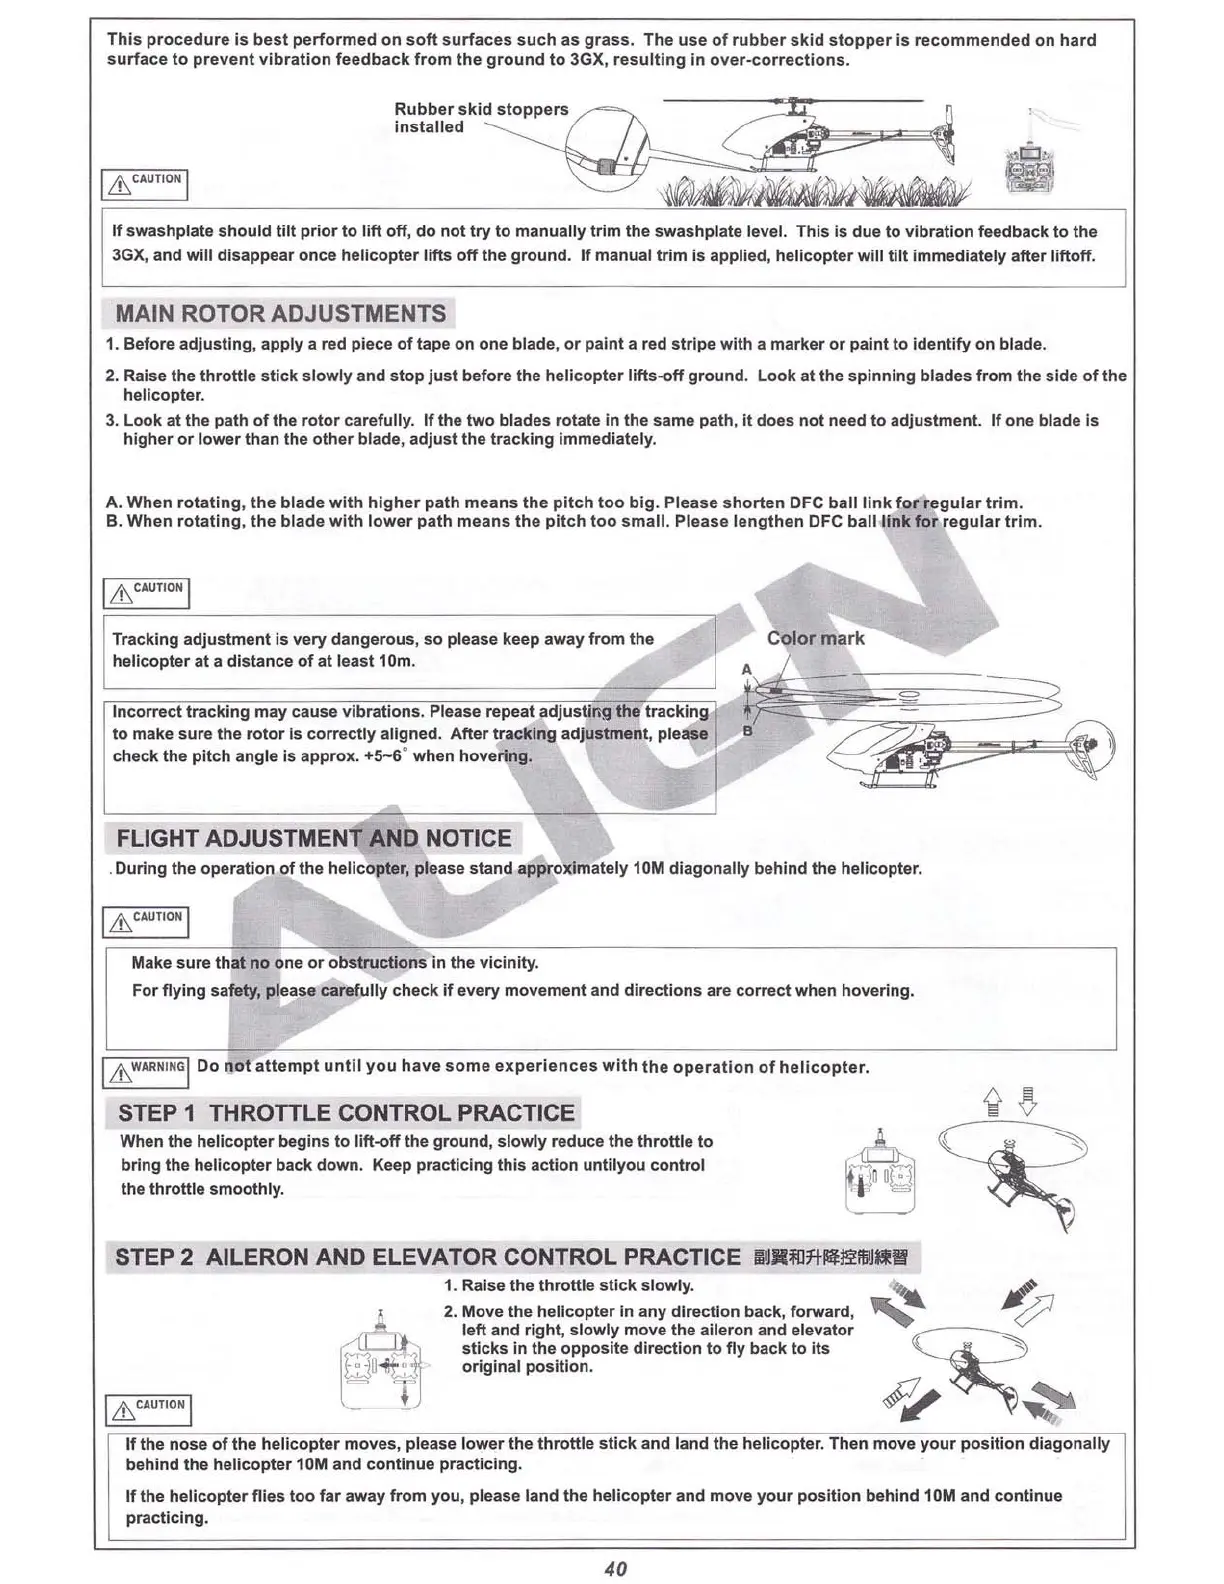
This p
roce
dure is
best
perfo
rmed
on
soft
surfaces
such as
grass
. Th e use
of
rubber
skid
stoppe
r is recommen ded on hard
s
urface
to
preven t v
ibr
at i
on
fee
dba
ck
from
th e g
roun
d t o 3GX, re
su
l
tin
g in over-co
rr
ections.
I
&CAIJTIO~
I
If swas
hpla
te should
til
t prior to l
ift
o
ff
, do not try to
manu
ally
tri
m the sw
ashp
late level. This is due to vi bration feedback to the
3GX, and
will
disappear o
nce
helic
opt
er
lifts
off
the gr
ound
. If manu al t
rim
is applied, heli c
op
ter will til t immed
iately
after l
ift
off
.
MAIN ROTOR AOJUSTMENTS
1. Befor e adj
ust
ing , apply a red piece
of
tape on one blade, or pai nt a red
str
ipe w
ith
a marker or paint to identi
fy
on blade.
2. Raise the thr
ott
le
stick
s
lowly
and stop just befo re the he
licopter
Iift
s-off ground. L
ook
at the spin ning bla
des
from the side
of
th e
helicopter.
3. Loo k at the path
of
the rot
or
caref
Ully. If the
two
bla des rotate In the same path , it
does
not need to adjustme nt. If one blade is
higher or lower than the ot her
blade
, adj ust the tracking
Imm
ediately.
A. Whe n
rotating
, the blad e
with
higher path mean s
th
e p
it
ch t
oo
big
. Please s ho
rte
n DFC ball li nk f
or
regular
tr
im
.
B. W
hen
rotating,
th
e bl ade
wit
h lower p
ath
mean s
th
e pitch to o small . Please len
gth
en DFC ball
link
for eg ular
tri
m.
Tracking ad
just
ment is
very
dange
rous
, so please keep away from
the
helic
opt
er at a distance of at
least
10m.
FLIGHT ADJUSTMENT AND NOTICE
.
During
th e oper
ati
on
of the h
elic
op
ter, please stand a
ppro
ximat
ely 10M dia
go
na
lly
b
ehind
the helic
opt
er.
I
&CAIJTION
I
Make sure that
no
one or o
bs
tru
ctio
ns in the v
ici
nity
.
For fl
ying
sa
fety
, please carefu
lly
c
heck
if
every
mov
ement
and directi on s are correct when hovering.
I
&
W
"' Il
~'
~ G
I
Do
no
t a
tte
mpt
un
til
yo u have
so
me
expe
riences
wit
h
th
e o pe
ratio
n of heli
copt
er.
STEP 1 THROTTLE CONTROL PRACTICE
When the helicopter begins to
lift
-o
ff
the ground, slOWlyreduce the th
rottl
e to
bring the helicopter back
down.
Keep practicing
this
acti on un
tilyo
u control
the
throttle
s
moo
thly.
STEP 2 AILERON AND ELEVATOR CONTROL PRACTICE
1IIJ1li1ll7t"'l!i!iIlJI!!l!
1. Raise the throttle st ick sl
owly
.
'"
~
l 2. Move the helicopter In any direc tion back, f
orw
ard ,
~
~
'!'" left and right, s
low
ly move th e aileron and elevato r
~
,:1.
"
~
"~
~'
sticks In the op
pos
ite
dire
ct ion to fly
back
to its
~
~l
~
original
pos
ition.
1
&"""'1
i-
r
~
~
If the n
os
e of the h
elicop
ter
mo
ves. please lower
the
th
rott
le st
ick
a
nd
land th e heli c
opt
er. Then move y
our
pos
i
tio
n dia
gona
lly
behind the
heli
co
pter
10M
and
c
ontinu
e pr a
ct
icin
g.
If the he
lic
op
ter
fli
es
too
far a
way
fr
om you, please l
and
th e heli copter and move
yo
ur positi
on
b
ehind
10M
and
continue
pract
icing.
40