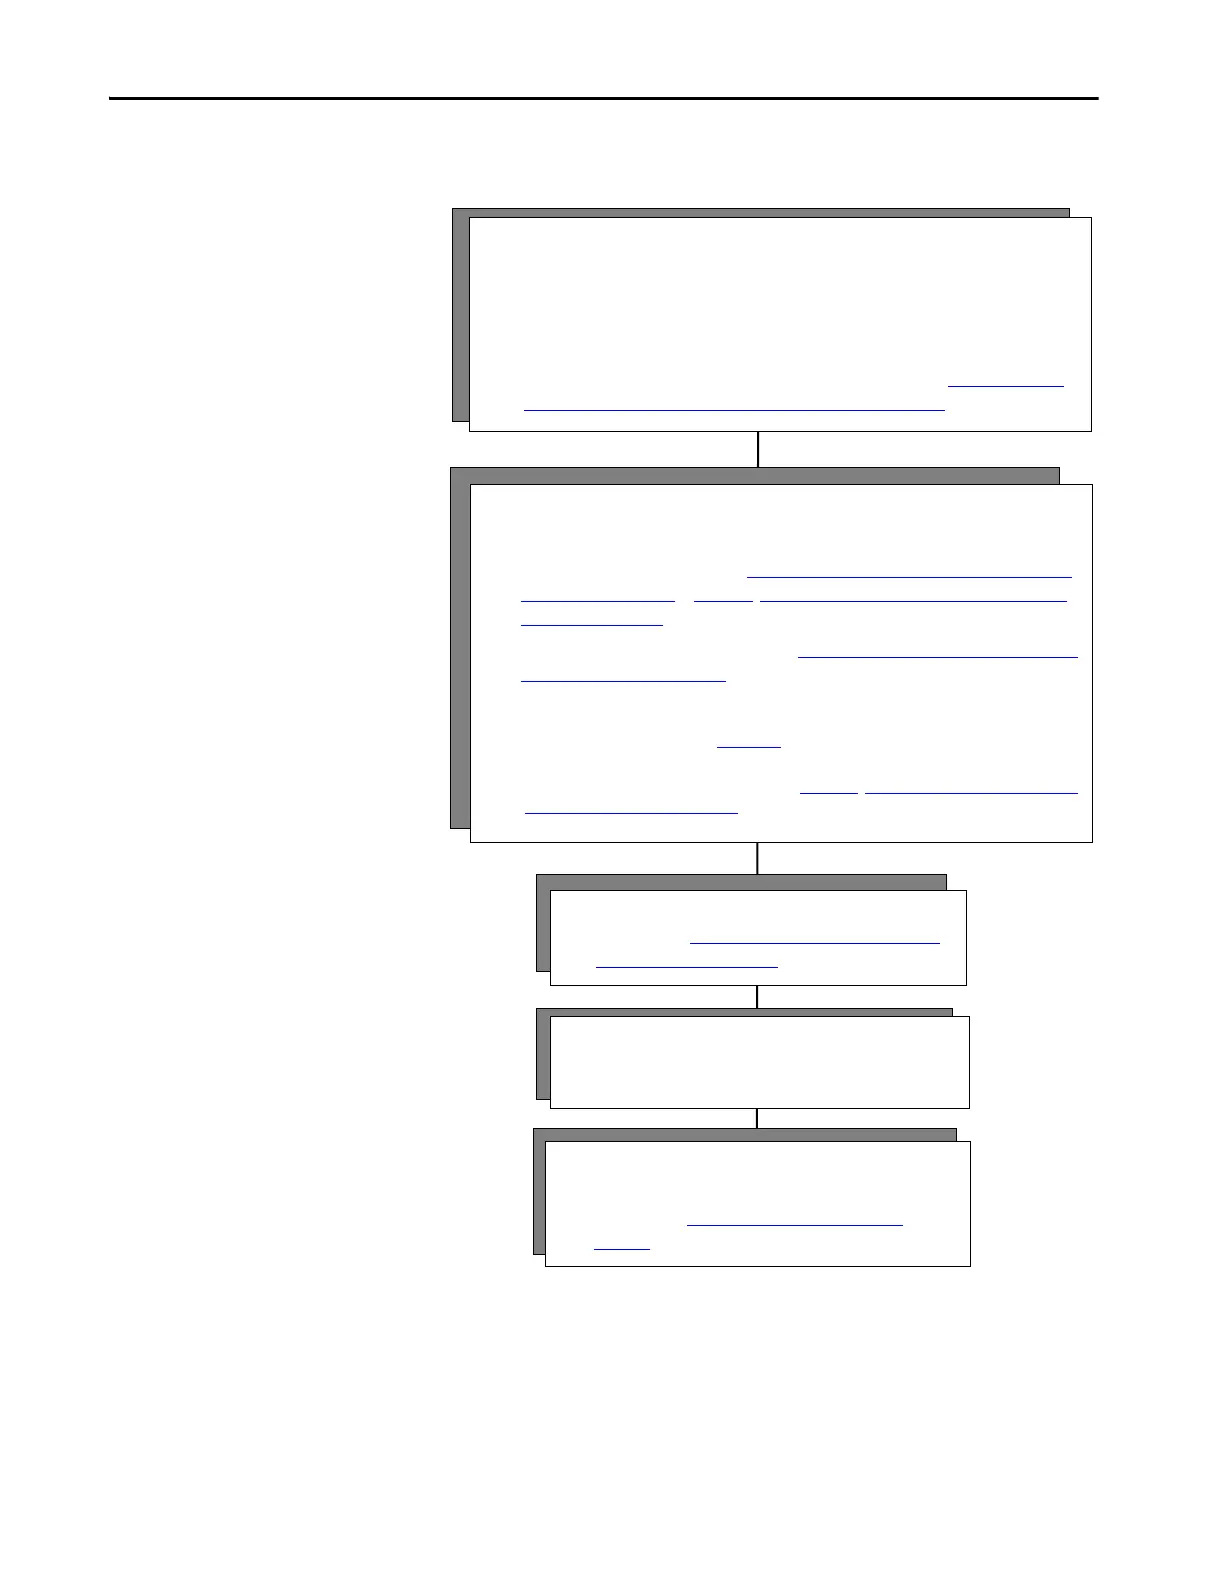
Configure Software First
3 - Program
• Follow steps in Appendix B, Out of Box Configuration for
PowerFlex Drives on page 305.
4 - Connect
• Install modules and drives.
• Check software and firmware for the latest revisions.
1 - Configure the controllers and communication modules.
• Open the Logix Designer application.
• Check software and firmware for the latest revisions and update if needed.
• You must configure the controllers and communication modules for time synchronization
and motion.
• To build a project and enable time synchronization, follow the steps in Chapter 2, Create a
Project for Integrated Motion on the EtherNet/IP Network on page 21.
2 - Configure the drive module and configure an axis.
Check drive firmware for the latest revisions and update if needed.
• For Kinetix drives, follow the steps in Chapter 3,Configure Integrated Motion Control Using
Kinetix Drives on page 31 or Chapter 4, Configure Integrated Motion Control Using Kinetix
5700 Drives on page 59.
• For a PowerFlex 755 drive, follow the steps in Chapter 5, Configure Integrated Motion Using
a PowerFlex 755 Drive on page 99.
If you are using a PowerFlex 755 drive and are unfamiliar with the integrated motion interface and
attributes, see the Integrated Motion on EtherNet/IP appendix in the PowerFlex 750-Series AC Drives
Programming Manual, publication 750-PM001.
For a PowerFlex 527 drive, follow the steps in Chapter 6, Configure Integrated Motion Using
a PowerFlex 527 Drive on page 129.
5 - Commission
• Download project.
• Follow steps in Chapter 11, Commission an Axis on
page 221.
 Loading...