Do you have a question about the Allen-Bradley PowerFlex 40 and is the answer not in the manual?
Procedure to connect the 1769-BA battery to the CompactLogix controller, including recording installation date.
Steps for assembling the CompactLogix controller, power supply, I/O modules, and end cap terminator.
Instructions for connecting Ethernet cables for 1769-L32E/L35E controllers to an Ethernet switch.
Instructions for wiring the 1769-PA2 power supply, connecting AC power and ground wires.
Step-by-step guide for installing RSLogix 5000 programming software, including activation.
Instructions to configure the IP address and subnet mask for the computer's network connection.
Steps to configure the EtherNet/IP driver within RSLinx software for communication.
Guide to loading firmware onto the controller using ControlFlash software via a serial connection.
Instructions for mounting and connecting POINT I/O network adapters (EtherNet/IP, ControlNet, DeviceNet).
Steps for mounting POINT I/O modules onto wiring bases and securing them on a DIN rail.
Guide to mounting the POINT I/O power supply and connecting AC power and ground wires.
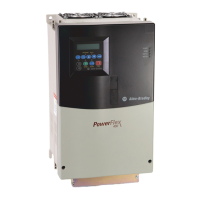
Guidance on mounting the PowerFlex 70 drive in a safe and convenient location.
Instructions for wiring power to the PowerFlex 70 drive, connecting AC power and ground.
Steps to configure the communication adapter (EtherNet/IP, ControlNet, DeviceNet) for the PowerFlex 70.
Procedure for connecting the communication adapter's ribbon cable and network cable to the PowerFlex 70.
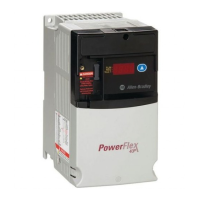
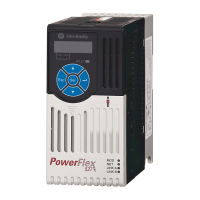
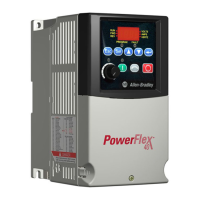
Guidance on mounting the PowerFlex 40 drive, referencing the User Manual for details.
Instructions for wiring power to the PowerFlex 40 drive, connecting AC power and ground.
Steps to configure the communication adapter (EtherNet/IP, ControlNet, DeviceNet) for the PowerFlex 40.
Procedure for connecting the communication adapter to the PowerFlex 40 drive and its network cable.
Instructions for installing the ControlNet interface module onto the PanelView Plus logic module.
Guidance on mounting the PanelView Plus terminal, referencing the User Manual for details.
Steps for wiring DC power from the power supply to the PanelView Plus terminal.
Procedure to assign an IP address to the PanelView Plus terminal via its configuration screen.
Using BOOTP/DHCP Server utility to assign IP addresses to network devices.
Using RSLinx software's RSWho to view the EtherNet/IP driver and connected devices.
Steps to configure the ControlNet driver in RSLinx software using a 1784-PCIC(S) card.
Using RSNetWorx for DeviceNet to set the node address for the 1769-SDN module.
Creating a DeviceNet configuration file using RSNetWorx for DeviceNet software.
Steps to create a new project in RSLogix 5000 software and choose the controller.
Configuring controller properties, including IP address or node address.
Adding local 1769 CompactLogix I/O modules to the project's I/O configuration.
Establishing communication path and downloading the project to the controller.
Adding POINT I/O network adapters and modules to the RSLogix 5000 project.
Editing DeviceNet adapter parameters, including AutoAddress and Auto Start Mode.
Creating a DeviceNet scanlist by uploading configuration from devices.
Downloading the configured project to the controller.
Adding the PowerFlex 70 drive to the RSLogix 5000 project and establishing connection.
Editing key parameters for the PowerFlex 70 drive, such as Autotune and Speed Ref.
Verifying communication by changing tags and observing drive behavior.
Adding the PowerFlex 40 drive to the RSLogix 5000 project for EtherNet/IP and ControlNet.
Modifying PowerFlex 40 drive parameters via the keypad for control and reference.
Verifying drive communication by changing tags and observing speed and status.
Steps to create a new application in FactoryTalkView Studio ME.
Establishing device shortcuts in RSLinx Enterprise for PanelView Plus communication.
Creating a multistate indicator object in FactoryTalkView ME for the OB16 digital output.
Creating a maintained push button object in FactoryTalkView ME to control the indicator.
Testing the functionality of the created indicator and push button on the PanelView Plus.
Creating a runtime application and transferring it to the PanelView Plus terminal.
| Output Voltage | 0 to Input Voltage |
|---|---|
| Enclosure | IP20 |
| Control Method | V/Hz, Sensorless Vector Control |
| Communication | RS485 |
| Frequency | 0 to 400 Hz |
| Protection | Overload, Overvoltage, Undervoltage, Short Circuit |
| Operating Temperature | -10 to 50°C (14 to 122°F) |
| Storage Temperature | -40...70 °C (-40...158 °F) |
| Humidity | 5% to 95% non-condensing |
| Input Voltage | 200-240V AC, 380-480V AC, 500-600V AC (depending on model) |