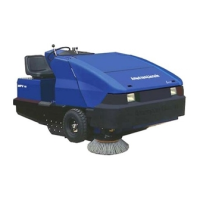
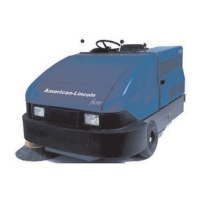
1-34 American-Lincoln
MPV 60
SERVICE INSTRUCTIONS
HOPPER SERVICE-Cont.
DUST CONTROL FILTER
The dust control filter should be checked daily for damage and cleaned if necessary. A damaged filter must be
replaced to prevent damage to other dust control system components. Inspect the filter for tears in the filter
media or excessive dirt lodged in the pleats. A tear in the filter media will allow dirt to pass through the filter and
can be easily seen as a dirty patch on the top side on the filter. Cleaning of the filter is necessary when the filter
shaker fails to adequately clean the pleats.
TO CHECK THE DUST CONTROL FILTER
1. Park the sweeper on a smooth level surface, Turn the key switch to the “OFF” position and engage
the Parking Brake.
2. Raise the hopper lid for access to the filter compartment.
3. Turn the filter latch, lift the filter frame and remove the filter.
4. Inspect the panel filter for tears and clean or replace if necessary.
5. Reinstall the filter, lower the filter frame and engage the filter latch.
6. Close the hopper cover and lock the hopper cover latch.
TO CLEAN THE DUST CONTROL FILTER
Clean the dust control filter when the shaker fails to adequately clear the filter. The filter can be cleaned with
compressed air not to exceed 100 psi.
To clean the filter with compressed air, apply the compressed air to the top side of the panel to flush out the
lodged dirt from the filter pleats. Be careful to not damage the filter media while cleaning.
The filter can be cleaned with a solution of soap and water. If this cleaning method is used do not use the filter
until it has completely dried.
TO CHANGE THE DUST CONTROL FILTER
Change the filter panel when damage is evident.
1. Park the sweeper on a smooth level surface, Turn the key switch to the “OFF” position and engage
the Parking Brake.
2. Open the hopper cover latch and raise the cover to gain access to the filter compartment.
3. Turn the latch on the hinged frame counterclockwise and lift the frame .
4. Remove the filter panel.
5. Install replacement filter, lower the hinged frame and engage the latch.
6. Lower the hopper cover and lock the cover latch.
TO CHECK THE VIBRATION ARM
1. Inspect the arm daily to assure it is located directly over the bolt.
2. Inspect the arm to assure there is between 1/32” to 1/16” clearance between the bolt and the arm.
3. Inspect the gland nut to assure that it moves up and down with some drag, this will assure no leakage.
(Silicone on the nut may be necessary to prevent loosening while vibrating)