10
ONE by APOGEE – User’s Guide
Hardware and Software Controls
ONE is designed to be simple to use but controllable with a variety
of hardware and software controls, described in this section. Though
several options are offered, you can choose the hardware and
software controls that best suit your individual preferences.
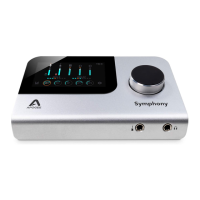
To set ONE's output level (i.e the listening level of headphones or
connected speakers), click the encoder until the LED lights.
Now, turn the encoder to the desired listening level.
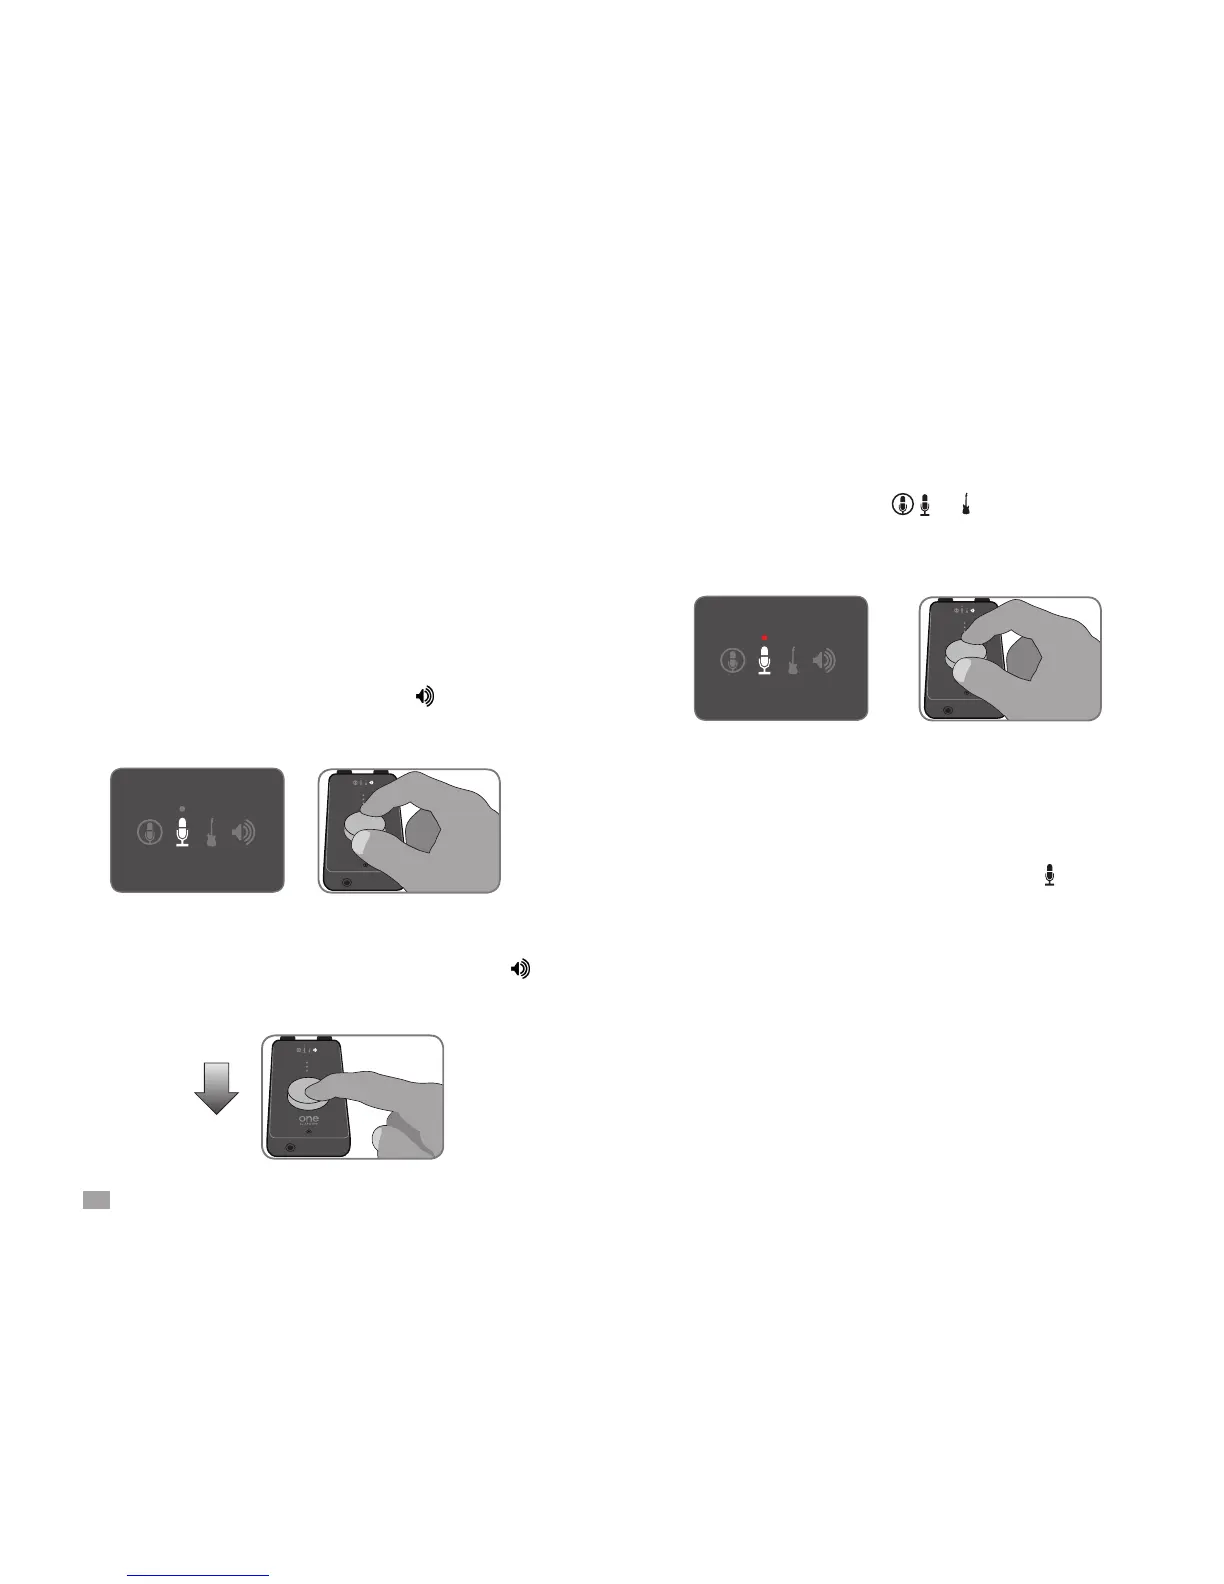
To set the gain (i.e the recording level) of ONE’s active input, click
the encoder until the input LED or lights. Now, turn the
encoder until the desired recording level is obtained (as seen in
your recording software).
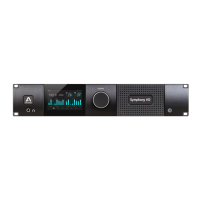
To mute the output, press and hold down the encoder until the
LED blinks; press and hold again to unmute the output.
ONE’s top panel encoder provides simple and immediate control of
input and output level settings.
ONE Top Panel Encoder
Setting the Output Level
Setting the Input Gain
Muting the Output
To select another input as the active input, open a software
control panel (either Apogee Maestro, Audio MIDI Setup, or the
GarageBand/Logic control panel) and select the desired input, as
described on the following pages.
1 second
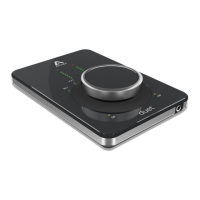
When Input is set to Ext 48V Mic, a red LED above the LED
lights to indicate the presence of 48 volt phantom power on the
breakout cable’s XLR connector. This voltage is necessary to power
condenser mics. Read more about phantom power on page 24.
Top Panel 48V Indicator
The top panel level meter displays either the input or output level,
depending on the encoder selection. When an input has been
selected, the signal level after the application of input gain is
displayed. When the output has been selected, the signal level after
the output level control is displayed. See page 14 for information
about the difference between the top panel meters and Apogee
Maestro meters.
Top Panel 3-Segment LED Meter