5
ONE by APOGEE – User’s Guide
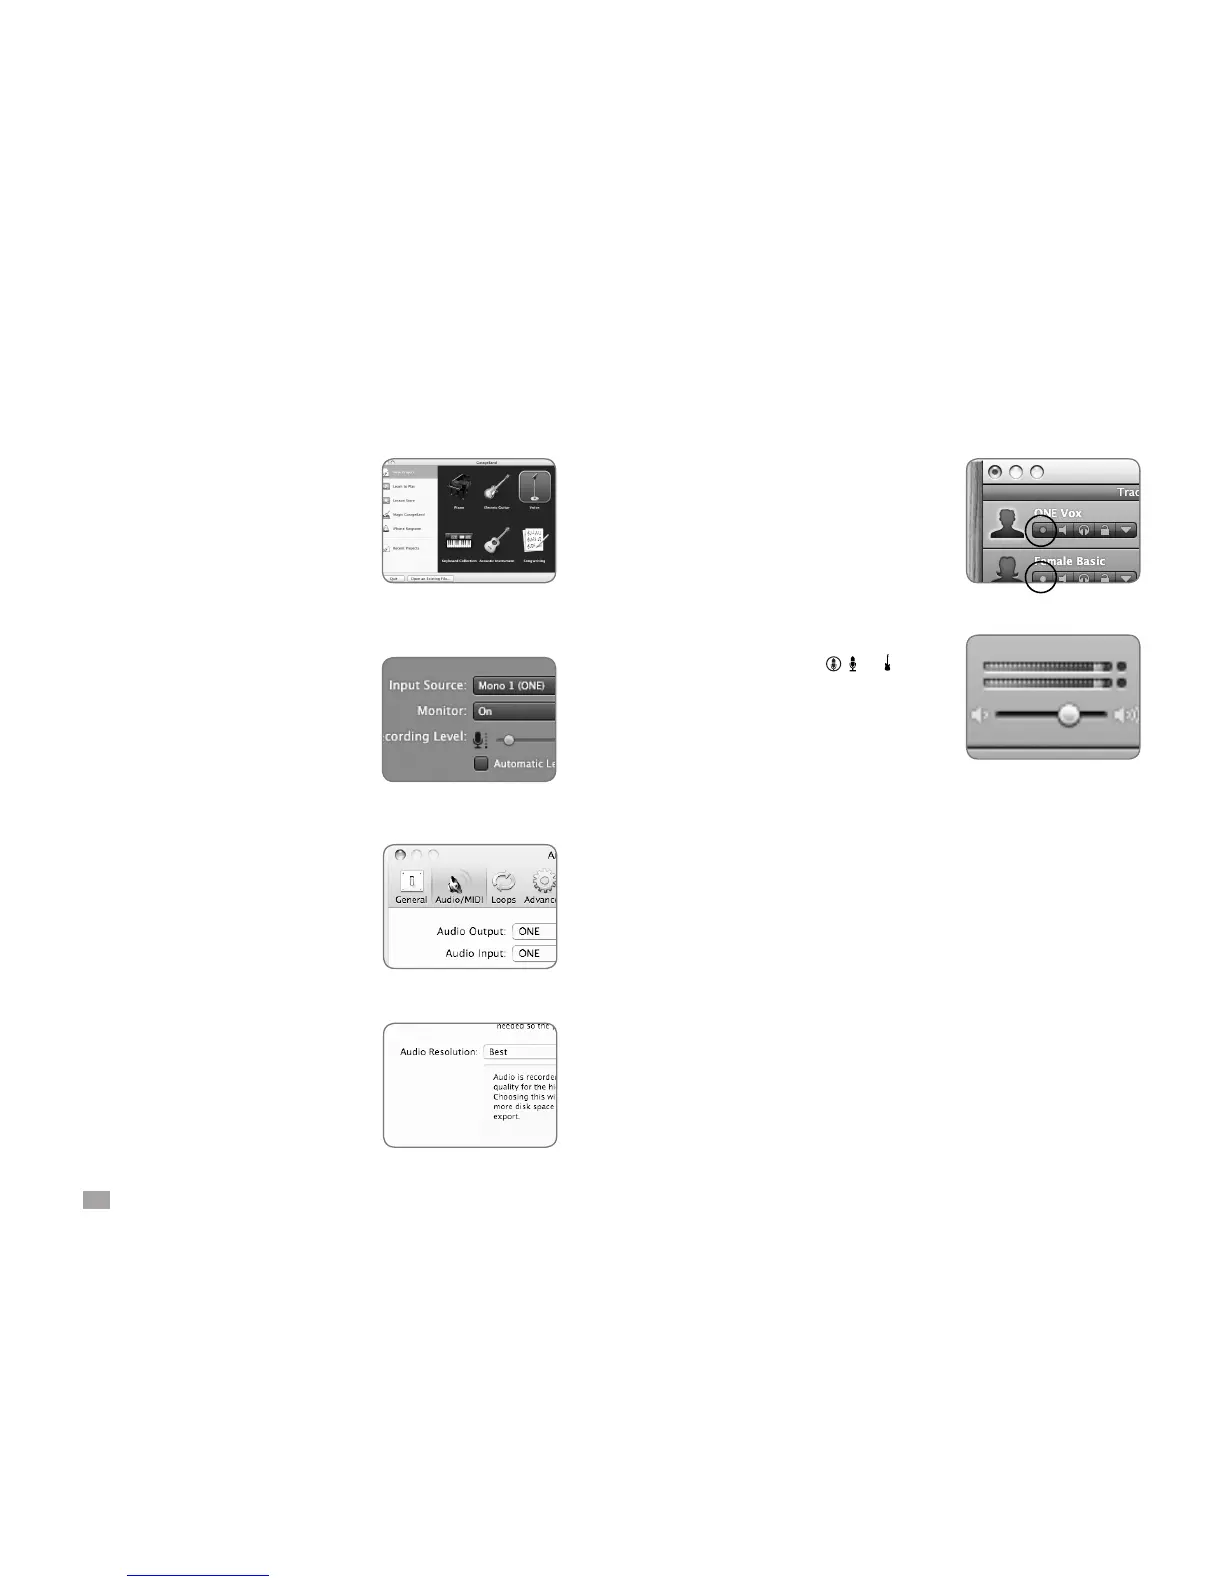
Open and Set Up GarageBand ‘09
Open GarageBand, found on your
Mac’s Applications folder. In the Project
Window that appears during launch,
click Voice or Acoustic Instrument
then click Choose to create an audio
track.
In GarageBand, show the Track Info
pane by double-clicking the track icon,
then click Real Instrument. At the
bottom of the window, select Mono 1
(ONE) in the Input Source menu and
select On in the Monitor menu.
GarageBand Preferences
If ONE doesn’t appear in the Input
Source menu, open GarageBand
Preferences (GarageBand >
Preferences), click Audio/MIDI, and
select ONE in the Audio Output and
Audio Input menus.
Important! To experience the full audio
resolution of ONE, open GarageBand
Preferences, click Advanced, and select
Best in the Audio Resolution menu.
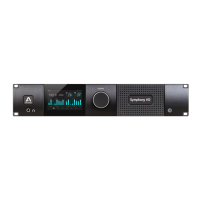
Set the Input Level
Click the GarageBand track’s
Record enable button to see the
input signal on the track
meters and hear it in your
headphones.
Click ONE’s encoder until the
input LED lights ( or as
chosen on page 11) and turn the
encoder to set the recording level
in GarageBand’s meters. See
the ONE User’s Guide for a more
detailed description of setting
recording levels.
Record!
Once you’ve set a level, click the Record button in
GarageBand’s transport control. The newly created region
appears in GarageBand’s timeline - you’re now
recording with ONE!