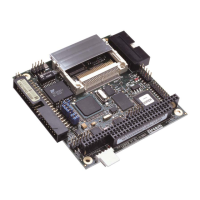
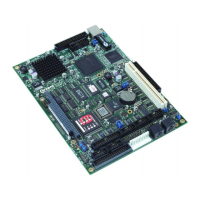
SBC-GX1 Windows XP Embedded Quickstart Reinstalling Windows XP Embedded
Reinstalling Windows XP Embedded
If you wish to reinstall Windows XP Embedded on the SBC-GX1 board as it was
supplied with this Development Kit, you can do so using the ‘Installation CD’ provided.
To do this, follow these steps:
1 Back up any important data or files from the present CompactFlash, as the whole
CompactFlash will be overwritten.
2 Power off the SBC-GX1 and remove any hard disks connected to the SBC-GX1,
leaving only the 512MB CompactFlash.
3 Connect the CD drive configured as the master drive to the SBC-GX1 board and
start the SBC-GX1.
4 Insert the installation CD into the CD drive.
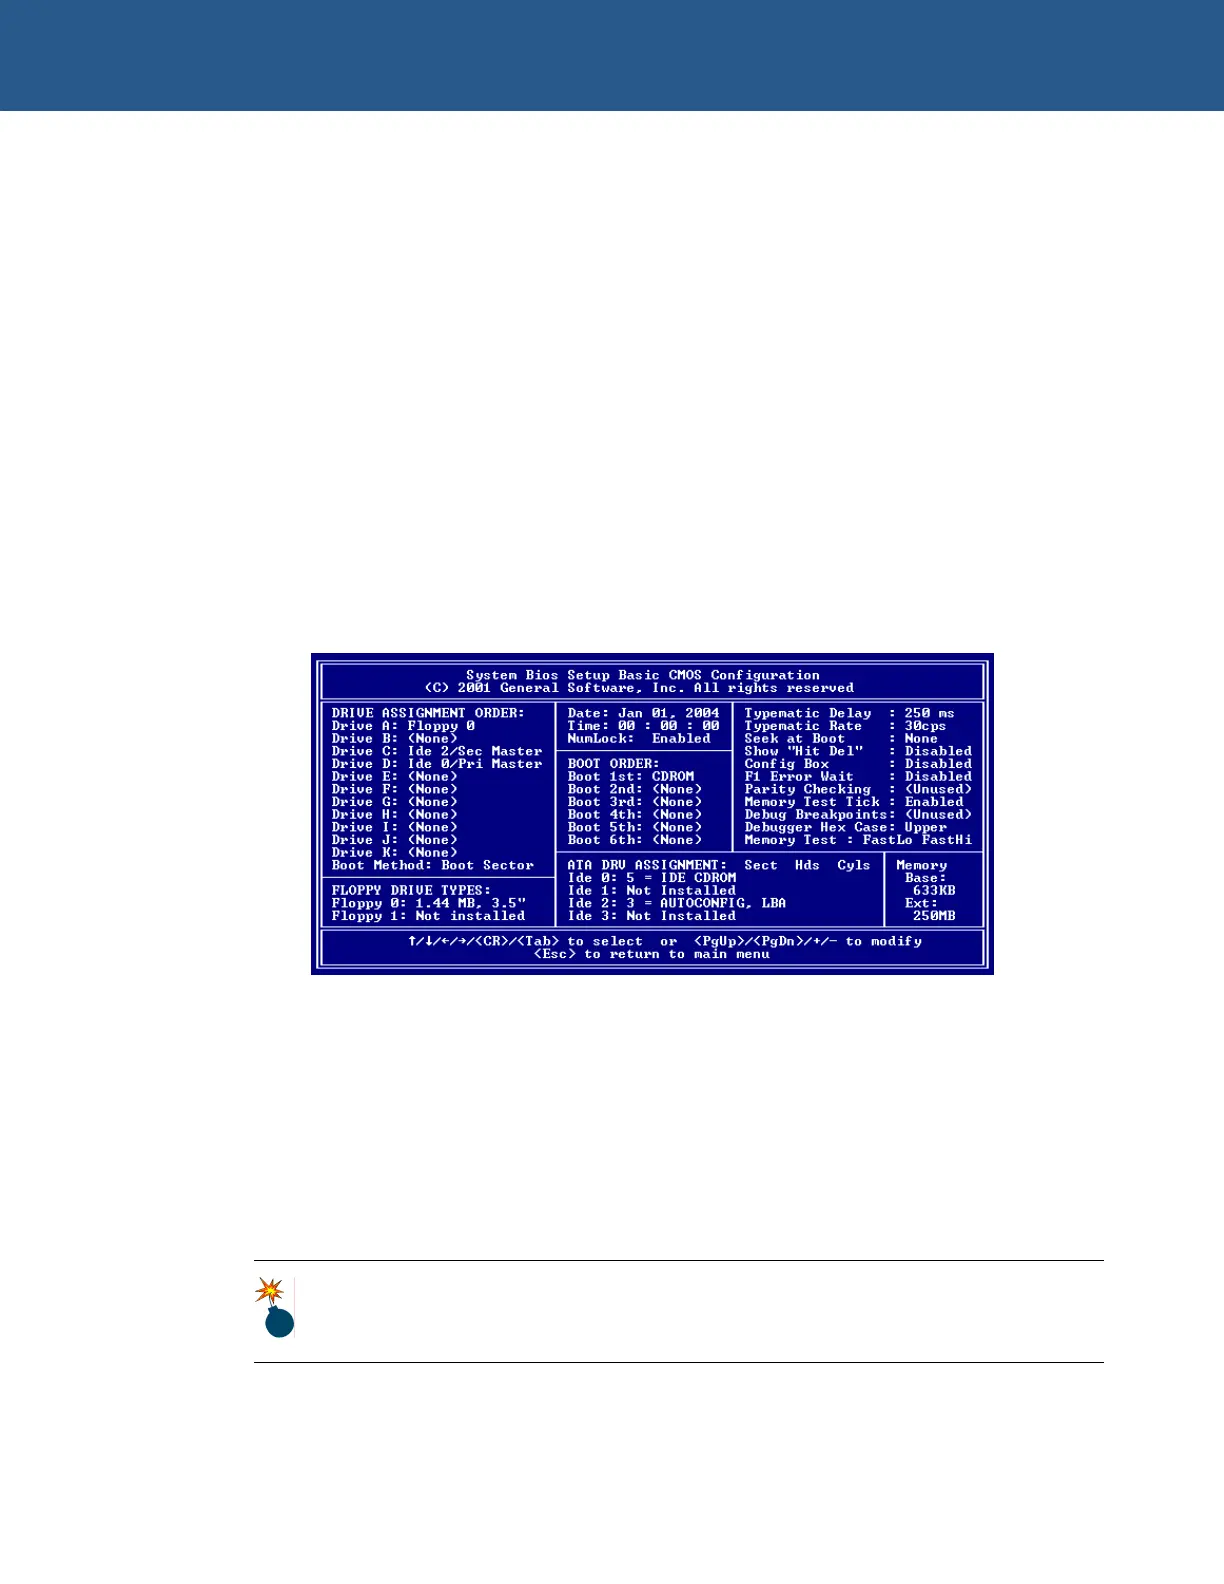
5 Restart the SBC-GX1 and press Del in order to enter the BIOS settings.
6 Go to Basic CMOS Configuration and press Enter.
7 Adjust the settings so that they appear as shown below:
8 Press Esc and choose Save & Exit Setup from the main BIOS menu.
9 Press Enter. The following message is displayed:
SAVE to CMOS and EXIT (Y/N)? Y
10 Press Enter to save your changes.
The SBC-GX1 boots from the CD drive. Follow the instructions on-screen.
The Development Kit standard image is written to the CompactFlash. This takes about
15 minutes, after which the SBC-GX1 restarts. The Windows XP Embedded desktop
appears after about a further 10 minutes.
Do not use the installation CD on your host development system. This can
result in part of your hard disk being overwritten. The installation CD is only for
use on the SBC-GX1 board.
© 2004 Arcom Issue D 30
 Loading...