SBC-GX1 Windows XP Embedded Quickstart Transferring a new image to the SBC-GX1
Transferring an image
The easiest way of putting an image onto the SBC-GX1 is to use a USB or PCMCIA
CompactFlash adapter on your development system. This can be used to copy files to
the CompactFlash very quickly. The CompactFlash must be partitioned, formatted and
completely blank before downloading the files. This should be done by formatting it as
described in Formatting a CompactFlash module
, page 42.
The CompactFlash must be formatted as a FAT16 device. If you are using an image
with EWF included and the CompactFlash module has previously had an XPe
installation on it, it is important to ensure that all partitions are removed beforehand and
a new partition is created. The easiest way to wipe a CompactFlash module is to run
FDISK from the bootable floppy disk to remove all partitions, create a new partition and
format it as described in Formatting a CompactFlash module
, page 42.
Both the Standard XPe and Minimal XPe images supplied include EWF.
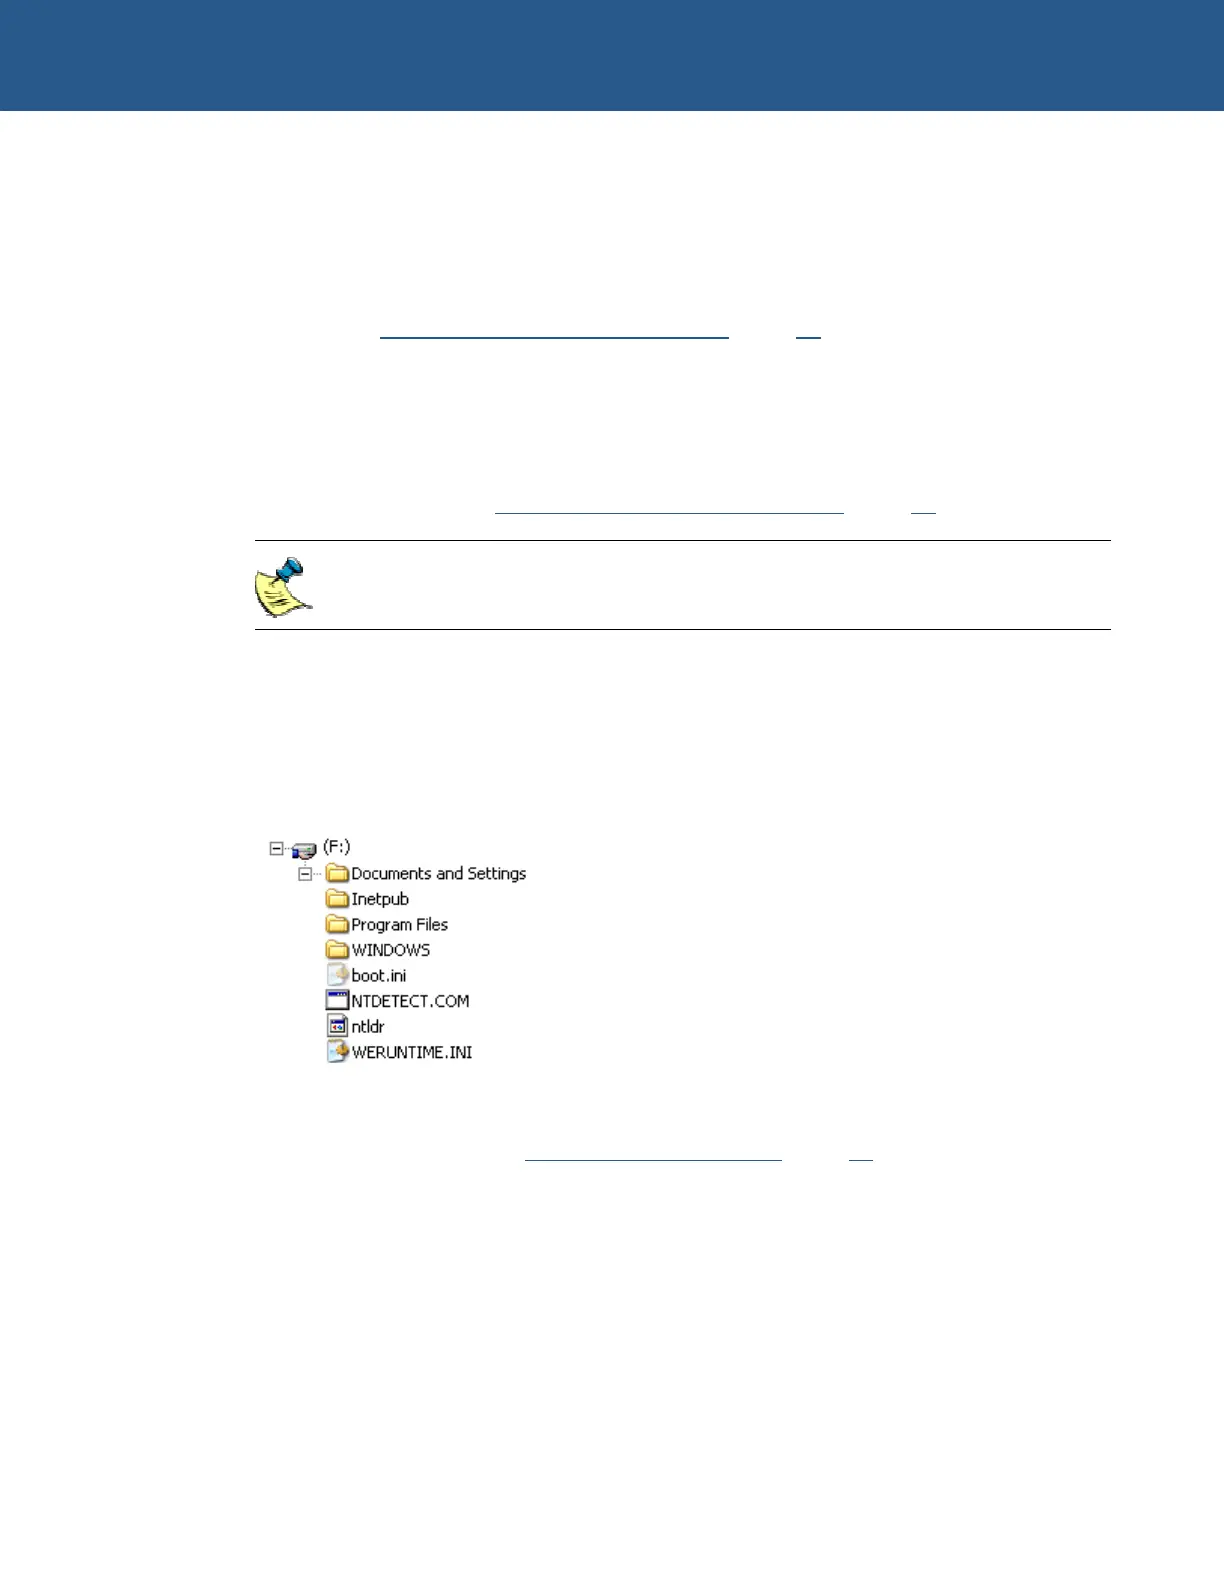
Once the device has been prepared, simply copy the files using Windows Explorer. All
the files and folders should be copied to the root folder. For example, if your
CompactFlash drive appears as drive F: on your development system and you want to
copy the Minimal XPe image, copy all the folders and files in the Minimal XPe folder to
the F drive. When copying is complete, the folder structure under the F drive should
look like this:
Insert this CompactFlash back into the SBC-GX1 CompactFlash drive and add the XP
boot loader as described in Adding the XP boot loader, page 46.
© 2004 Arcom Issue D 43
 Loading...