HARDWARE INSTALLATION
15
Warning:
High voltages may be found inside computer equipment. Be-
fore installing any of the hardware in this package or remov-
ing the protective covers of any computer equipment, turn
off power switches and disconnect power cords. Do not re-
connect the power cords until you have replaced the covers.
• Do not remove the SATA RAID controller from its anti-static
packaging until you are ready to install it into a computer case.
• Handle the SATA RAID Controller by its edges or by the metal
mounting brackets at its each end.
• Before you handle the SATA RAID controller in any way, touch a
grounded, anti-static surface, such as an unpainted portion of the
system chassis, for a few seconds to discharge any built-up static
electricity.
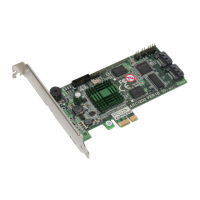
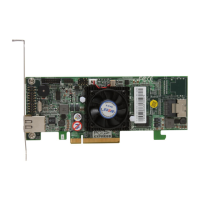
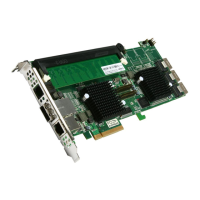
2.3 Installation
Follow the instructions below to install a SATA RAID controller into
your PC / Server.
Step 1. Unpack
Unpack and remove the SATA RAID controller from the package.
Inspect it carefully, if anything is missing or damaged, contact your
local dealer.
Step 2. Power PC/Server Off
Turn off computer and remove the AC power cord. Remove the
system’s cover. See the computer system documentation for in-
struction.
Step 3. Install the PCI RAID Cards
To install the SATA RAID controller remove the mounting screw
and existing bracket from the rear panel behind the selected PCIe
slot. Align the gold-ngered edge on the card with the selected
PCI expansion slot. Press gently but rmly down to ensure that the